Caterpillar sketch step by step
Step 1: Sketch the caterpillar's head and upper body
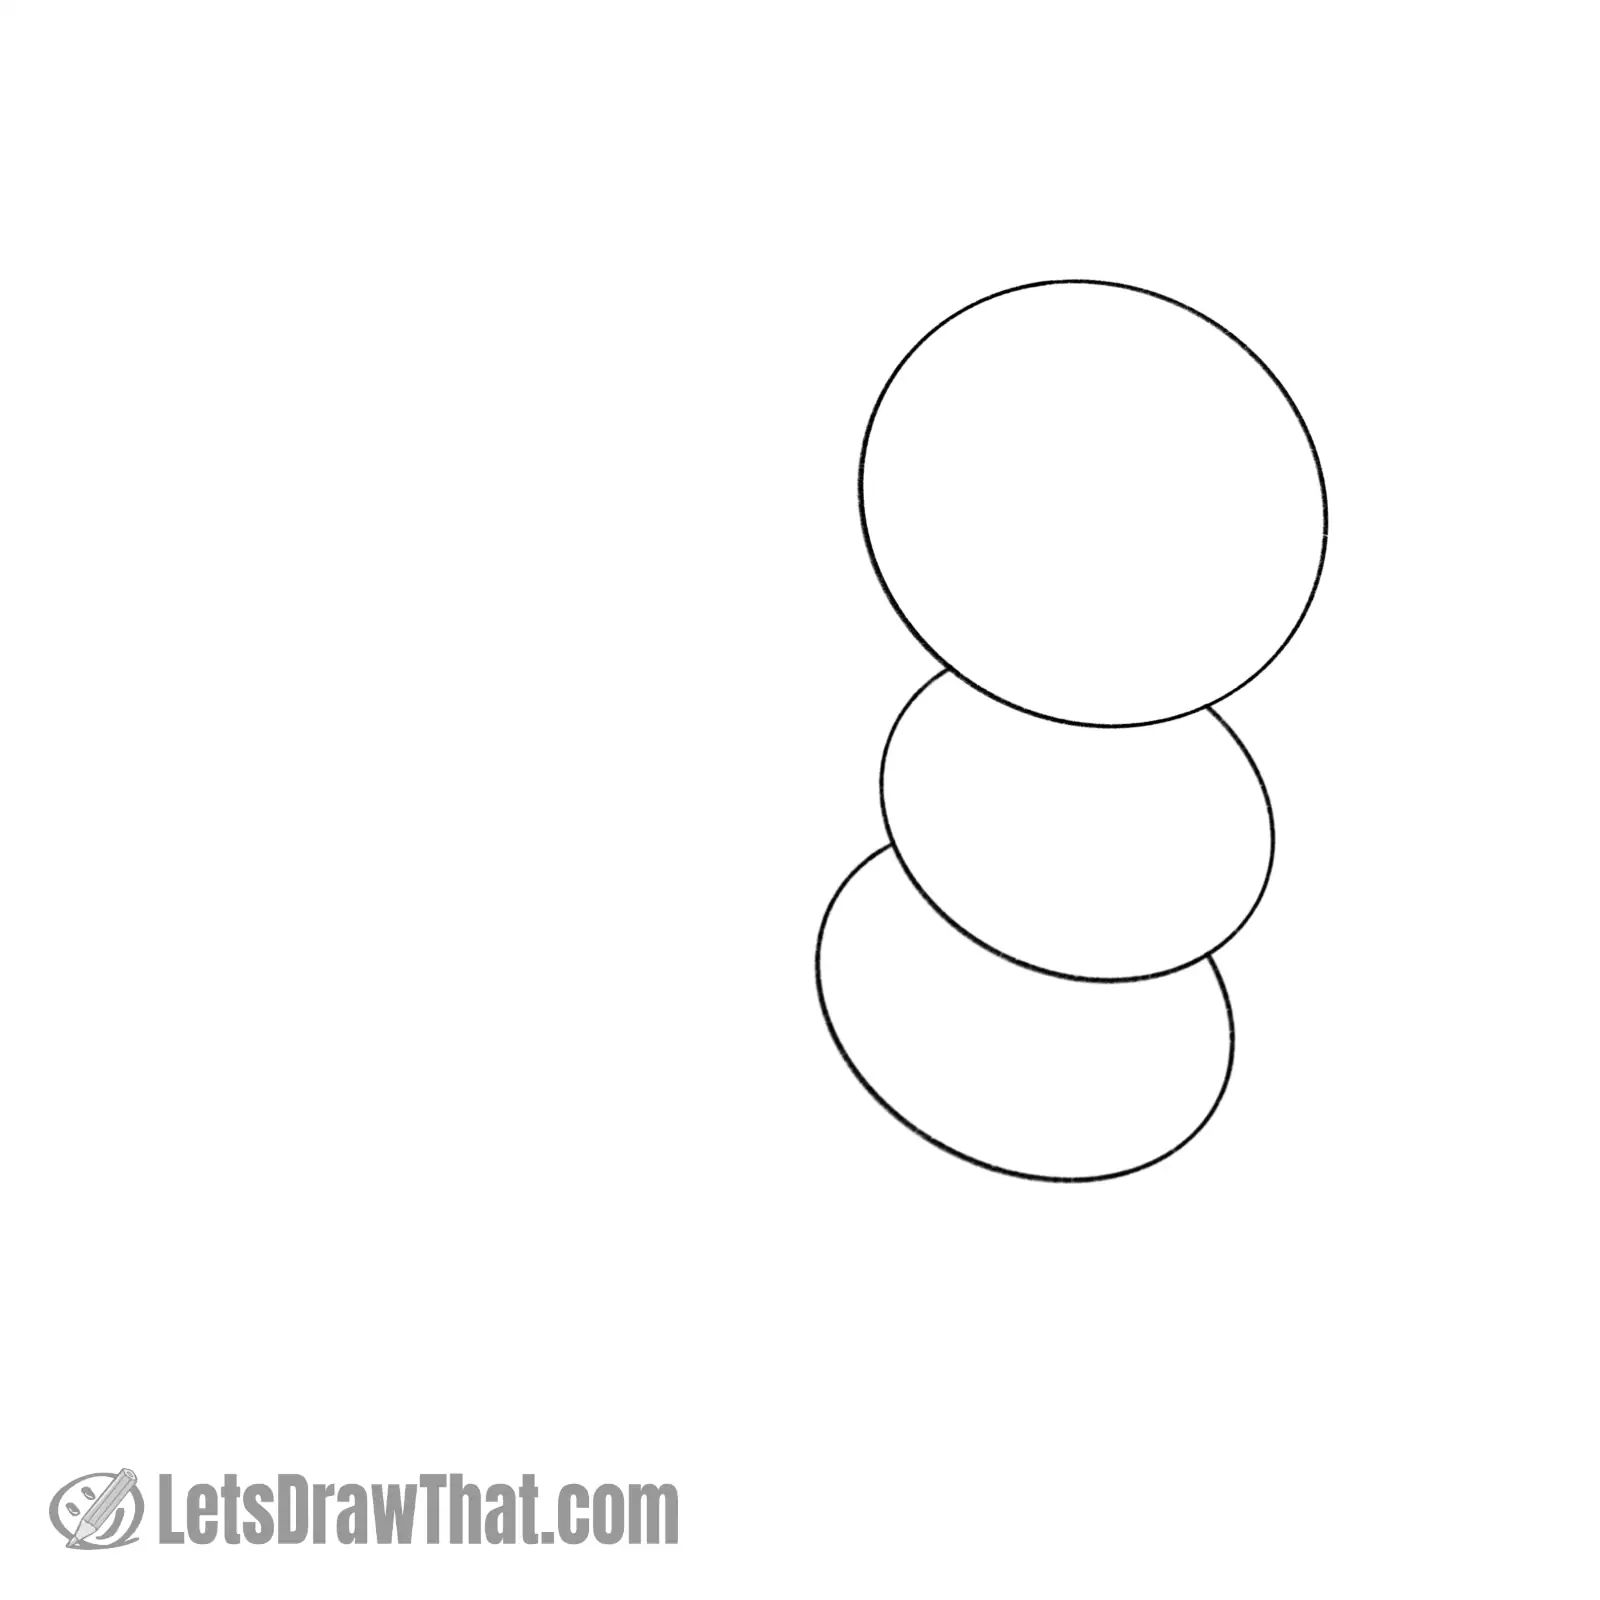
Our caterpillar drawing starts as usual with a few simple shapes.
Draw a circle for the caterpillar’s head. Then add two more slightly flattened ovals underneath.
Draw them going down and slightly to the left – this will be the “standing” upper part of the caterpillar’s body. Most importantly, draw them slightly overlapping the head and each other – they end up being more “C” shapes.
Step 2: Sketch the lower body

Keep adding ovals to the caterpillar’s body – draw more of the “C” shaped body segments.
Notice how we are changing the direction to transition from the upright to the flat-on-the-ground part of the body. Draw the body nicely bent, with the ovals gradually getting smaller.
Now you can draw as long a caterpillar as you want. Here we are adding five more, for seven body segments overall. (Up for a challenge? You will need 50 segments for a centipede!)
Finally, draw a face cross, with the face center positioned slightly to the right.
Step 3: Sketch the caterpillar's eyes, cheeks and nose

Let’s start sketching the caterpillar’s face.
Start with a small nose – this is just a small, wide curve positioned down from the centre of the face cross.
Then draw the cheeks – these are two larger “C” curves, starting with a small gap near the nose and curving down to the “chin” at the bottom centre of the head circle.
Finally, sketch the outer line for the eyes. We are going for large cartoony eyes that end up being an upside-down bent “W”, sitting on the horizontal, and centered around the vertical face cross line.
Step 4: Sketch the caterpillar's tentacles and mouth

Next, let’s finish the caterpillar’s face: Draw two small circles inside the eyes for the pupils.
Then draw a wide open, happy smiling mouth. This is a short bent line on the top, with a deeper “U” line going down. Add two small cheek wrinkle lines at each mouth corner.
Then draw the head tentacles or antennae. Here, we are doing a simple double-up curve with a bit of wider “fluffy” pointy ends.
Step 5: Sketch the caterpillar's "hands"
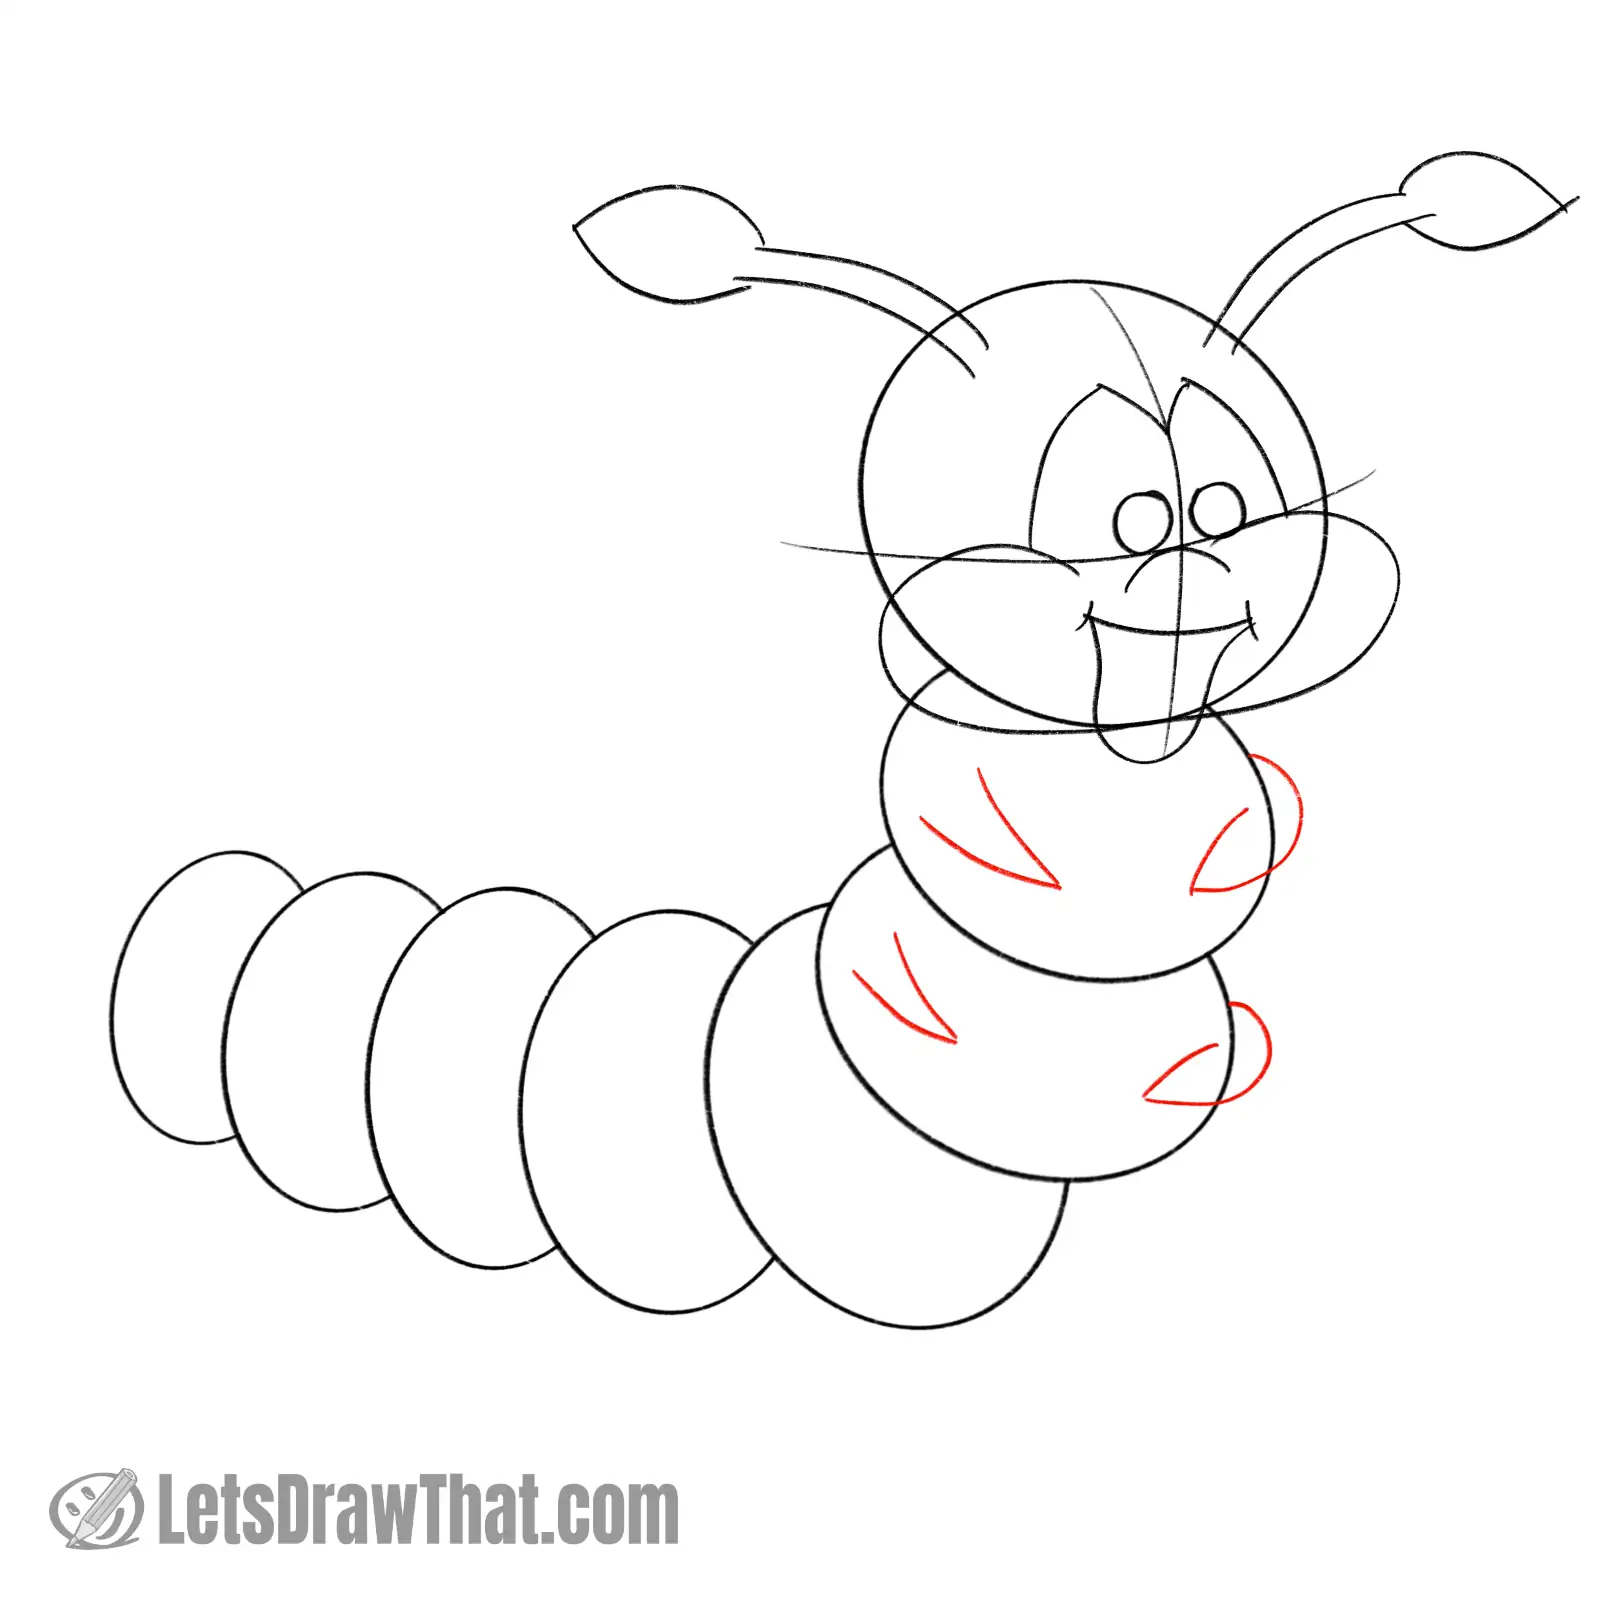
Let’s sketch the caterpillar’s “hands” next. These sit about halfway up on each of the two upright body ovals. The left “hand” is just a simple “V”.
The right hand is similar, but since it starts from behind the body, add a little curve that goes over the body line to attach the hand there.
Step 6: Sketch the leaf that the caterpillar is eating

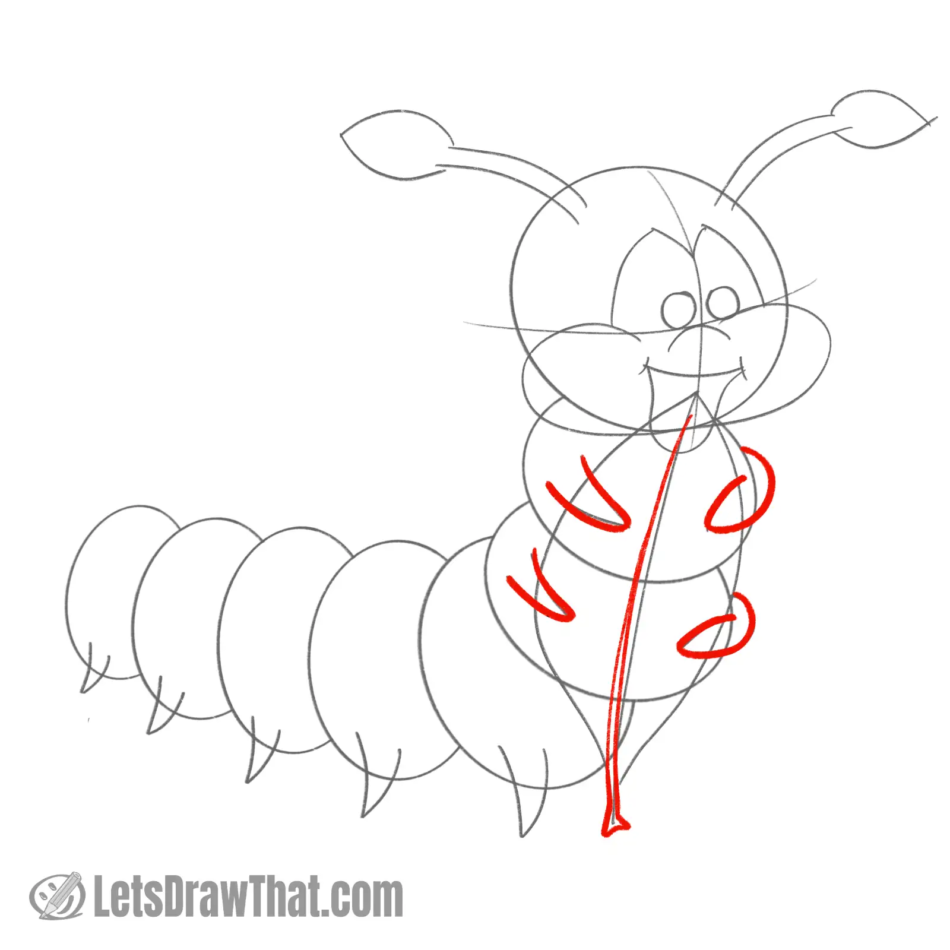
Next up, sketch the leaf that the caterpillar is eating.
Start with the centerline, a slightly bent curve that starts in the middle of the mouth and goes down roughly through the centre of the upper body.
Then add the two leaf edge curves. Draw them going across the “hands”, so it looks like the caterpillar is holding the leaf.
Check out our leaf drawing tutorial if you need more help or feel like drawing a fancier leaf shape.
Step 7: Sketch the rear legs

The last additions to our caterpillar sketch are the legs on the flat part of the body.
Draw a single leg (for now) onto each of the body segments. As on the upper body “hands,” these are just simple, slightly curved “V” shapes. Place them across the bottom line at the centre of each oval.
Caterpillar outline drawing step by step
Step 1: Draw the front feet and leaf midrib
Let’s outline the caterpillar drawing next. With the sketch complete, you pretty much know how to draw a caterpillar. But let’s add a few details to improve on our simple sketch.
Start by drawing the front “hands” – those are a straight outline from the sketch.
Then draw the midrib and stalk for the leaf that the caterpillar is chewing. Here we are doubling up the line and adding a small triangular end to the stalk. Again, check out our leaf drawing tutorial if you need detailed instructions, or try some variations.
Step 2: Draw the leaf

Next, let’s finish drawing the leaf by outlining the edges.
The small improvement here is the “chewed off” tip of the leaf – just draw it with a few zig-zags.
The rest is an outline of the sketch, breaking the line where it is hidden behind the caterpillar’s “hands”.
Step 3: Draw carterpillars mouth, cheeks and nose

Next, draw out the caterpillar’s face.
Start with the nose and cheeks – those are a direct outline from the sketch.
Then draw the mouth, again, outlining from the sketch the parts that are not hidden behind the leaf that the caterpillar is chewing.
Step 4: Draw caterpillar's eyes and the front tentacle

Now it is time to draw the eyes. Trace them from the sketch, rounding off the sharp top corners. Then, color in the pupils, leaving out a small white shine.
Next, draw the left tentacle – since it is in front, we need to draw it before outlining the head.
The small improvements here are adding the small oval to attach it to the head and the slightly more curved “fluff” at the end of the tentacle.
Step 5: Draw the caterpillar's head and the second tentacle
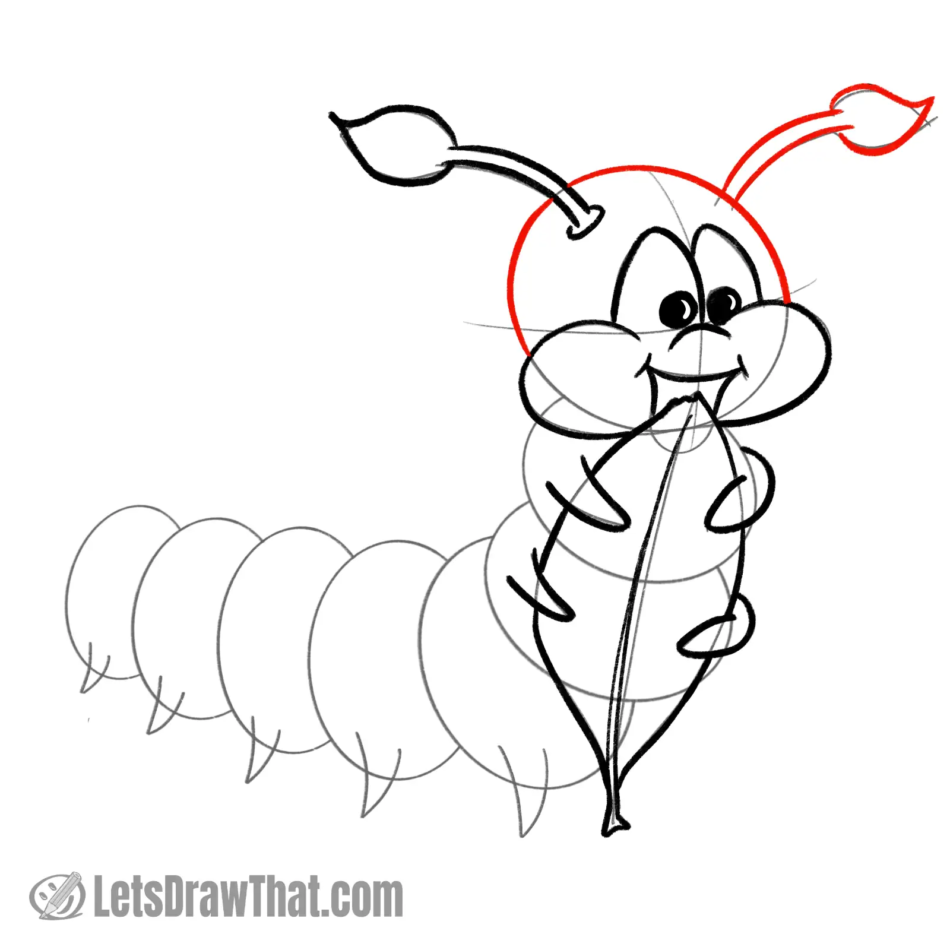
Now we can finish drawing the head outline – just follow the sketch.
Then draw the second tentacle, which sticks out from behind the head. Again, curve the “fluff” at the end of the tentacle a bit. Now the tentacle ends look a bit like girly hair pigtails.
Step 6: Draw the upper body outline
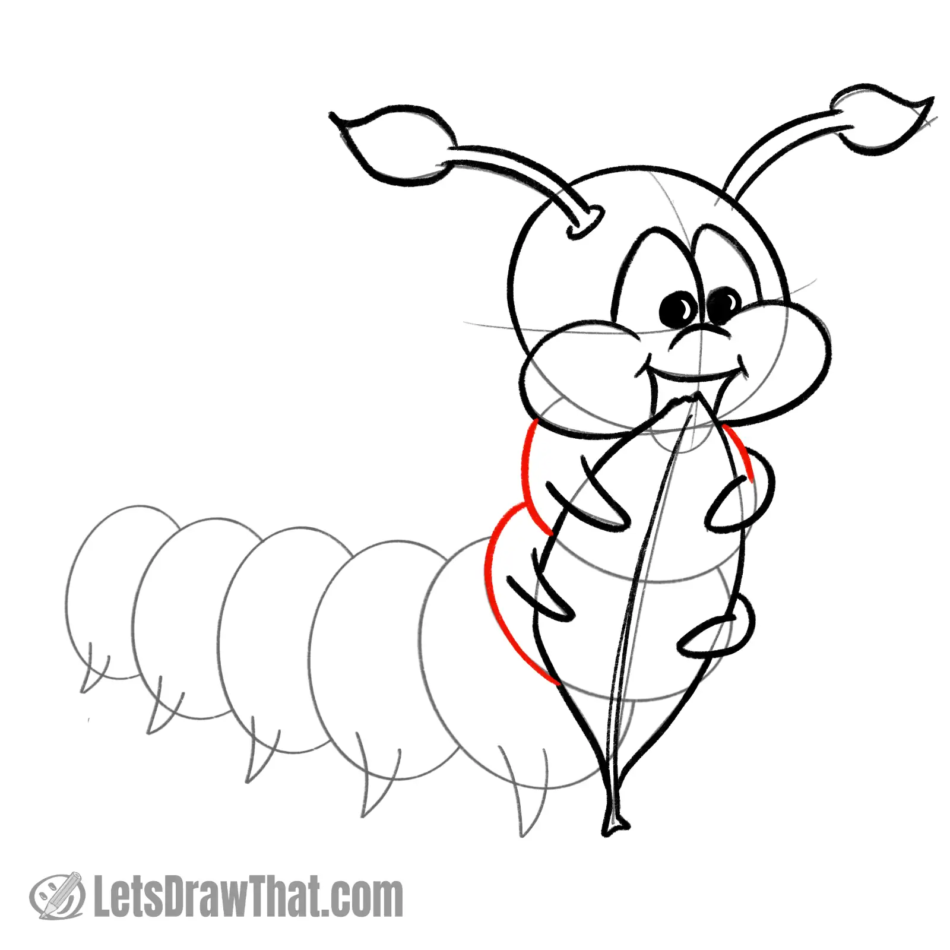
A nice and simple step here – just outline the caterpillar’s upper body from the sketch, where it is not hiding behind the leaf or the upper arm.
Step 7: Draw the legs and rear part of the body

Now, draw the little caterpillar’s legs first – they are again an outline from the sketch, just with the pointy tip slightly rounded off.
Then draw the body segments, breaking up the line where it is hidden behind the legs.
Step 8: Draw the tail and body markings
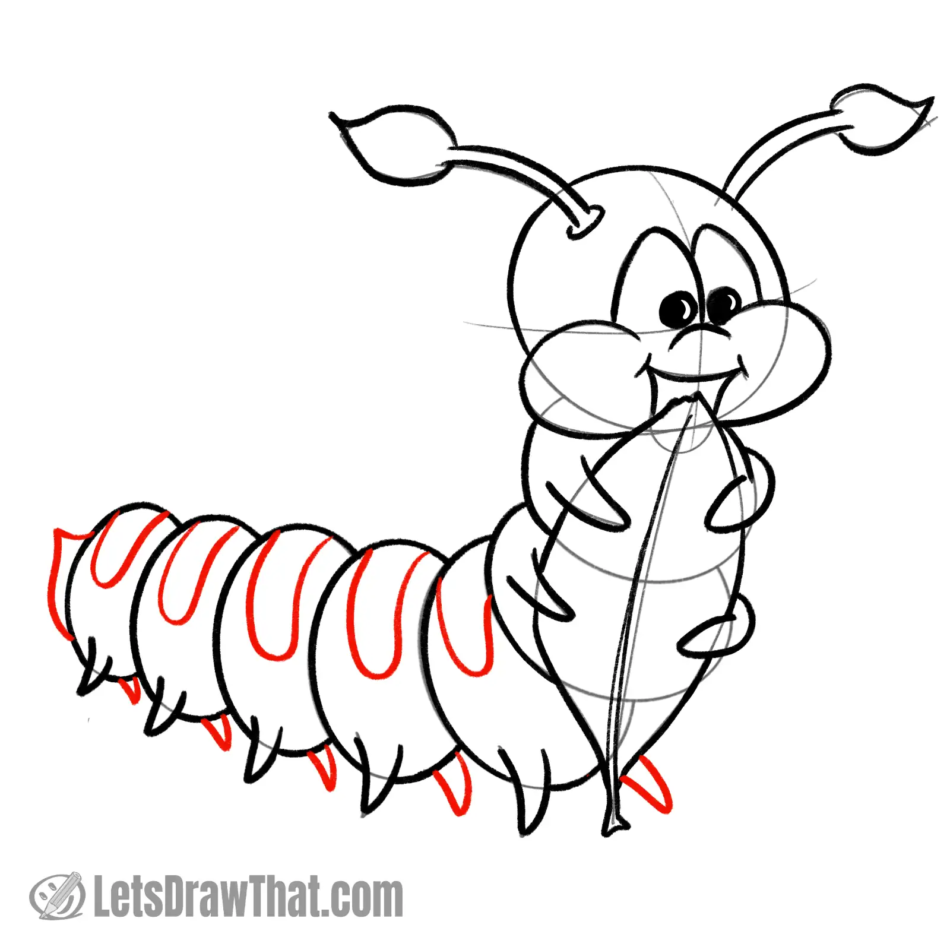
Finally, here are a few finishing touches to complete our caterpillar drawing.
First, let’s draw the second pair of feet – one extra leg for each body segment. They are the same “V” shape as the other leg, but they all come from behind the body and point more forward.
Then, let’s make our simple body more interesting and draw some body markings on each of the body segments. Those are slightly bent “U” lines from the top edge, scaled down as the body segments get smaller.
Finally, add a small “tail” on the last segment – this is a kind of bent “V” line.
Step 9: Add final details
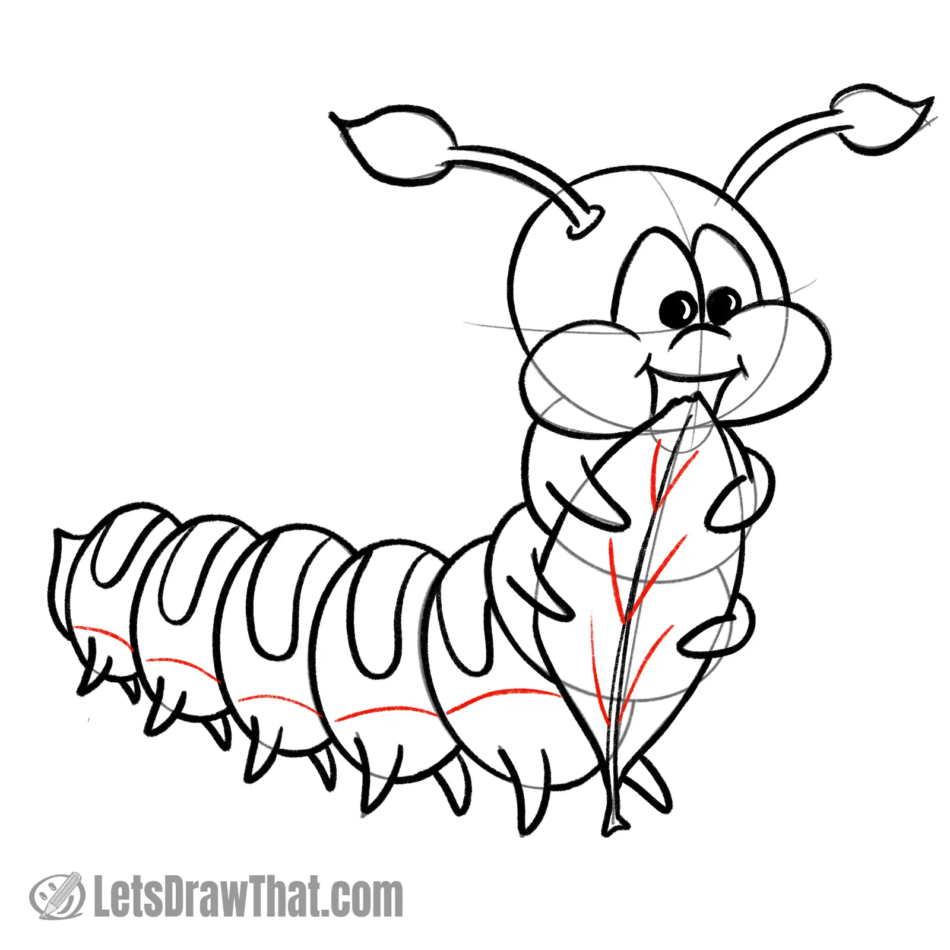
That is pretty much the caterpillar drawing completed. For the very last details, take a thin pen.
Draw some lines to suggest the veins on the leaf – those are three simple “Vs”.
Then, draw small curves at the bottom of each body segment to suggest the caterpillar’s “belly” – we will color those parts separately.

Caterpillar drawing finished
Caterpillar outline drawing

Here is the final result of our “how to draw a caterpillar” tutorial – the finished, cleaned-up caterpillar outline drawing, after erasing the sketch lines.
Our caterpillar drawing ended up being a cute, cheeky caterpillar girl with pigtail tentacles, who is happily chewing on a nice green leaf.
Caterpillar drawing coloured-in
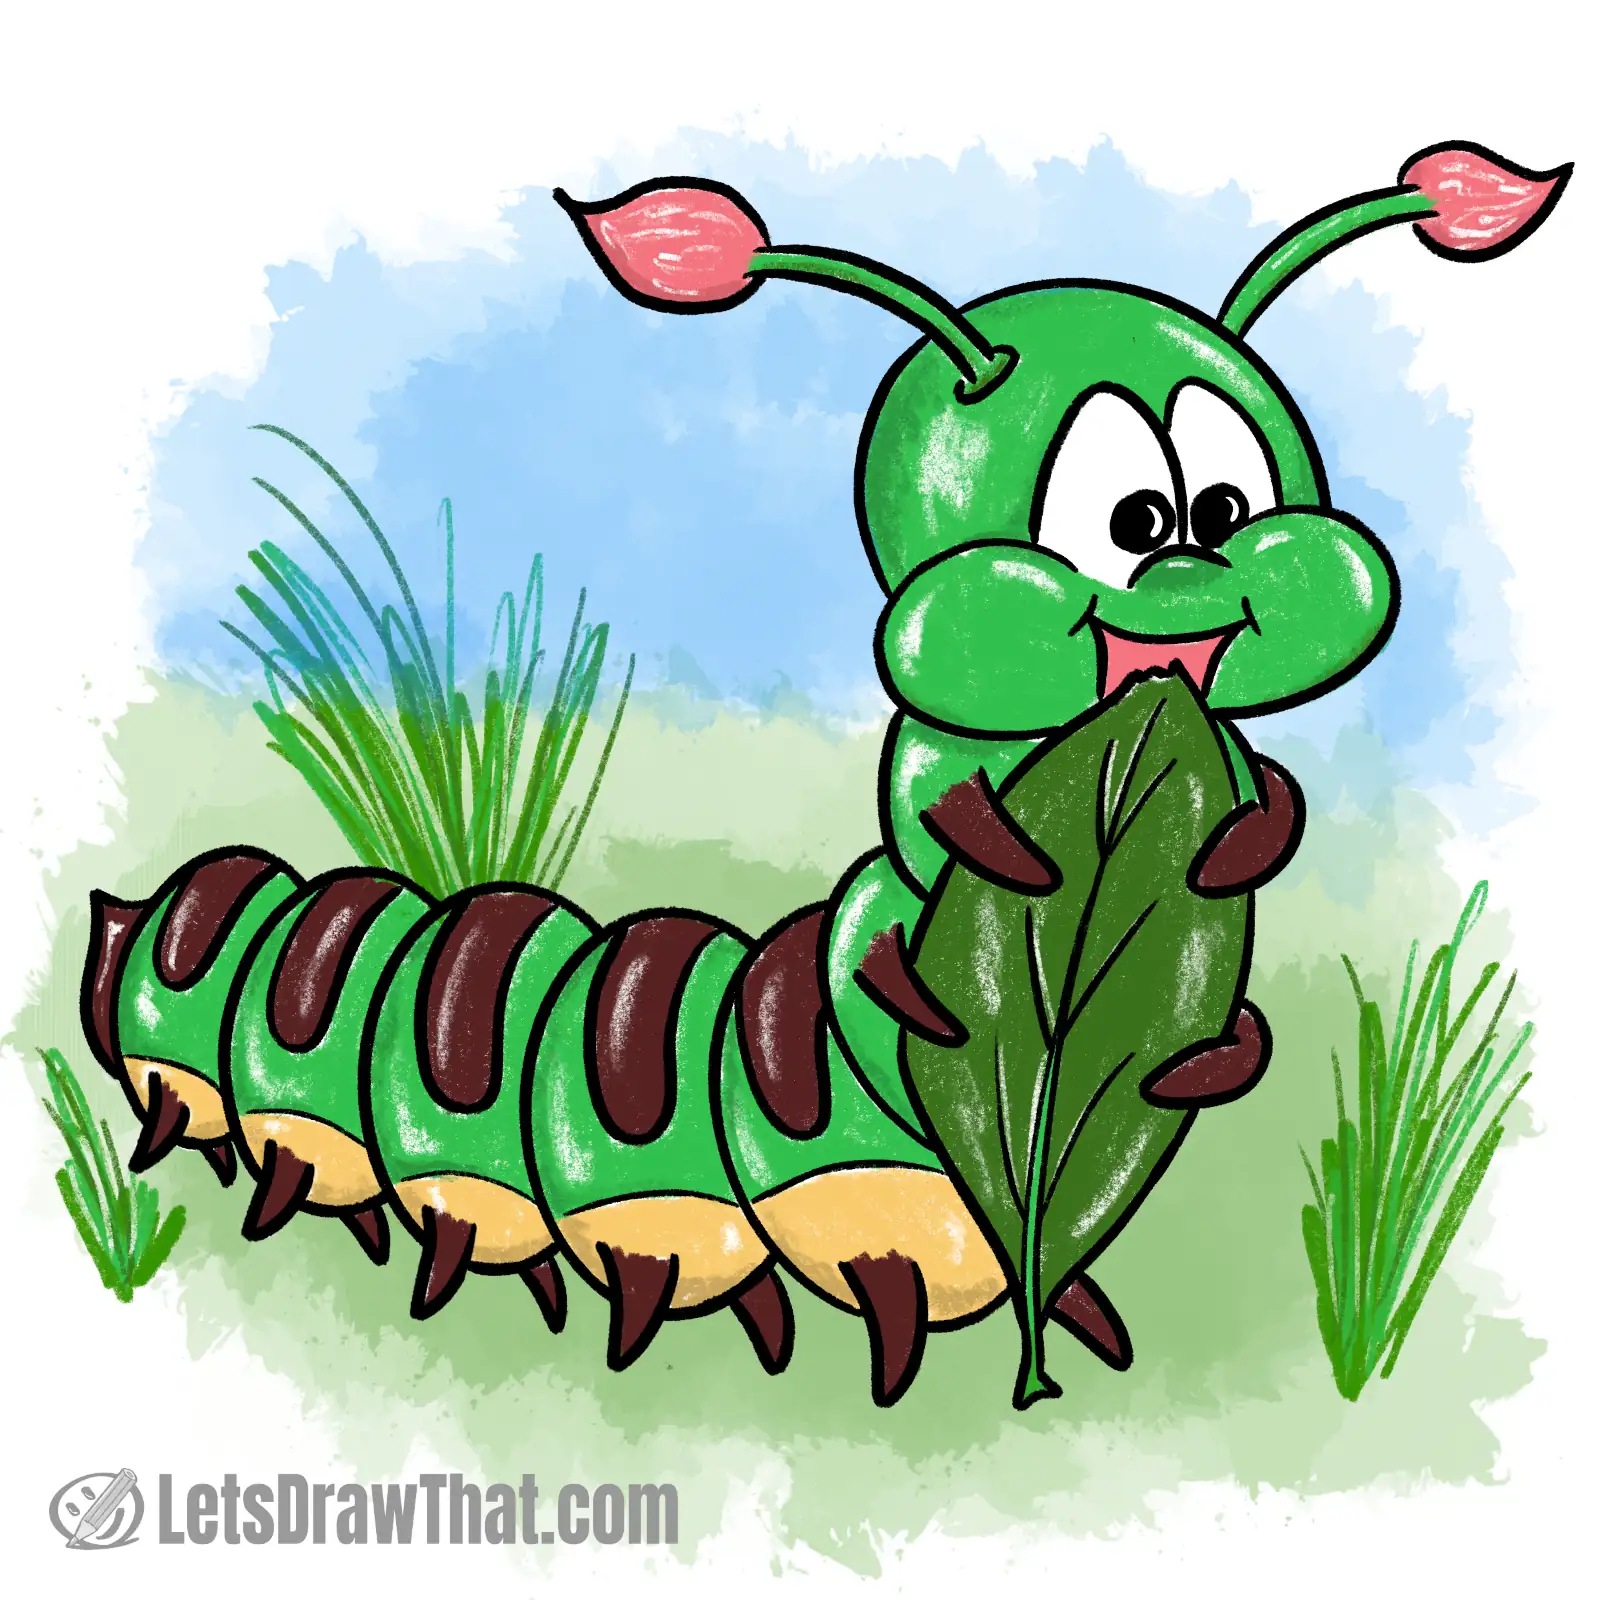
And here is the colored-in caterpillar drawing, the usual final step in our “how to draw a caterpillar” tutorial.
Our caterpillar has a bright green body with dark brown markings at the top. For some color contrast, we gave it a nice yellow belly and a pink mouth and pigtail ends.
Now, this is fairly toned-down coloring considering how colorful caterpillars can get, so feel free to get wilder with your colors.
Enjoyed our caterpillar drawing? Learn how to draw a butterfly next!