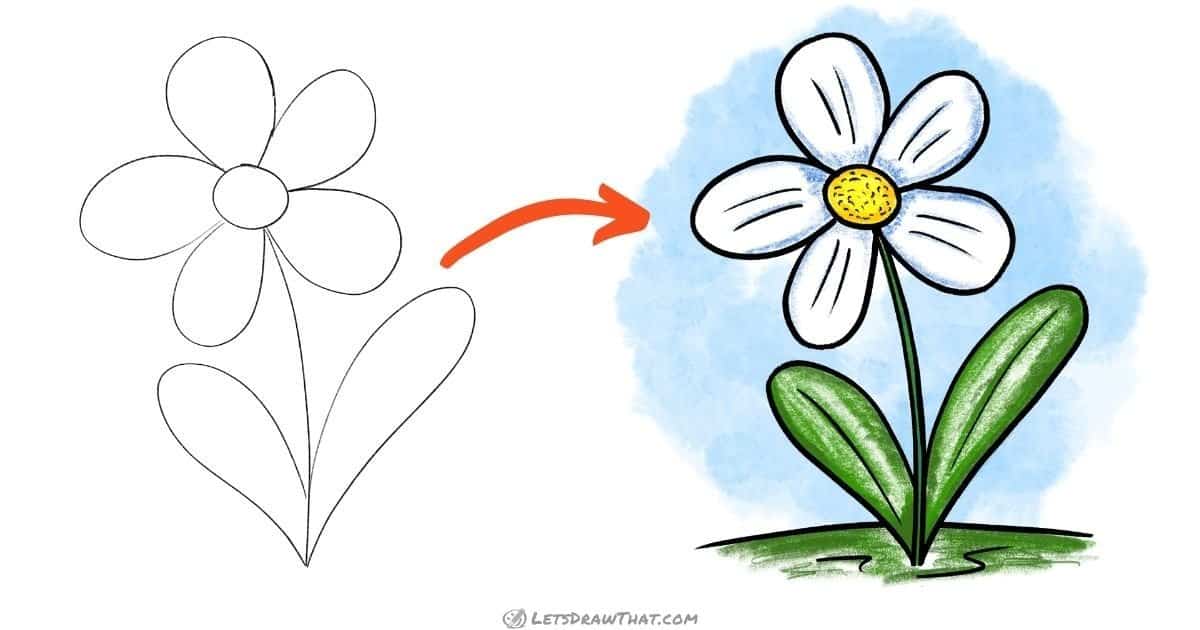
Simple flower drawing: sketch step by step
Step 1: Draw the stem and centre of the flower

Start your flower drawing with a simple small circle for the middle flower seed pod. Then draw a line down for the stem – it can be just a straight line, or slightly curved, like the one in our picture.
Step 2: Draw the flower petals

Next, draw the petals for your flower. Now, different flowers will have different petal shapes. To keep our flower drawing simple, we will draw simple “U” shaped petals.
Flowers also can have different numbers of petals – 3, 5, 6 or more. We have drawn five wider petals since that is the number many flowers have – and also it does not take too long to draw.
Step 3: Draw the flower leaves

The final part to finish our simple flower drawing is to add some leaves. Use the same “U” shapes as for the petals to draw two upside-down leaves. Place them nicely on the ground, one on each side of the stem.

Simple flower drawing: step by step outline
Step 1: Outline the stem and the centre

With the sketch complete, it is time to outline our flower. Start again by drawing out the centre circle and the stem. Now, since we are drawing black outlines first and colouring the picture later, we have doubled up the stem here, so we can colour it in after.
But if you want to keep the drawing even simpler, you can just thicken the same single line for the stem. If you are planning to draw the flower in colour, use a green pencil for the outline.
Step 2: Outline the flower petals and the leaves

Next, outline the flower’s petals and leaves. Again, you can draw them out in colour right now if you wish, rather than having a black outline and colouring the flower later.
Step 3: Add final details to the flower

Our very last step is to add a few details to improve the look of our simple flower drawing. Draw a single midrib line for the two leaves. Add two short lines to each petal, to suggest the folds in the petals. Finally, draw some dots in the middle circle to suggest the seeds.
Oh, and since flowers usually do not float in space, let’s plant it on some ground – just a simple straight line for the ground, with a little squiggle around the stem to suggest some loose earth.
Simple flower drawing finished
Simple flower drawing: finished outline drawing

Here is the finished outline drawing in one colour. While the flower was really easy to draw, it is still looking very nice.
Now, of course, you can draw many different flowers using this very same simple technique: just add more petals and play with the different petal and leaf shapes. Try some narrow petals, or maybe some triangle-shaped ones, add some wavy edges or pointy leaves – you will have a garden full of different flowers in no time.
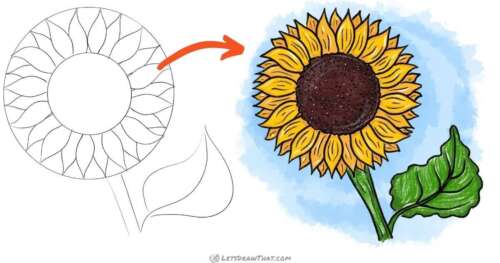
And if you are patient, try your hand at drawing the sunflower next – that one has whopping 48 petals organised in three layers!
Simple flower drawing: finished drawing coloured-in

Our usual last step is to colour in the drawing. Keeping it simple, we have left the flower white, just with some light blue shading (the same trick that we have used for shading the white snowman or diamond).
The stem and the leaves, as well as the grassy ground our flower is planted in, are of course green. And some light blue background for a nice sunny day sky.