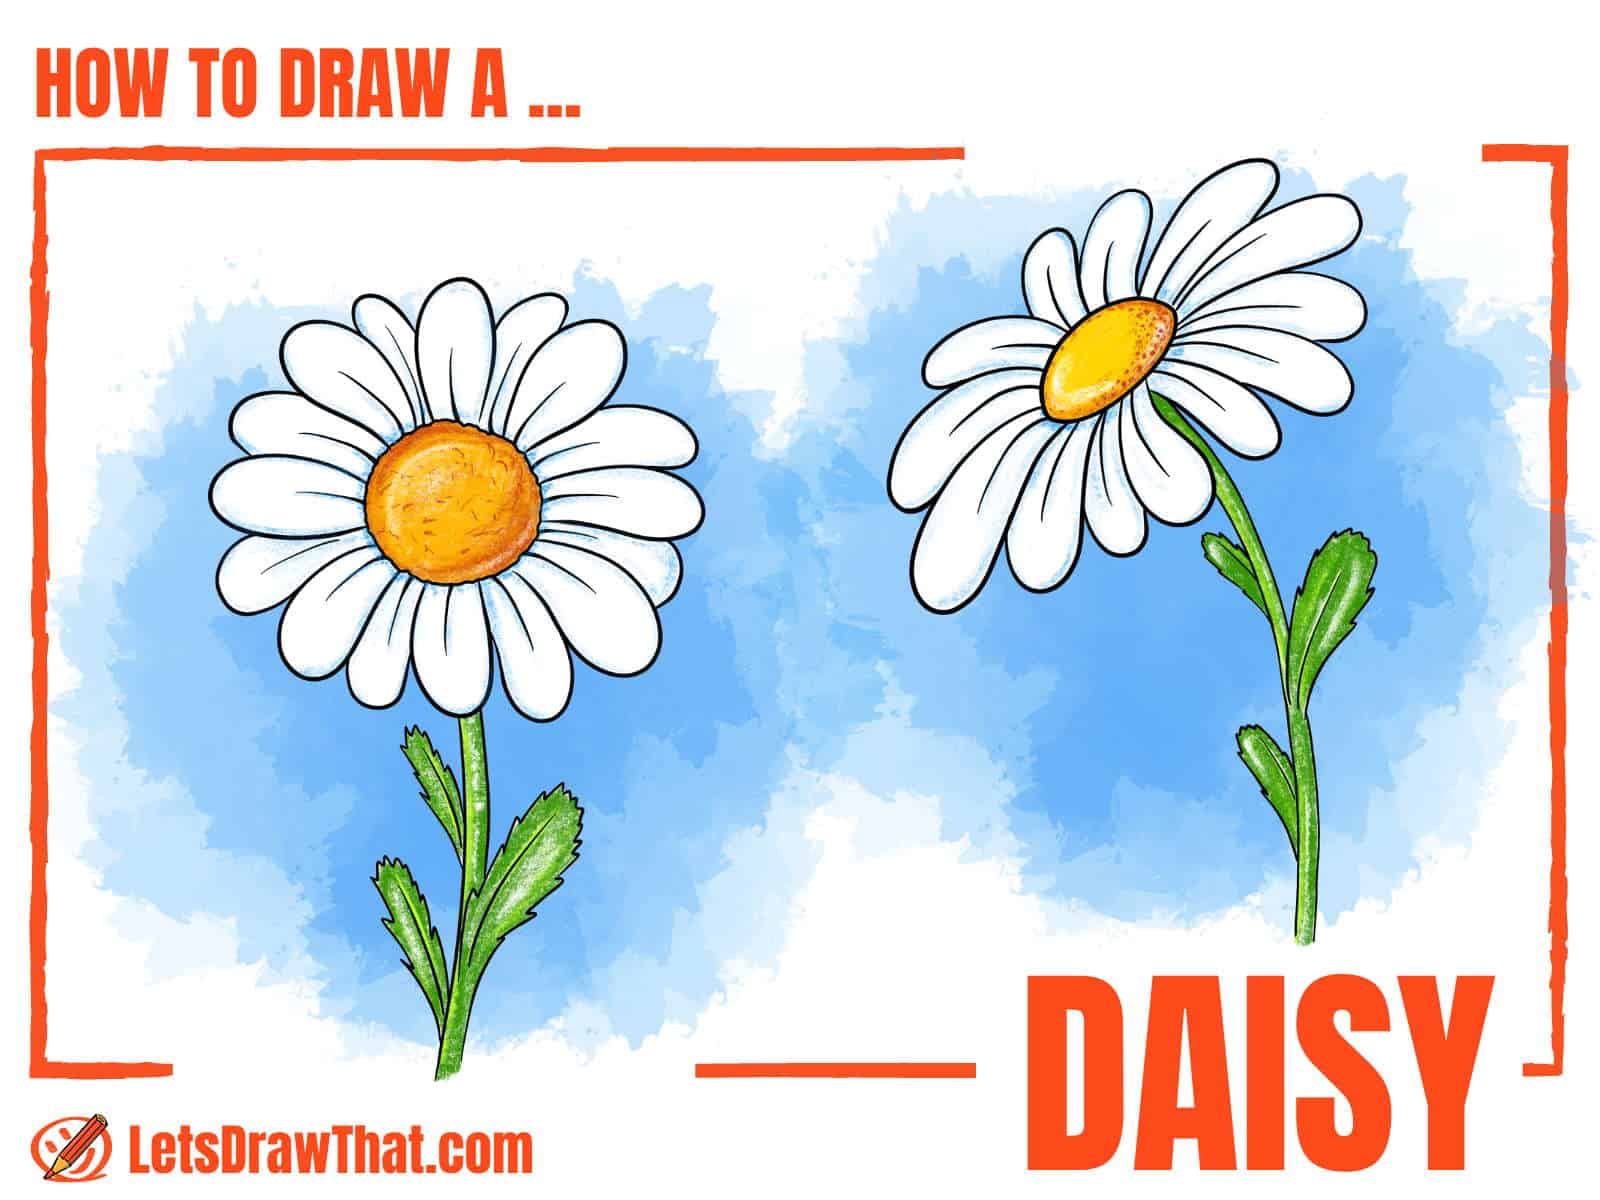
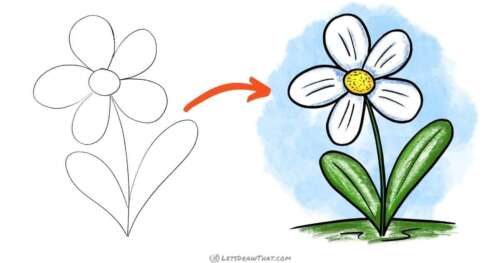
How to draw a daisy: an easy front view
Our first daisy flower is drawn in a simple front view. We are using some very simple shapes – a circle and “U” lines – to build the flower. We then improve on the simple “U” shaped leaves by adding some zig-zag edges, to finish with an easy yet beautiful daisy drawing.
How to draw a daisy in front view - sketch, step by step
Step 1: Sketch the flower guideline circles and the stem
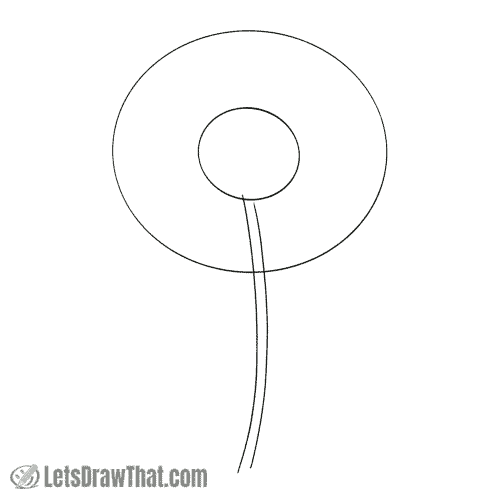
As usual, we start our how to draw a daisy tutorial with a few easy shapes to define the base proportions.
Draw a small circle for the middle of the flower, or the disc floret. Next, draw a larger circle centered around it. We will use this as a guide to size the petals.
Finally, draw two slightly bent lines next to each other down from the center for the stem.
Step 2: Sketch the leaves

It’s time to add some leaves to our daisy flower! Draw two smaller U-shapes on the left side of the stem, and one larger one on the right. Notice how they narrow down and bend to attach to the stem.
Step 3: Sketch the first four petals
Continuing on with simple “U” shapes, draw the first four petals pointing up, down, left, and right, all attached to the flower center circle.
Notice that we are slightly changing the “U” shape for each petal – some are a touch wider, some slightly bent – to add some variety to the daisy flower drawing.
Step 4: Add four more petals in between
Round two: draw more “U” shaped petals. Add an extra petal into each space between our first four petals, again with some variety in the “U” shape.
Notice how the two bottom petals have more of a curve to them, to show that gravity is making them droop.
Step 5: Add a second layer of petals behind

Let’s do that again! Round three of adding more petals between the existing ones to finish off the sketch. This time, we are just filling up the gaps with partial shapes, which makes these petals look like they are growing on a separate layer behind the first lot.
Again, notice the variations in the shape. This time we are also intentionally drawing some longer petals crossing over the circle outline, as well as shorter ones with a small gap, not quite reaching the sketched circle.
How to draw a daisy in front view - outline, step by step
Step 1: Draw the disc floret and the top layer of petals

Time to start outlining the daisy drawing. Let’s start with the part of the daisy that everything else attaches to – the middle circle.
The small improvement from the sketch here is drawing the circle with a wobbly line to mimic the bumps in the center of the flower. Those are actually lots of very tiny flowers in and of themselves!
Next, outline the eight petals from our first two rounds of petal sketches – not much to say here, you’ve already gotten lots of practice for them in the sketch.
Step 2: Draw the second layer of flower petals
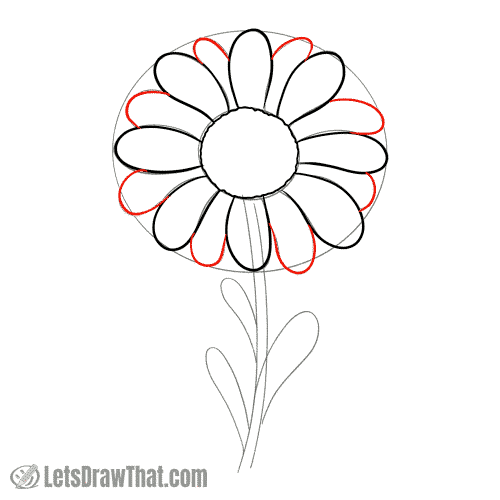
Finish off by outlining the rest of the daisy petals. Again, since we have already done all the hard work, these are just a straight outline of the sketch.
Step 3: Draw the first leaf
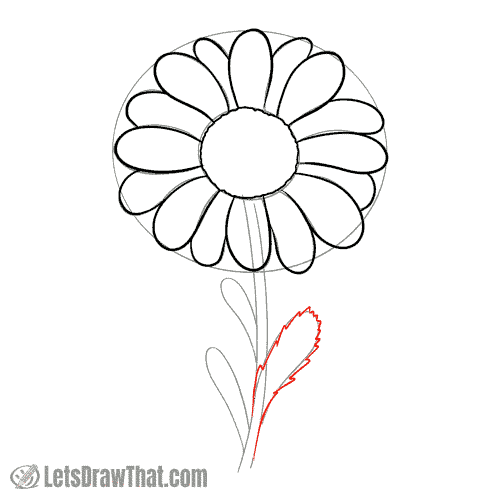
Let’s move on to the leaves. We’re starting with the large one that’s tilted to the right since that one is drawn as if it is in front of the stem.
The improvement here is a bit like the one we made to the center – we make the leaf outline spiky with small zig-zags. Check out these pictures of an oxeye daisy leaf for some inspiration.
Step 4: Draw the stem and the remaining leaves

Next, draw the stem – the two straight lines that connect the outlined leaf to the blossomed part of the flower.
Finally, finish the daisy drawing by outlining the last two leaves with a similar spiky zig-zag line.
Step 5: Add final details
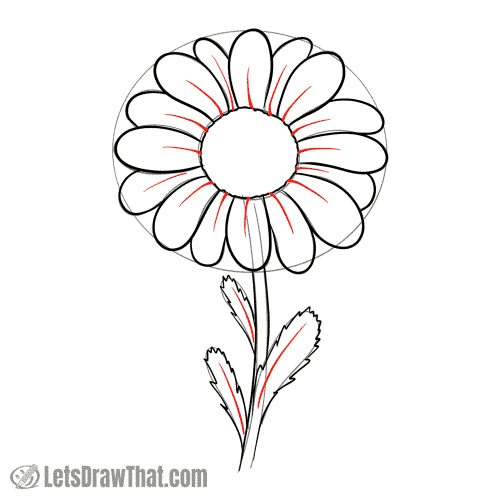
Before we finish the first part of our how to draw a daisy tutorial, here are some last improvements to our drawing:
Add a thin line to the middle of each of the petals to mark the crease in each of them.
Then draw a similar center line in each of the leaves for the midrib.

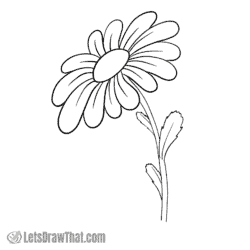
How to draw a daisy in front view - finished drawing
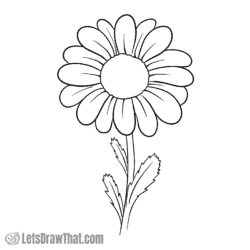
How to draw a daisy: finished outline drawing

Here is the completed daisy flower drawing after we have cleaned up and erased the sketch lines.
That is it – you have learned how to draw a daisy from a few circles and a bunch of “U” lines. That’s been fairly easy, hasn’t it? Yet, the result is a beautiful daisy flower from a front view.
Daisy drawing colored-in
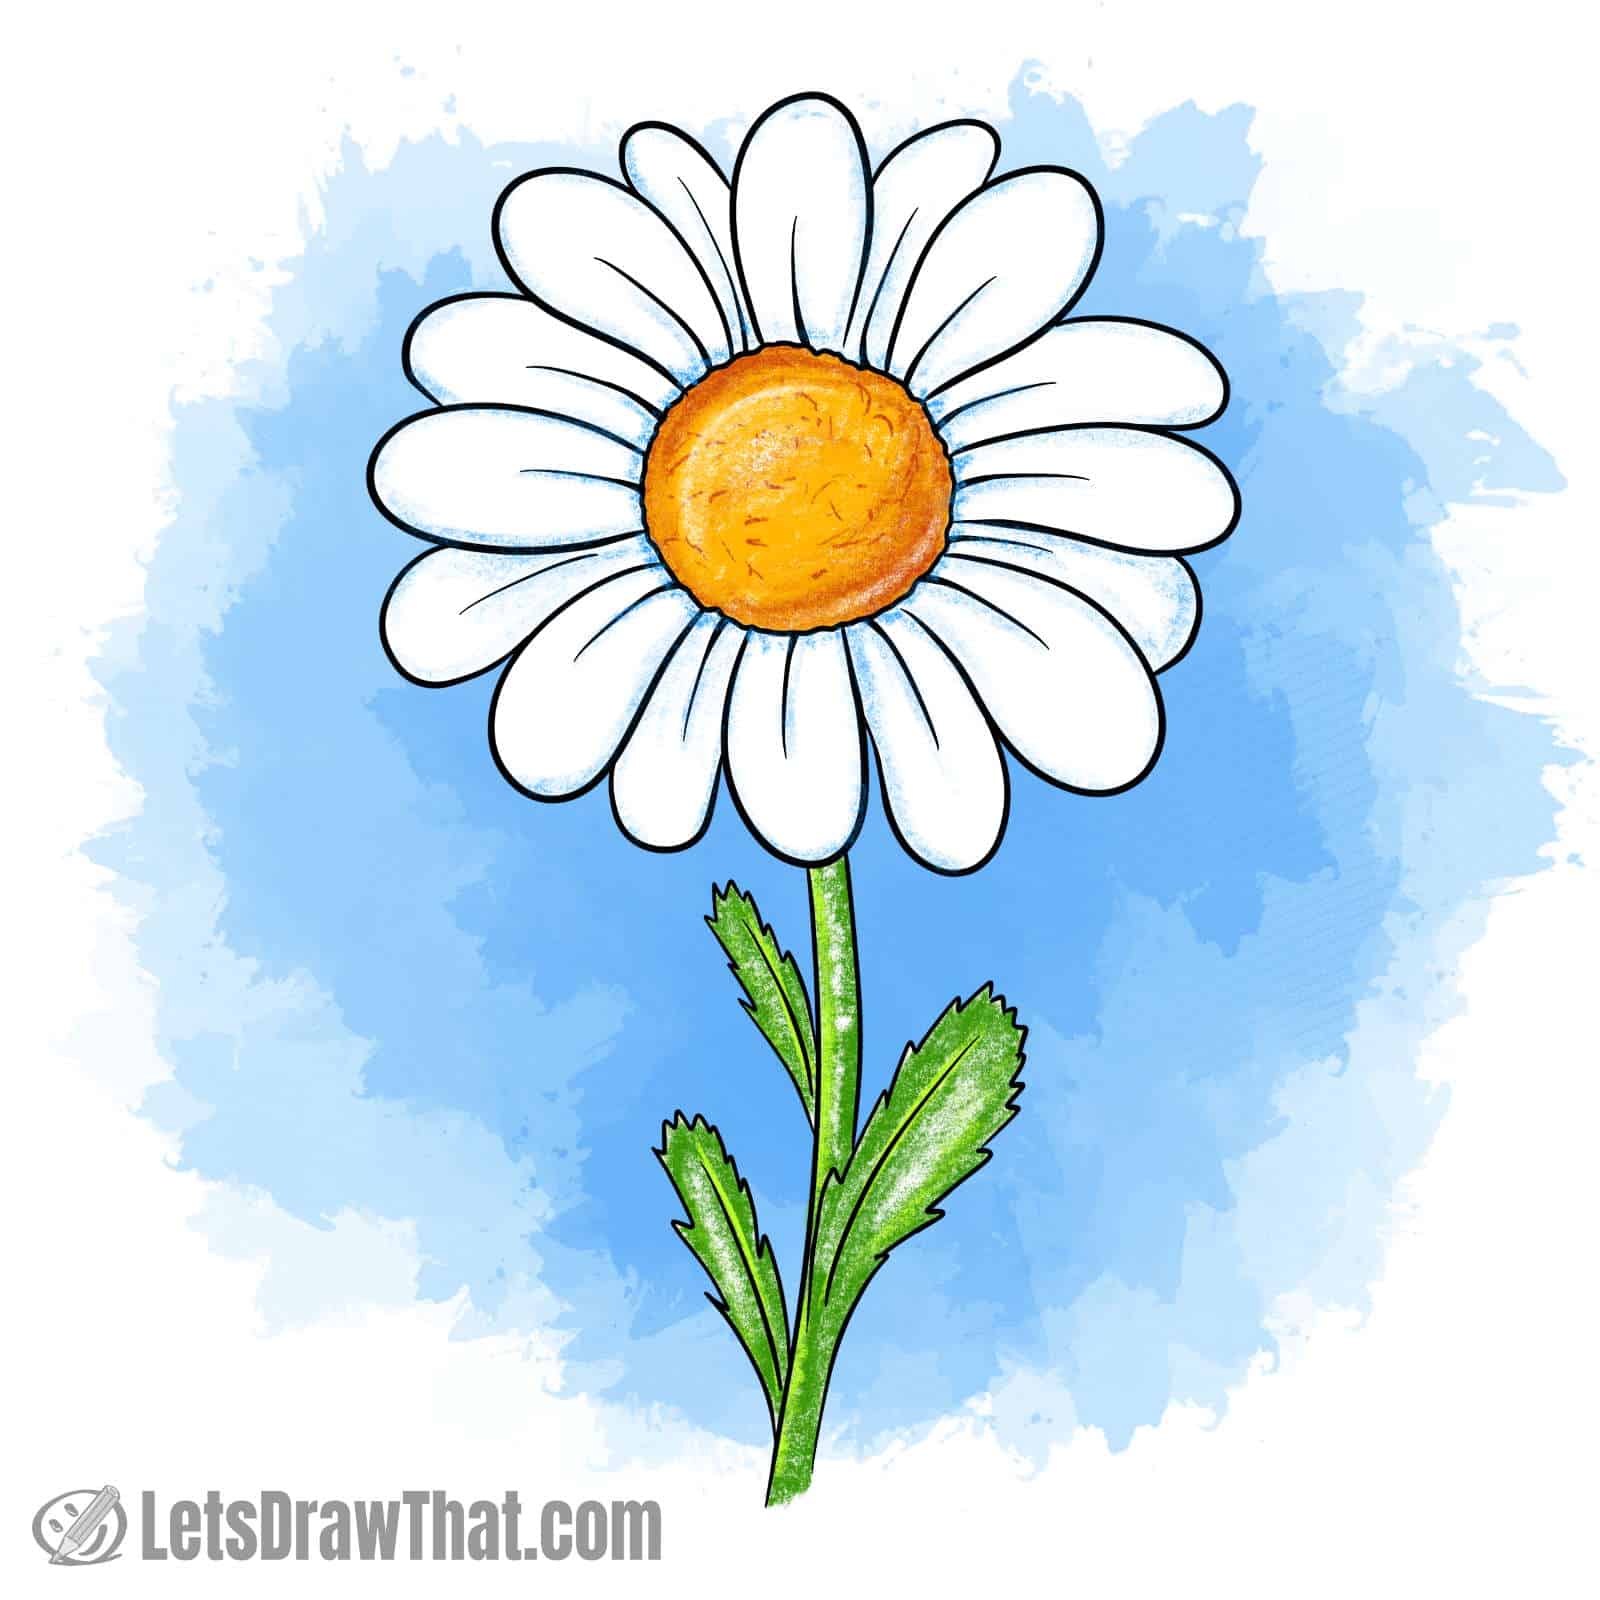
The final step is to color in the daisy drawing. Even coloring the daisy is easy. Common daisies are white – that is half of the flower drawing colored in. All we are doing for the flower petals is adding some light blue shading – the same “white shade” trick we have used for the snowman drawing and many others.
The stem and leaves are of course green. Notice the left-out “highlights” and some darker green shading around the edges.
How to draw a daisy flower: side angled view
Now that you know how to draw a daisy from the front view, let’s do a simple variation drawing the flower from an angled side view. As you will see, you can use the same simple shapes to build the flower, only the perspective on the circular shapes is changing.
How to draw a daisy flower in a side view - sketch, step by step
Step 1: Sketch the stem and the centre of the flower
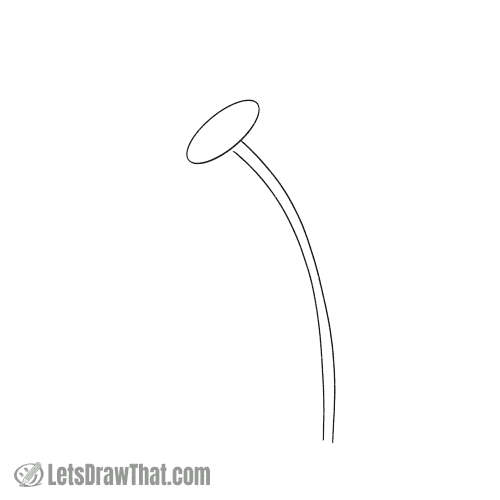
OK, here we go again, starting with the same simple flower center and a double-line stem.
The difference from our straight view is that the circular center of the flower becomes an oval, or ellipse, when viewed from an angle.
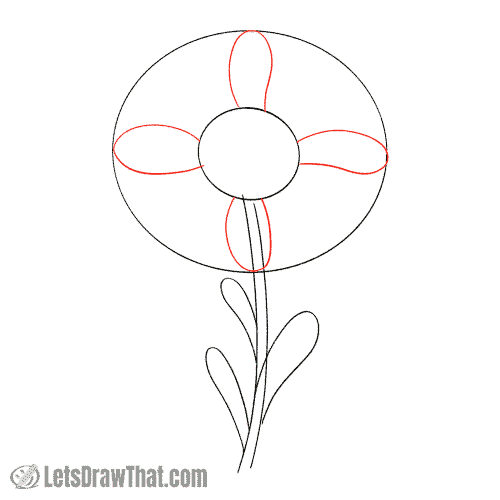
Step 2: Draw first four daisy petals

Let’s start adding some petals to the daisy flower drawing. Start with the one on the left, attached to the far edge of the oval. That one is the largest and is drawn with the familiar “U” shape. Notice how we are bending the “U” to suggest the petal is slightly drooping to the ground.
Then add the remaining three petals. Those are basically a “J” line, as we are trying to suggest the petals are overlapping each other.
Step 3: Finish the bottom row of petals

Next, let’s complete the bottom row with four more daisy petals. Those are again either “U” or “J” shaped lines, just this time bending the other way round – again, to suggest the petals slightly drooping towards the ground.
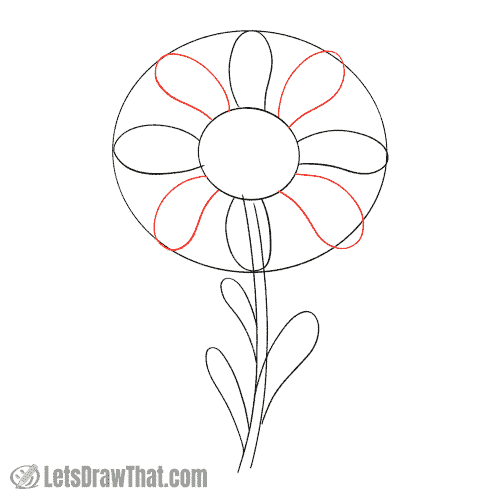
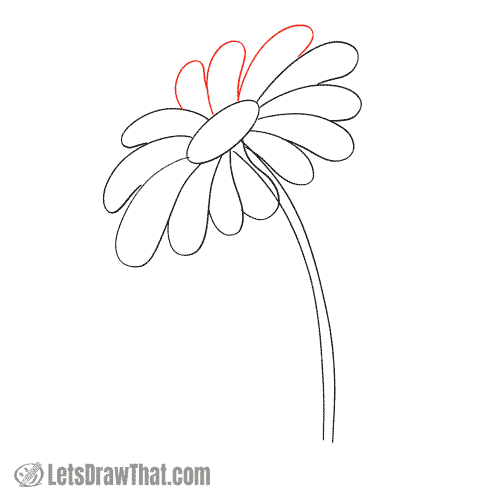
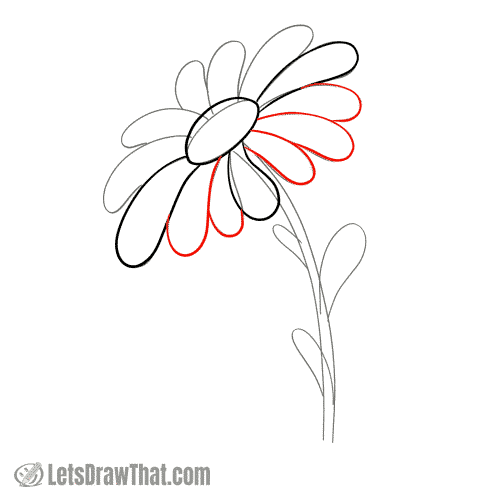
Step 4: Start sketching the upper row of petals

Let’s keep adding the petals to the top of the flower. Here we could fit just two more “J” line petals to the top left quarter of the flower.
As before, try for some variety with your petals – do some slightly longer and some shorter, wider and thinner, some bent more and some less.
Not only it is easier to draw each petal slightly different, but your flower will also look more natural – double win.
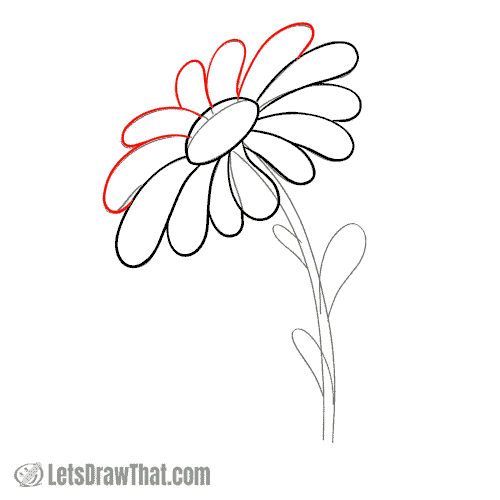
Step 5: Finish the daisy flower
Finish the daisy flower with the last three petals for the top right quarter.
Step 6: Sketch the leaves on the stem
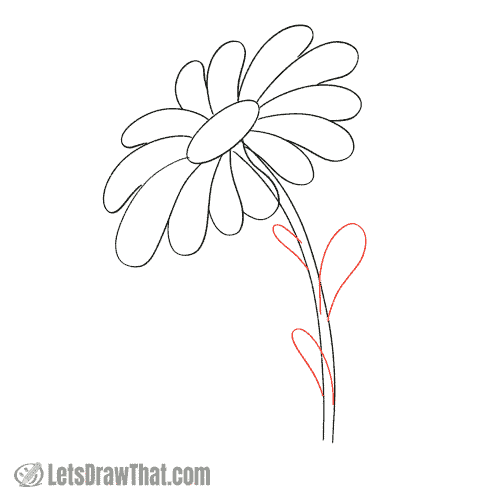
The last missing piece is to add some leaves to the stem of our daisy flower. Again, these are the same “U” lines as for our front view above, nicely narrowing down to attach to the stem.
How to draw a daisy flower in a side view - outline, step by step
Step 1: Outline the center and first petals

With the sketch complete, it is time to start outlining the daisy drawing.
Start with the center of the flower first. We are improving the shape here a bit. The lower half of the oval is copied from the sketch. The upper half is a touch more bumped out, to make sort of a “D” shaped center. This makes the center look more like the top of the round ball, rather than just a flat circle from an angle.
Next, outline the first three petals from the sketch.
Step 2: Draw the remaining petals on the lower half
If you have a keen eye, you have noticed we are outlining the petals in a different order than we sketched them. The goal here is to add a variety to the way the petals overlap.
Use full “U” lines for the petals that you want to appear at the top, and the partial “J” for those hidden on a lower layer.
Step 3: Finish drawing the daisy flower petals
No more swapping or layering tricks here. For the upper half of the daisy flower, we are simply outlining the petals from the sketch.
Step 4: Draw the stem and leaves
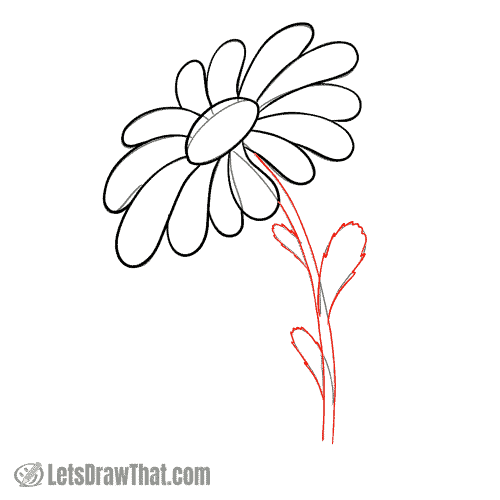
Draw out the stem and leaves. These are exactly the same as the first daisy drawing, so we are going fast here.
Again, use the zig-zag line for the leaves. You can choose which of the leaves are in front and which are behind the stem, and outline them accordingly.
Step 5: Add final details

Same as before, the last improvement to our drawing is to add thin center lines to the petals and leaves for the folds and midribs.
How to draw a daisy flower: finished drawing
How to draw a daisy flower: finished outline drawing
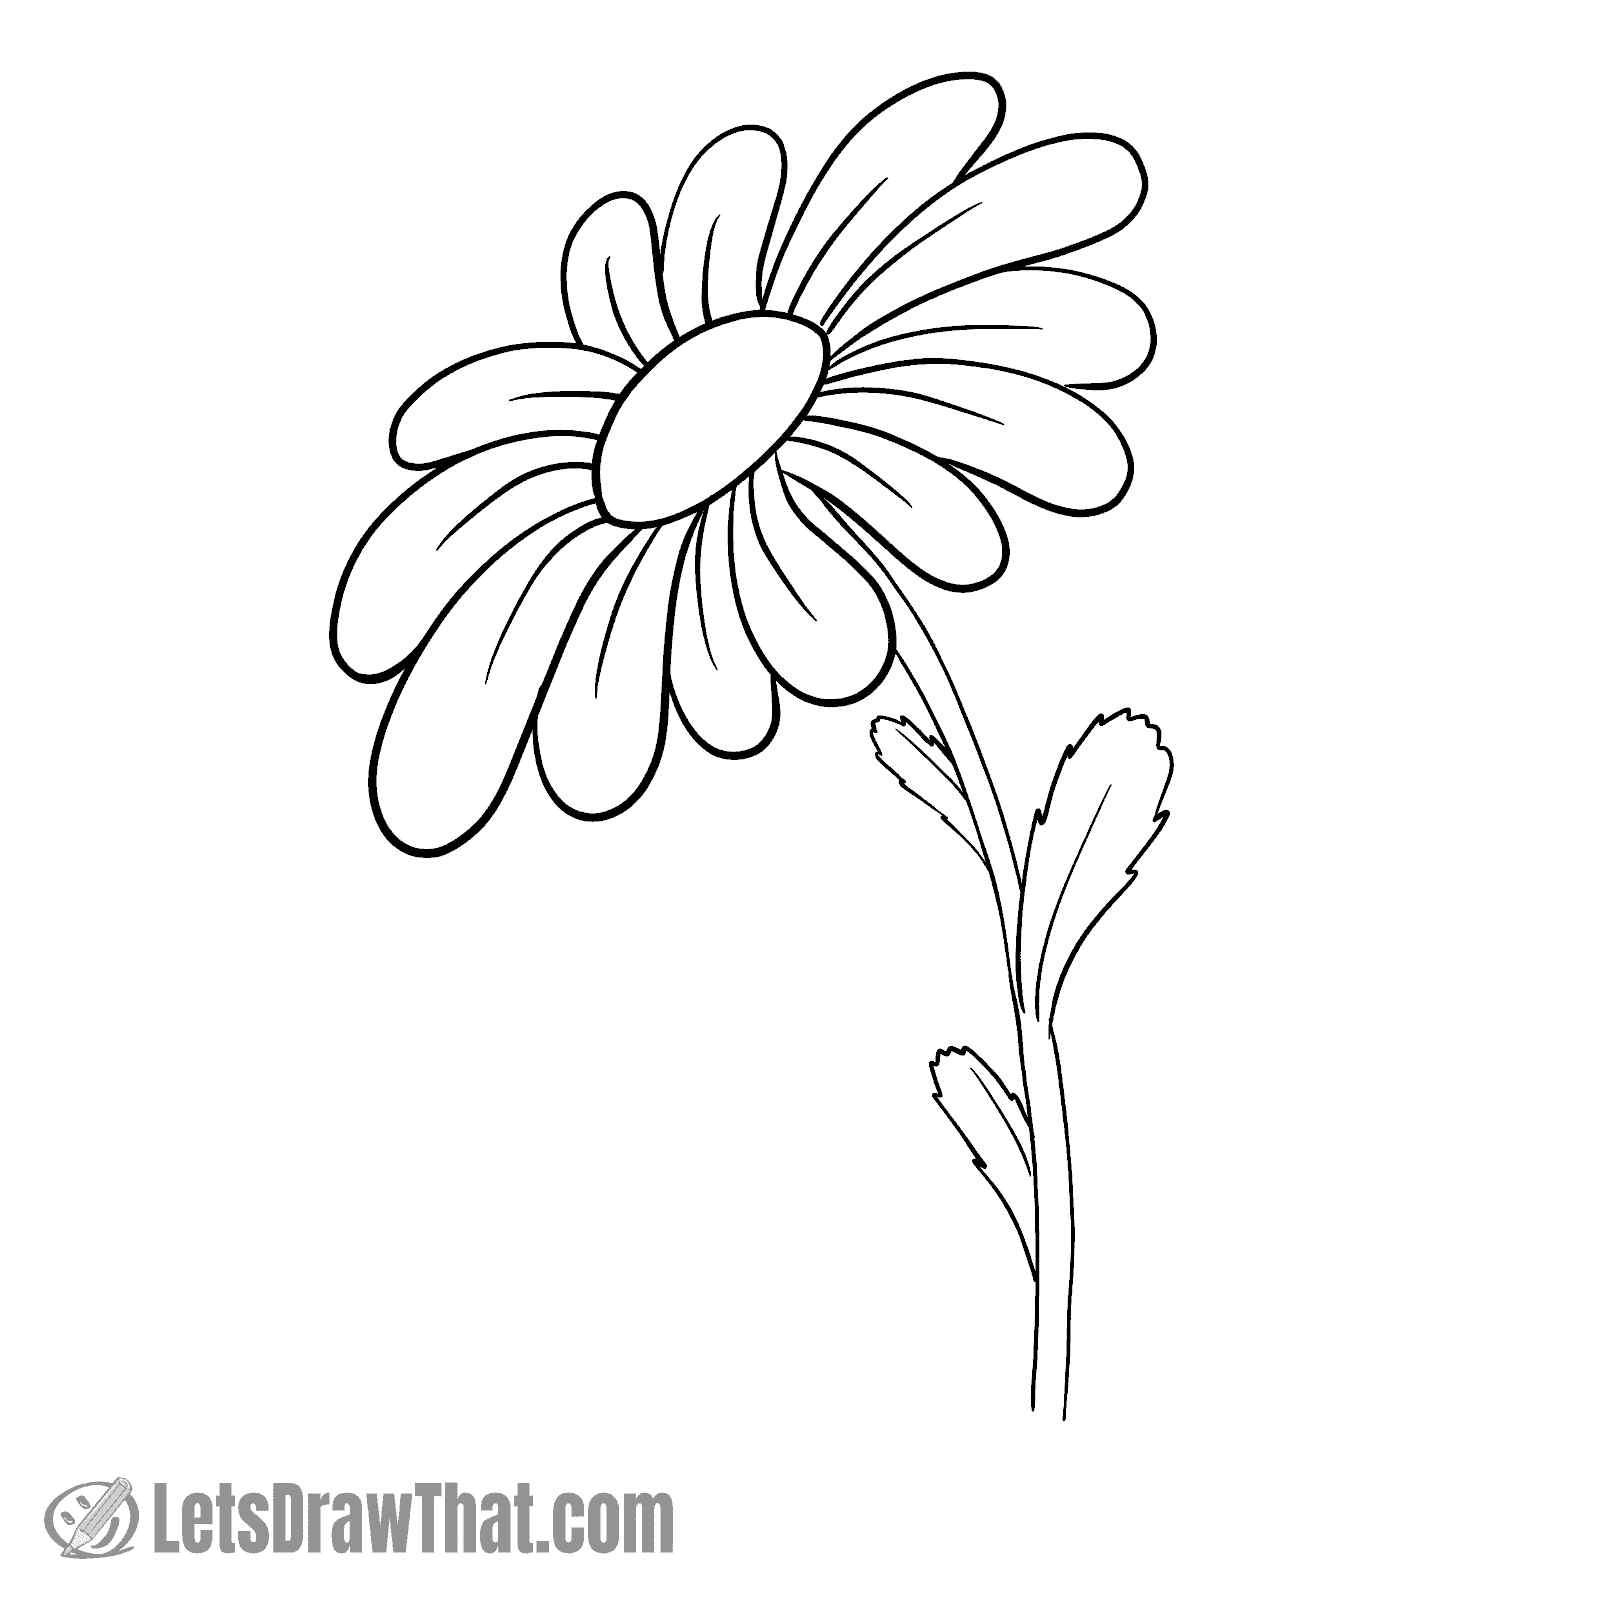
And here is the result of the second how to draw a daisy flower tutorial after we have erased the sketch lines. As you see, drawing a daisy from a side view is not much different nor more challenging than the first simple front view.
However, the flower looks more exciting and natural. It also pops out into 3D space with just a few simple changes.
Daisy flower drawing colored-in

Here is our second daisy flower drawing colored in. Again, we have left the flower white with some light blue shading. The stem and leaves are colored green, using light and dark green for some variety, with a few white highlights left out.
The small change is in coloring the yellow center of the flower. We are using a darker orange to add some dots along the lower edge to suggest the texture – those are the many tiny flowers, remember? The darker shading also better shows that the center is rounded, rather than flat.