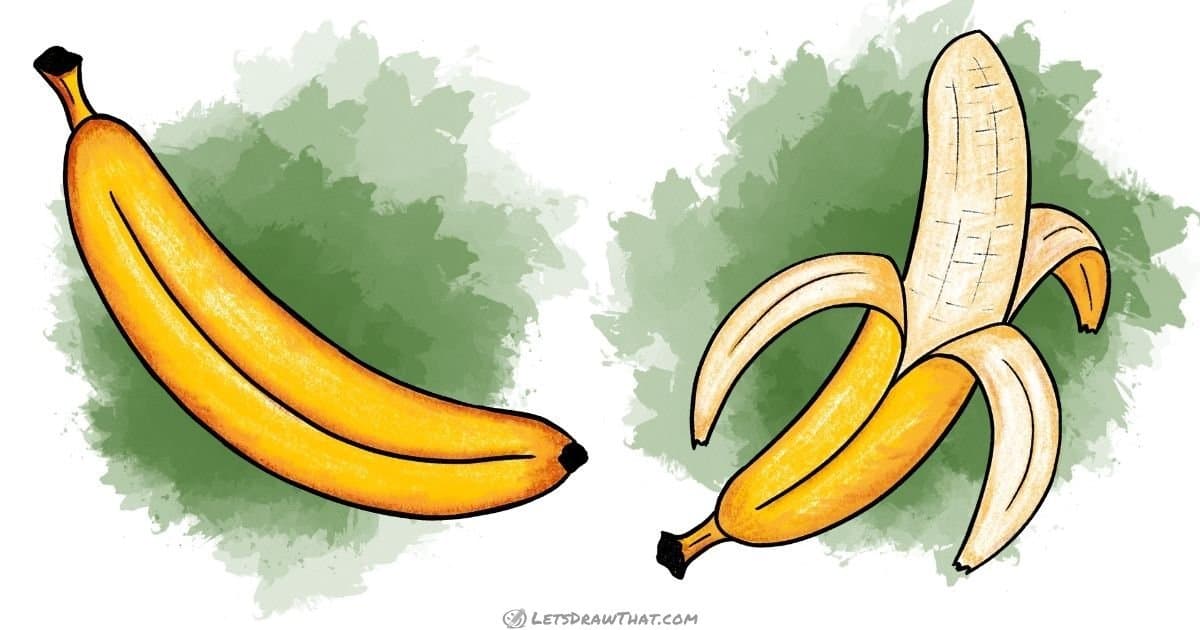
How to draw a banana with the skin on

First, let’s learn how to draw a banana with the skin. This is a very easy drawing to warm you up, which will teach you how to draw the overall banana shape.
How to draw a banana with the skin on: base sketch
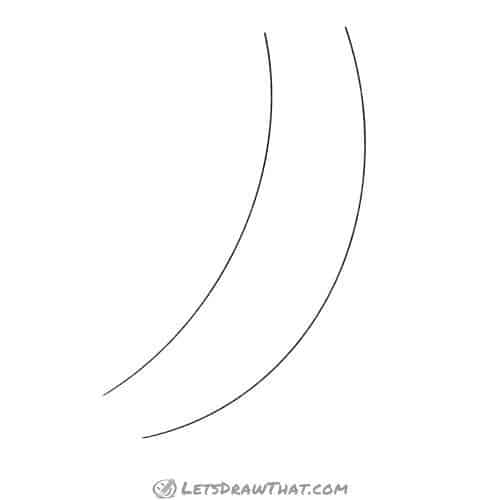
Step 1: Draw two banana-shaped lines
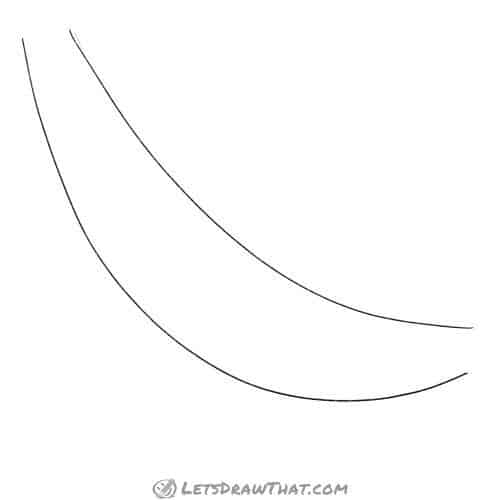
To draw a banana, you start with two banana-shaped curves. Seriously!
Draw the flatter top line first. Then add the bottom one more curved out – you are aiming for a nice fat middle and two narrower ends.
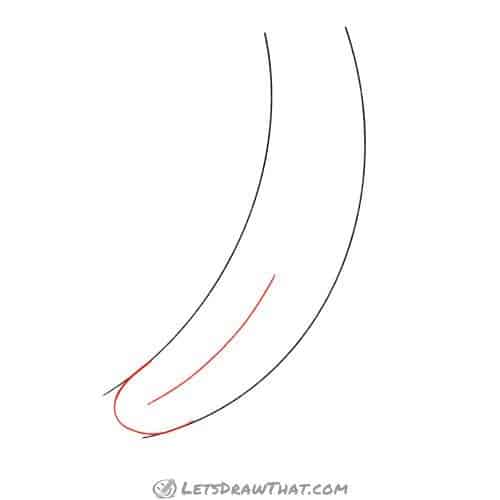
Step 2: Draw the banana ends

Now add the banana ends. The top left one is a curve – tighter at the upper line, and smoothly transitioning into the lower side. This will be the round end where the banana stem connects.
Next, draw the pointy end of the banana. Start with a small rectangle standing on one corner at the end of the bottom banana edge. Then extend the side pointing back into the banana top with a straight line.
Step 3: Draw the banana stem

Let’s finish off our sketch by adding the stem to the banana. Draw another one of those sideways rectangles, and connect it with two slightly curved lines to the banana body.
How to draw a banana with the skin on: outline the drawing
Step 1: Outline the banana shape
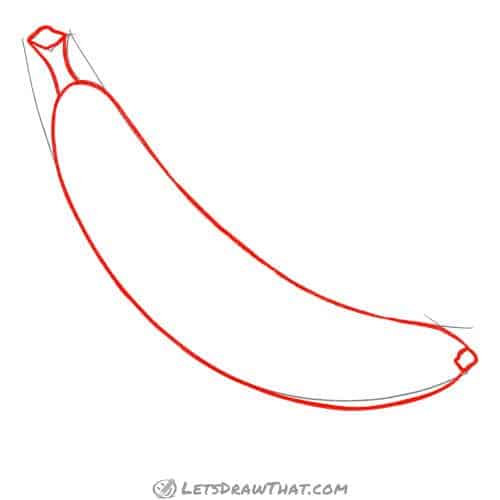
Since this is a pretty simple drawing, let’s outline the whole banana in one go. Notice the few small changes to the sketch: Both of those small rectangles at either end are outlined with some jaggy lines, to give them a more natural shape.
We have also slightly fattened out the banana at the pointy end – similar to the upper half, the bottom line starts as an extension of the lower side of the small rectangle tip, before smoothly transitioning onto the sketch.
Step 2: Add final details

Our banana drawing is missing one last line – a split curve in the middle, to suggest the edge in the middle of the banana. As a very last detail, colour in the two square ends.
How to draw a banana with the skin on: finished drawing
How to draw a banana with the skin on: finished outline drawing
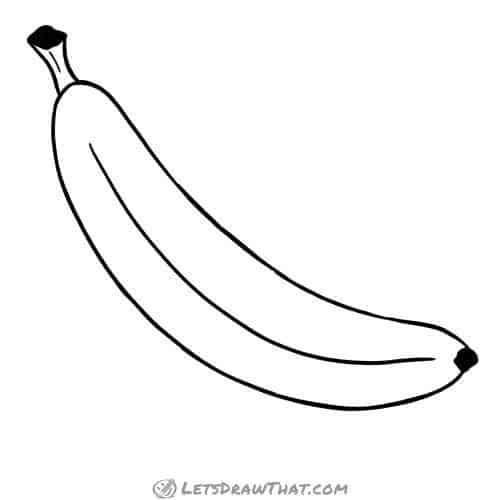
Here is the completed banana outline, once we have erased the sketch lines. As you see, learning how to draw a banana with the skin on is easy.
How to draw a banana with the skin on: finished drawing coloured-in

Even colouring the banana is simple. Just use some yellow to colour in all of the skin. Then use some darker yellows, oranges or light browns for any shading.
For a fresh, not yet ripe banana, you can even add some light green. For some more colouring inspiration, check the picture of different banana ripening stages at the top of this banana bread recipe.
How to draw a peeled banana
Now that you know how to draw a banana with the skin and can draw the base banana shape, let’s make the drawing more interesting by peeling the banana skin. You will learn the simple way how to draw the peels as they fold over themselves to make your drawing pop out into 3D.
How to draw a peeled banana: base sketch
Step 1: Draw two banana-shaped lines
Not surprisingly, our second banana starts with the same two banana curved edges as the previous drawing. Only this time we are pointing the whole banana up.
Step 2: Draw the lower banana tip
Next, draw the bottom banana end. Same as before, join the two sides with a nice smooth curve that transitions from one to the other.
Then add a short line in the middle of the banana – this will be the edge on the skin. Since the upper half of our banana will be peeled off, the line only goes less than halfway up through the centre of the banana.
Step 3: Draw the banana peels

Time to draw the two peels on the side. Start with the lower edges first. Draw a smooth transition curve from the centre line and fold it back down along the sides of the banana.
Next, add the upper edges. These follow the lower edge lines, starting on the side of the banana. Draw the peels wider at the top and narrowing into the tip. Leave a small gap between the lines at the tip – that is where the banana skin meets the small black rectangle at the top.
Step 4: Complete the side peels and draw the rear peel edge
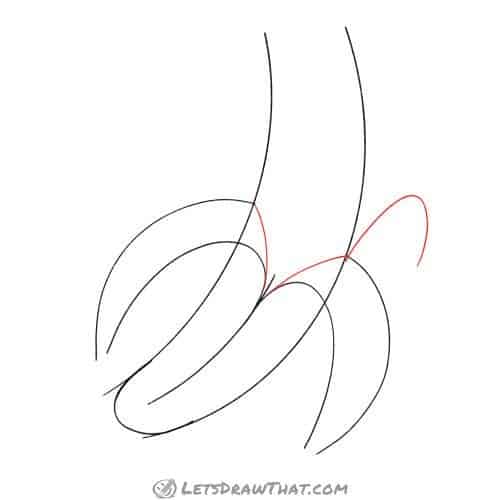
Close the two side peels with short lines for the upper edge. Those will be slightly curved between the point where the upper peel edge meets the banana and the split on the centerline.
Then add the guiding edge line for the last peel that folds back. This one starts on the right edge of the banana where it meets with the top of the right peel and folds back and down in a nice smooth arc.
Step 5: Finish the rear peel and draw the banana stem

Here comes the tricky 3D illusion. Since the rear peel folds over itself, complete it with two short lines – the first one at the top between the banana edge and the highest point of the fold-back arc. And a second short one to finish the tip at the bottom. (As they say, a picture is worth a thousand words.)
Finally, draw the banana stem exactly the same way as on the first banana: a small diamond square connected by two lines to the banana body end.
Step 6: Draw the peeled banana
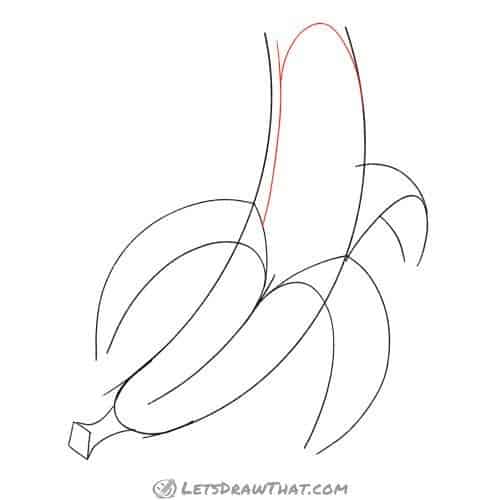
The very last thing we need to draw is the actual peeled part of the banana. Now the peeled banana will be slightly narrower than the banana with the skin on. So start by marking the left edge of the peeled banana – just a parallel curve slightly in from the edge we already have.
Then draw the upper end of the banana with a nice smooth curve that joins the two edges.
That is the banana sketch done!
How to draw a peeled banana: outline the drawing
Step 1: Draw out the side peels

Start outlining the banana by drawing out the two side peels and the centreline. The only small differences from the sketch are the top sharp corners on the peel slightly rounded off, and some zig-zag line to close the peel at the tip.
Step 2: Draw the lower banana half

Finish drawing the lower half of the banana in the skin by outlining the banana body and stem. Again, the outline is a straight copy of the sketch, except for adding some jagged edges to the square end of the stem.
Step 3: Draw the peeled banana
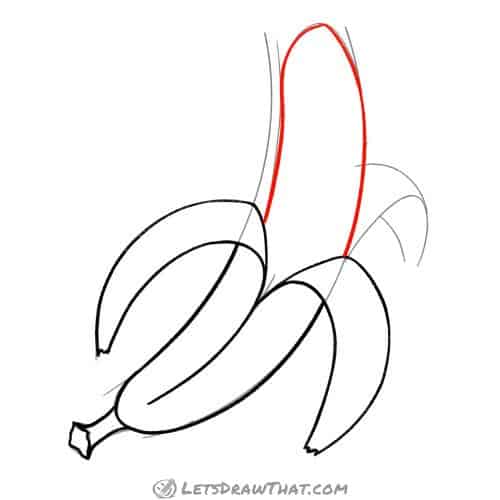
Next, draw the peeled end of the banana. If you have keen eyes, you will notice that we have added a bit of a pointy tip to the upper closing curve for a more realistic banana shape.
Step 4: Draw the rear folded peel

The final part of the sketch that needs outlining is the rear folded peel. Again, this is a straight copy of the sketch, with some zig-zag line to close the tip of the peel.
Step 5: Add final details and banana texture

Our banana drawing is complete, and while it looks pretty good, we can still improve it by adding some final details.
Fill in black the end of the stem. Add some fold lines at the centre of each peel – the one at the rear needs two lines, one from the top and one from the bottom.
And finally, add some light texture lines to the peeled banana end – longer lines along the length of the banana, with some short cross-lines.
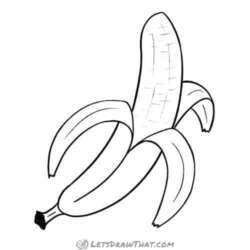
How to draw a banana peeled: finished drawing
How to draw a banana peeled: finished outline drawing

Here is the cleaned-up result of our second how to draw a banana tutorial – one great and very realistic looking half-peeled banana.
All you need now is to draw a monkey to give the banana to. Luckily, we happen to have a perfect how to draw a monkey tutorial on hand for that.
How to draw a banana peeled: finished drawing coloured-in

Our usual final step is to colour in the banana. Same as before, use a darker yellow, along with orange or brown for shading the banana skin. The peeled banana is a light beige, with some white patches. If you do not have that many different colour shades, use the same yellow as for the skin with just very light strokes.
That’s it – you have learned two different ways how to draw a banana!