How to draw cherries: base sketch step by step
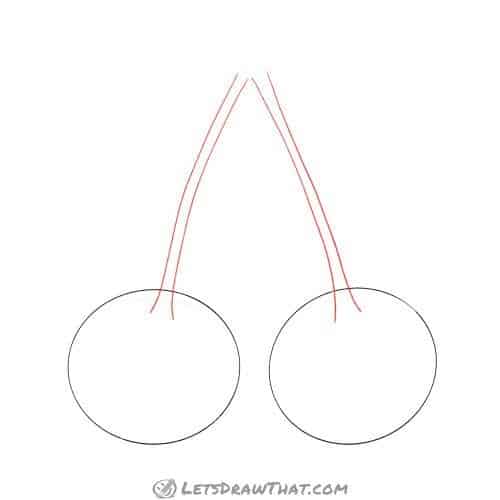
Step 1: Draw two circles for the cherries

Start your drawing with two simple circles for the cherries themselves. Cherries are not perfectly round, but we will fix that later.
Step 2: Draw cherry stalks
Next, draw the stalks for your cherries – each one is made from two slightly bent lines. Notice that the stalks widen out at the bottom to attach to the cherries.
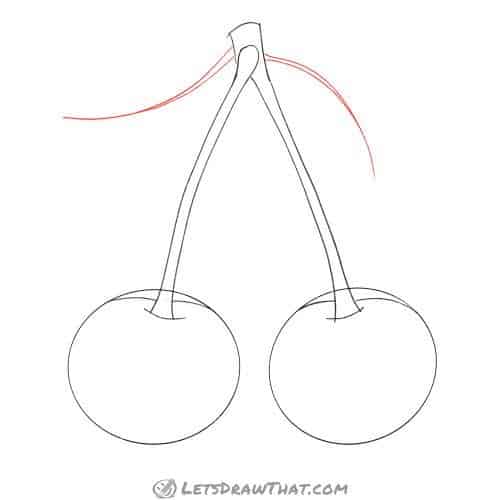
Step 3: Draw the stalk joint and shape the cherries

Finish drawing the stalks by closing one with a small oval. Then draw the wider barrel part where the stem joins the branch – a slight curve at the top and two lines to meet with the already drawn sides of the second stalk.
Next, since cherries are not perfectly round, mark the curves that flatten the top of the cherries. There is also a small dip where the stem comes into the cherry – draw it as a simple short curve up that closes off the stem.
Step 4: Draw the midribs for the leaves
It is time to add two small leaves to make our cherry drawing more interesting. Start drawing the midribs for the leaves – these are two curved lines coming together into a tip at the end of the leaf.
Let’s draw one leaf bent up and one bent down to add some variety to our cherries drawing.
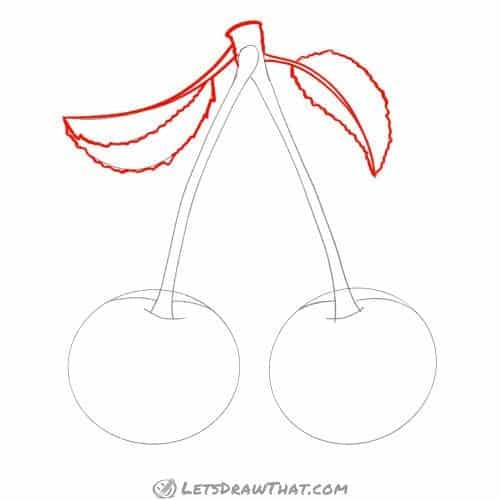
Step 5: Draw the leaf blades

Finish the leaves by drawing the blades.
For the bent up leaf on the left, let’s draw both edges of the leaf blade under the midrib – this one is folded down.
For the right leaf that bends down, let’s draw the traditional open leaf shape – two curves, one on each side of the midrib, wide at the top joining to the leaf tip – a kind of heart shape.
How to draw cherries: outline the drawing step by step
Step 1: Outline the cherry leaves
Start outlining the cherries from the top. When drawing the upper barrel part where the stem joins the branch, draw the sides with a jagged line to suggest the woody bark.
Next, outline the leaf midribs.
If you have a look at some of the cherry photos, you will notice that cherry leaves have jagged edges – so similar to the woody end, draw the leaf blades with jagged lines.
Step 2: Outline the cherry stalks

Next, draw out the cherry stalks. These are a straight outline of the sketch, just smoothing out any line transitions. Then draw the small pits for the stalk – just two small arcs at the bottom of the stalk.
Step 3: Draw the actual cherries

Finally, outline the cherries themselves, transitioning smoothly between the circle and the flattened out top near the stalk.
Step 4: Add some details

The very final step is to add some detail and structure to the leaf and stalk. Use very light lines to suggest some veins on the leaf blades and to draw some bark structure for the top part of the stalk.
How to draw cherries: finished drawing
How to draw cherries: finished outline drawing

Here is the result of our “how to draw cherries” tutorial – the completed outline drawing after we have cleaned up the sketch lines with an eraser.
How to draw cherries: finished drawing coloured-in
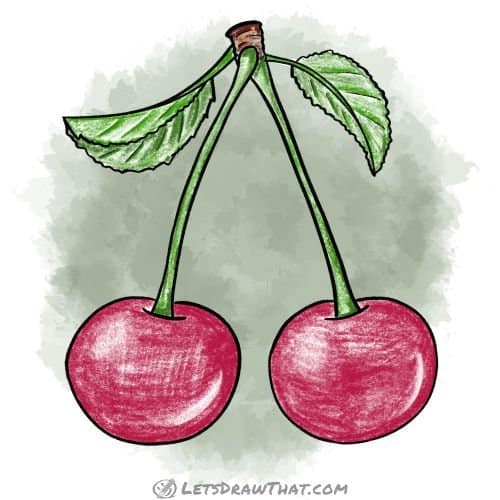
Our usual final step is to colour in the picture. The cherries are of course red – they could be either bright red or a darker shade, like in our drawing. The stalks and leaves are light green with darker green shading. Finally, use some dark brown for the very top joint of the cherry stalk to the tree branch.