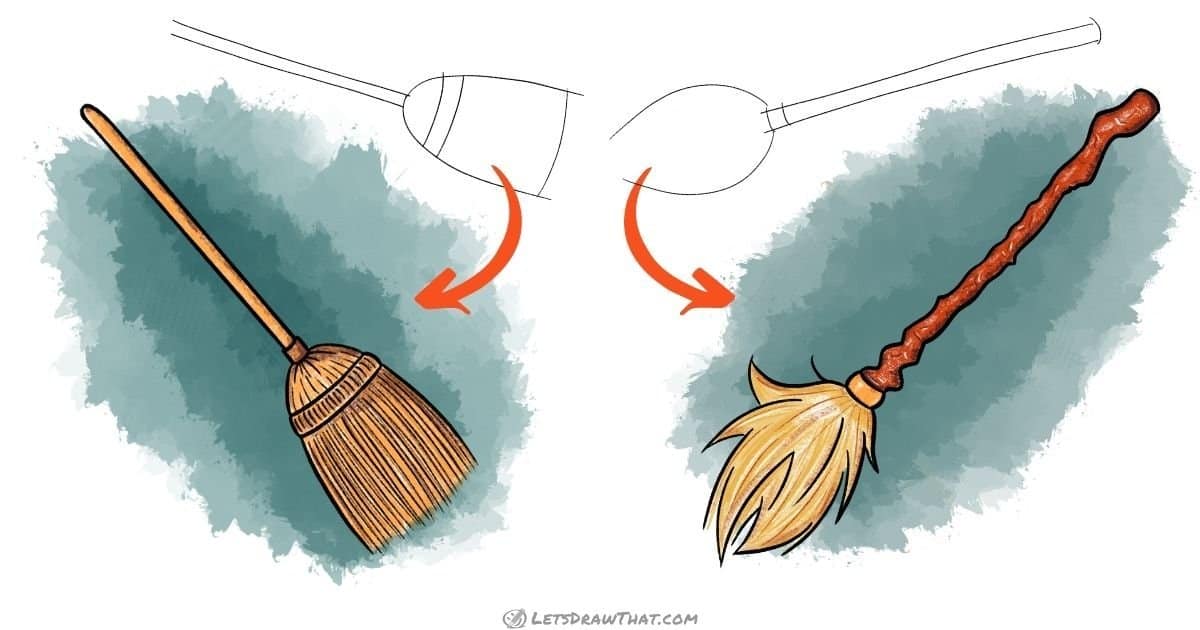
How to draw a broom: a traditional straw broom drawing
Let’s draw a traditional broom with a nice straight handle and broom head made of straw or corn husks first.
How to draw a straw broom: sketch
Step 1: Draw the broom handle and head base shape
Our straw broom drawing starts with a simple sketch. Draw two straight parallel lines for the broom handle.
Then attach an upside-down “U” curve at the lower end of the handle for the broom head – this will mark the edges of the broom’s bristles.
Step 2: Draw the tie stitching and mark the end of the bristles

The second very simple step is to draw two slightly curved lines across the upper part of the broom head to suggest the tie stitching.
Add another similarly curved line to close the “U” shape at the bottom – this will help us draw the broom bristles all the same length.
How to draw a straw broom: outline
Step 1: Draw the broom handle and head

Let’s outline the broom with some improvements and more details added to the simple sketch. Start by drawing out the stitching on the broom head – outline the two cross lines, and join them together with nice a round side at both ends.
Then draw the small coil ring that attaches the broom head to the stick handle. Similar to the stitching, this is drawn as two slightly curved cross-lines with two straight sides that are slightly wider than the handle.
Next, draw the broom handle and close the stick at the top with a nice round end. Finally, outline the remaining broom head outer edges.
Step 2: Draw the broom bristles

A traditional broom has bristles made from either straw or corn husks. Let’s finish the broom drawing by suggesting the structure of the many bristles that make up the broom head.
All you are doing here is adding many lines: A few short ones at the top to suggest the bristles coming out sideways from the coil ring. Then a row of the short lines across the stitching. And finally, of course, some long lines to build the actual broom head.

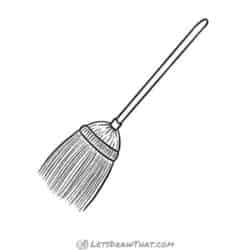
How to draw a broom: finished straw broom drawing
How to draw a broom: finished straw broom outline drawing

That’s it – just run your eraser over the drawing to clean the sketch lines. In only four very easy and simple steps, you have learned how to draw a lovely traditional straw broom.
How to draw a broom: finished straw broom drawing coloured-in

Even colouring in the broom is easy. Here we have a straw yellow colour for both the broom and handle, with some darker brown shading to add more interest and structure to the bristles. Done!
This is the perfect broom to use as a funky accessory for the snowman drawing!
How to draw a broom: old witch's broomstick
Let’s turn the broom into a rugged-looking witch’s broomstick. We will draw the broom handle as a twisted and curved tree branch and the broom head as a wild mess of bristles for a very different broom drawing.
How to draw a witch's broomstick: sketch
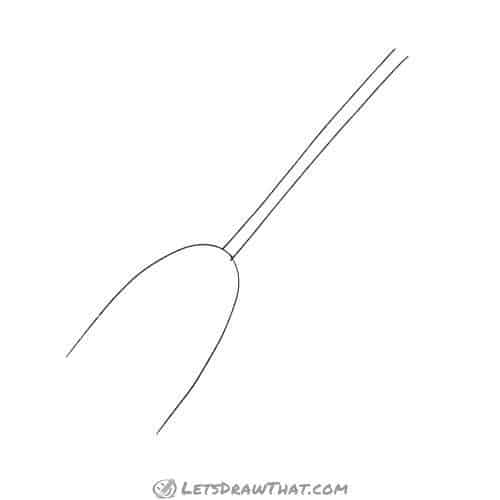
Step 1: Draw the witch's broomstick base shape

The base sketch for the witch’s broomstick is very similar to the staw broom from above – a simple straight handle and an upside-down “U” shape. Notice, though, how the ends of the witch’s broom head close together, making for almost an oval shape.
Then finish off the ends of the handle, both at the top with a single curved line and near the bristles with double curved lines – to mark the coil ring that holds the bristles attached to the handle.
How to draw a witch's broomstick: outline
Step 1: Draw the witch's broomstick handle

Here is the tricky step, improving on the simple sketch. A witch’s broomstick needs to look more rough and mysterious compared to a regular broom – so let’s add some curves and bumps to the broomstick to make it look like it is carved from a tree branch.
Start with the ring at the bottom of the handle. Draw it as a small rectangle with curved sides. Continue with a small “Z” zig-zag twist above the coil ring.
Then draw a larger “Z” shaped zig-zag broom handle at the top end – this is the Harry Potter quidditch-style broom handle, the most comfortable broom handle for any fashion-conscious witch.
Finally, complete the middle section of the broom handle with mostly straight lines and some occasional bumps.
Step 2: Draw the broom head outer bristles

As the next step, draw the broomstick’s bristles. Start first with just the outer lines that “flick” outwards at the top, and downwards near the bottom of the broom head. They roughly outline the broom head’s “not-so-U shaped” sketch.
Step 3: Draw the inner broom head bristles
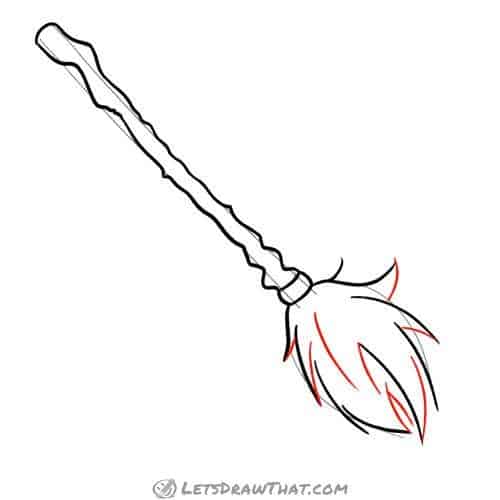
Finish off the broom head by drawing the other half of the bristles. Add a second line to the outer lines we drew in the previous step to form “V” shaped clusters.
Also, add a few extra lines to the inner part of the broom to give it more structure and volume.

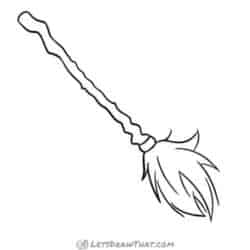
How to draw a broom: finished witch's broomstick drawing
How to draw a broom: finished witch's broomstick outline drawing

That’s the finished witch’s broomstick drawing after we have erased the sketch lines.
While we have started from a very similar sketch, we have learned how to draw a broom that looks very different to the polished and streamlined straw broom version above.
How to draw a broom: finished witch's broomstick drawing coloured-in

Colouring the witch’s broomstick is again pretty easy. This time we use a dark brown for the handle, to suggest it is made from a rough stick with the bark still on.
Then use the straw yellow to colour the broom head bristles and coil. Use some light brown to draw in a few extra bristle lines to add even more texture to the broom head.
That is the broom drawing complete – all you need now is a witch to fly your broomstick. And we just happen to have a perfect how to draw a witch tutorial for that.