How to draw a skeleton: base sketch step by step
Step 1: Sketch the skeleton head and torso

We will start this how to draw a skeleton tutorial with the usual simple base sketch. First, draw a circle for the head. Add a face cross to mark where our facial features will go. Underneath the circle, add a curved rectangle for the skeleton’s lower jaw.
Then add the torso, made from two rectangles. The top chest rectangle is larger and wider at the shoulders, while the lower belly rectangle is smaller and has straight sides. While this is a regular cartoon torso that doesn’t look anything like a skeleton now, it is helping us get the chest size right and place the bones later!
Step 2: Sketch the arms and tombstone

Just like with the torso, the skeleton’s arms look just like normal arms for now, made from two rectangles connecting to each other.
Since we have a tombstone drawing tutorial, we will put it to good use and lean the skeleton on an old crumbling tombstone. The tombstone is a simple half-oval with the inner side of the shape doubled up to make it look more 3D.
Step 3: Sketch the legs

Just like the arms, draw the legs as blocky shapes for now. One leg is a straight rectangle, while the other one is bent at the knee. The feet are drawn from squared shapes again – the foot on the bent leg is wider at the bottom than the top. The other foot is drawn from the side, so the toes comes to a point at the front.
Step 4: Draw the skeleton's face and hands

Draw the skeleton’s skull, the same way as in our Grim Reaper drawing. Draw two ovals for the eyes. Add an arrowhead shape to mark the nose, and sharp triangle cheekbones – one on the left and two on the right to create the eye dent.
Next, draw a rectangular bottom jaw and connect it with two side bones to the bottom jaw. Add small split lines for the “teeth”. Finally, connect the head to the torso with a straight neck.
As the last detail in this step, add some hands, Draw just a simple trapezoid for each hand – no fingers yet at this stage, just get the size and shape down.
Step 5: Draw in a skull

While our skeleton is jovially leaning on the tombstone, his outstretched arm is just begging to hold a skull in its hand, just like in Hamlet’s famous soliloquy.
The skull is really just the same as the one for the skeleton, only flipped around. Start with the same circle and face cross. The eye ovals this time are flatter and wide, and the jaw is now closed. There is the same arrowhead nose and block teeth. Well, with our simple skull drawing, that is three different ways you can draw the skull now!
Step 6: Draw the ribs and the pelvis cut out

Finally, it’s time to learn how to draw a skeleton from the cartoon body and start drawing some bones!
First, draw the sternum – the middle bone that connects all the ribs together – just two straight lines down through the middle of the chest. Then, add long sideways teardrop shapes at the shoulders to represent the collarbones.
Next, draw the ribs. While the humans have twelve pairs of ribs, only 3 pairs fit onto our simple cartoon skeleton drawing. Draw the ribs like a pair of long lines that curve slightly downward.
Finally, draw two oval holes tilted sideways where the gaps in the pelvis will be.
Step 7: Draw the back of the ribs and the pelvis

Let’s improve the simple ribs by bending them back up. Draw the outer line like an oval end coming from the lower rib line. Then draw the short inner line.
Next, draw a butterfly-like shape around the two circles from the last step to make the pelvis. Connect the pelvis at the top to the body with a simplified spine – just two straight lines up.
Step 8: Draw the arm bones

Let’s draw the arm bones. Start with the upper arm bones – the humerus. These are made from the classic bone shape – a rectangle with round ends bulging out.
Then draw the lower arm bones. There are two of them, one called the radius and the other the ulna. In our simplified form, these become a rugby ball oval, with a narrow cutout in the middle on the arm that is leaning on the grave. On the arm holding the skull, the outer shape is almost a triangle, with a simple “V” cutout to split the bones.
Finally, don’t forget to draw the small elbow bone ovals!
Step 9: Draw the leg bones

The leg bones have a very similar structure to the arm bones. Draw the upper single bone – the femur – with a wider, bulged-out top. Then draw the two interconnected lower leg bones – the fibula and tibia – with a split gap in between. Finally, add the kneecap oval – the patella.
Step 10: Sketch the hands and feet

Add fingers to the hands that we drew earlier. For now, make the fingers just out of small triangles.
Next, sketch the foot bone outlines. Real human feet are made from 26 different bones, but to keep the drawing simple and cartoony we have reduced that number to 5. Draw the round heel part, the middle section, and some more triangular toes, just like those you drew for the simplified hands.
How to draw a skeleton: outline the drawing step by step
Step 1: Draw the skeleton's skull

Let’s start outlining the skeleton drawing and improving on the roughly sketched details. Start by drawing the skeleton’s skull.
Draw the outline of the head. Use the sketch lines on the jaw to draw both the upper and lower teeth as rounded bumps. Finish the lower jaw, rounding off any sharp corners.
Then, fill in the eye sockets, and thicken the nose, similar to the heart shape in the skull tutorial.
Step 2: Draw the second skull

By now, you are becoming an expert in drawing skulls. Outline the second skull in the same way as the previous one – rounding off the teeth and thickening the nose line.
Then, fill in the skull’s eye sockets and the skeleton head’s inner mouth.
Step 3: Draw the skeleton's rib cage and neck

Let’s improve the simple neck shape. Draw the individual spine discs – the vertebrae – as small flat ovals.
Then draw the skeleton’s rib cage from the sketch. Notice the small improvements to the sketch: all the ribs are now connected to the sternum (that is the middle bone), and the sternum has a nice pointy lower end – that is called the xiphoid process. The rest is a direct outline of the sketch.
Step 4: Draw the skeleton's pelvis and spinal column

Outline the pelvis as it is in the sketch. Then, just like with the neck, separate the spinal column into individual disks – the vertebrae.
Step 5: Draw the skeleton's limbs

You have done the hard work for this step in the sketch stage, so enjoy the fruits of your labour and simply outline the bones on the arms and legs as they are in the sketch!
Step 6: Draw the hands and foot bones

Let’s finish drawing the skeleton’s feet and hands. Since the feet are the easier part of this step, let’s do those first. Outline the two larger “bones” as they were in the sketch. Then, split each of the toes into two smaller bones that fit inside the sketched shape.
Now, repeat the bone split on the hands, except this time, split the fingers into three bones and the “palms” of the hands into two more tiny bones as well!
Step 7: Add detail to the background
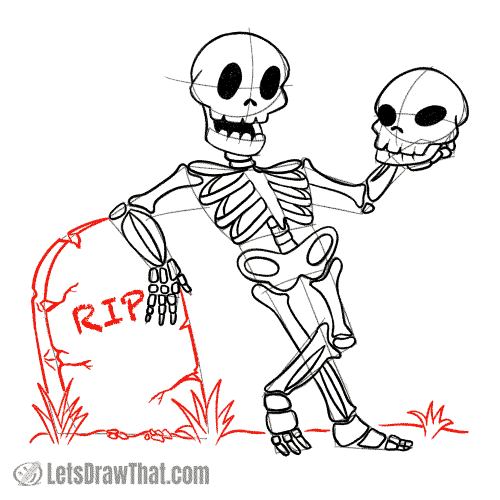
Well, that is the skeleton drawing done. All that is left is to draw the tombstone properly – add all the dents and cracks and draw some grassy ground for the skeleton to stand on.
Luckily, we have a detailed step-by-step tutorial you can follow to draw an old spooky crumbling tombstone.
How to draw a skeleton: finished drawing
How to draw a skeleton: finished outline drawing

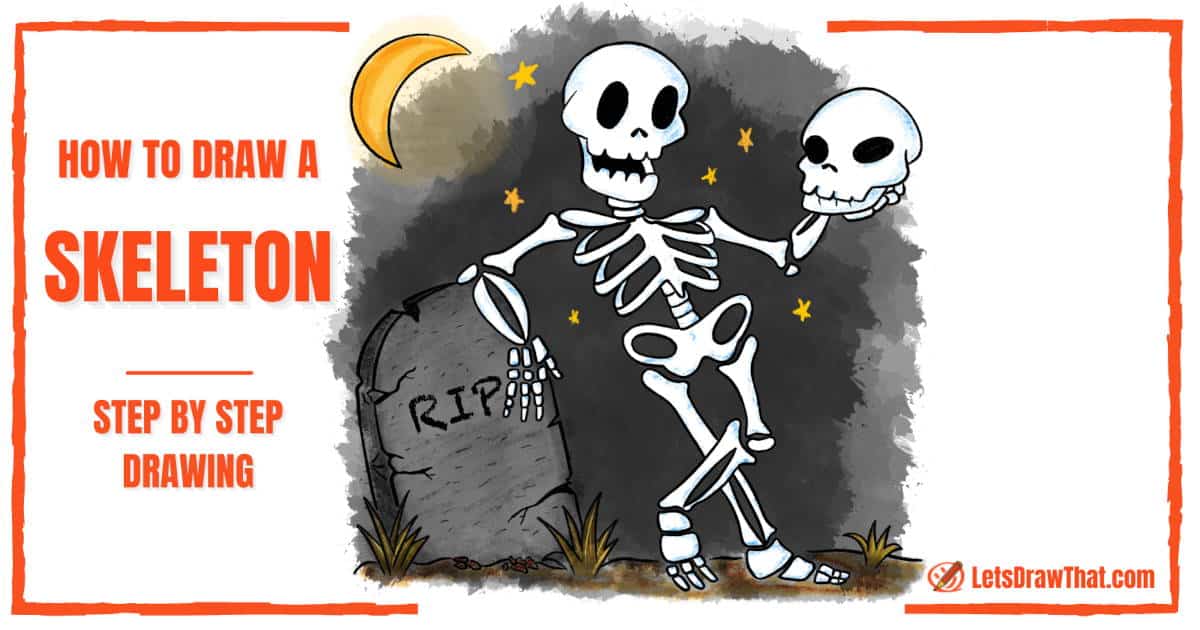
Here is the cleaned-up result of our “how to draw a skeleton” tutorial – one jolly cartoon skeleton guy casually leaning on a lovely crumbled tombstone and chatting to his skull friend. What a perfect drawing to add to your Halloween drawings collection!
How to draw a skeleton: finished drawing coloured-in
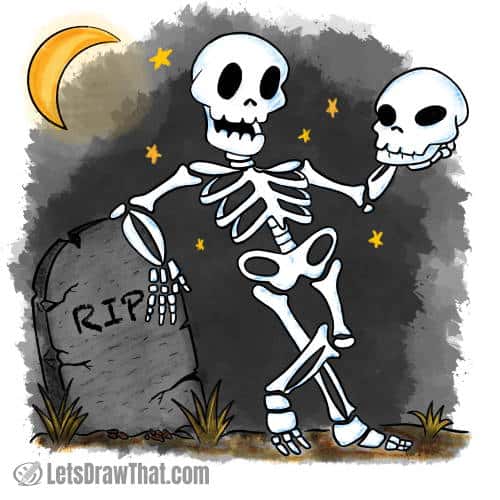
Our usual last step is to colour in the picture. Well, there is not much to colour in on the white boned skeleton drawing, is there? So all we are doing here is adding some very light blue shading here and there.
Since any sensible skeleton only comes out of its grave at night, we are adding a black night sky for the background. Well, it also makes the white skeleton stand out in the drawing.
The tombstone is shaded in grey, so it does not draw too much attention. And finally, to add some warm colour to the white and black, we have added a yellow moon and some simple stars from our “how to draw a star” tutorial.