How to draw a skull: base sketch step by step
Step 1: Sketch the skull base shape

Our skull drawing starts with a shape that resembles a keyhole. Draw a circle. Then add another circle segment at the bottom for the jaw – an arc with two straight sides.
Finally, mark the face with a cross – this will help us place the eyes and nose. Split the “keyhole” in half with a vertical line. Then draw a horizontal line halfway between the top of the skull and the bottom of the jaw.
Step 2: Sketch eye and nose sockets and teeth
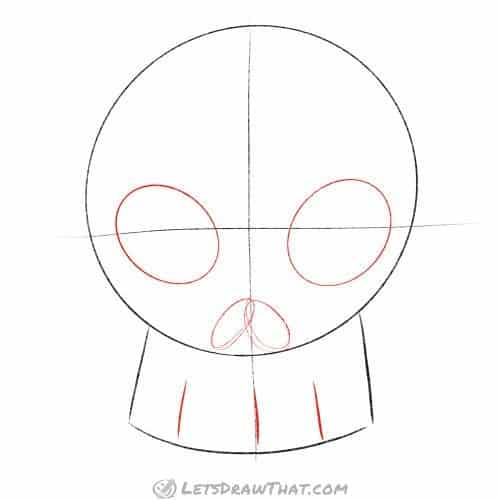
Now we will draw the skull “face”. Draw two eye sockets as simple ovals, slightly tilted inwards toward the nose. Place them on the horizontal face line.
Next, draw the nose openings- two smaller and flatter ovals, tilted out. These sit symmetrically around the vertical centerline, just above the base of the head circle.
Finally, split the jaw into four teeth with simple straight lines – one in the middle on the centerline, then two more lines, one in the middle of each side.

How to draw a skull: outline the drawing step by step
Step 1: Fill in eye and nose sockets

With the base sketch done, start outlining and improving the skull drawing. Fill in the eye sockets black.
For the nose, join the two ovals at the top with straight lines to form a sharp point, and the nose becomes a lovely upside-down heart. Once you have drawn the outline, colour in the nose as well.
Step 2: Outline the top of the skull and the jaw

Next, simply outline the top of the head circle. Notice we have stopped just a touch above the vertical face line.
Let’s improve our teeth next: Instead of one big arc for the jaw, draw four separate small curves, one for each tooth.
Step 3: Finish the skull outline
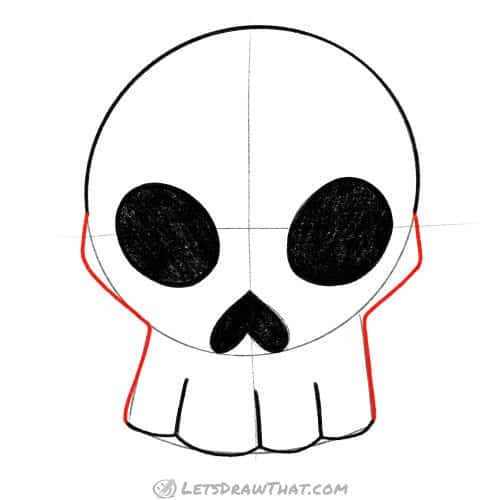
The final improvement, that completes the skull outline, is drawing the cheekbones. These are small flat triangles from the ear line to the point where jaw sides meet the head circle – just round off the sharp corners a bit.
How to draw a skull: finished drawing
How to draw a skull: finished outline drawing

Here is the completed skull outline, once we have erased the sketch lines. While this is a very simple way how to draw a skull, the result is pretty convincing.
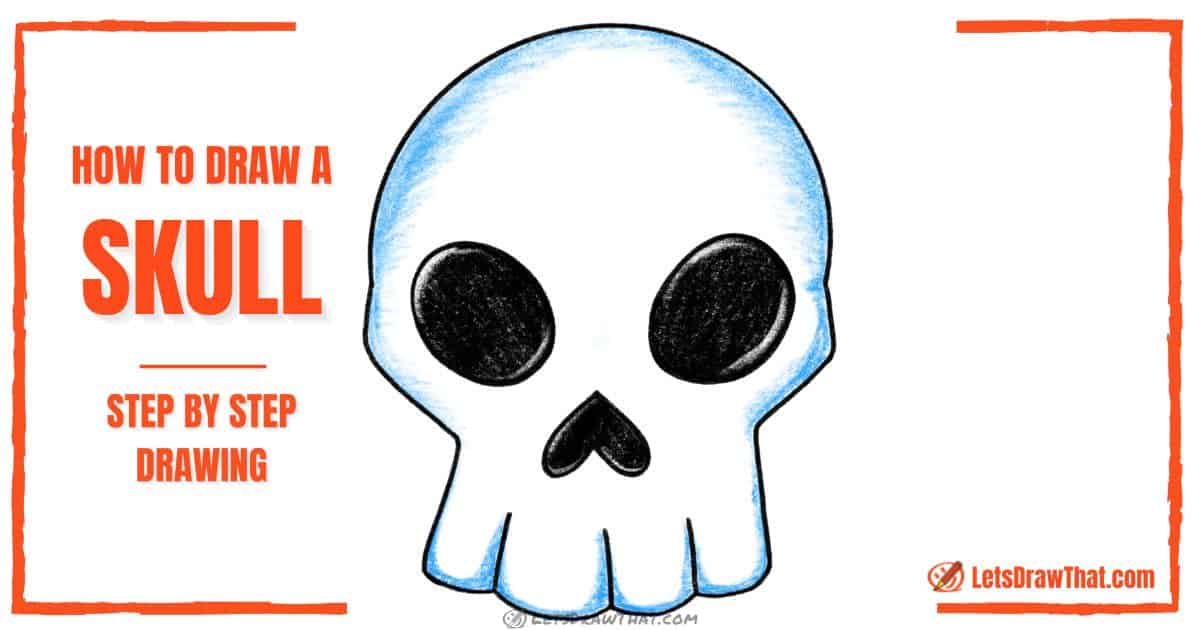
How to draw a skull: finished drawing coloured-in

Our usual final step is colouring the drawing. Well, for the white skull, there is very little to colour in. So all we are doing here is a light blue shading to suggest some volume on the teeth and the roundness of the skull around the forehead.