How to draw a rose: base sketch step by step
Step 1: Draw a spiral

As usual, we will learn how to draw a rose by starting with a basic simple sketch to define the overall shape.
Our rose drawing starts with a simple spiral with just two twists.
This will be the top of the rose drawing, so place it near the top of your sheet of paper, leaving some extra space for the outer leaves above.
Step 2: Sketch the rose flower
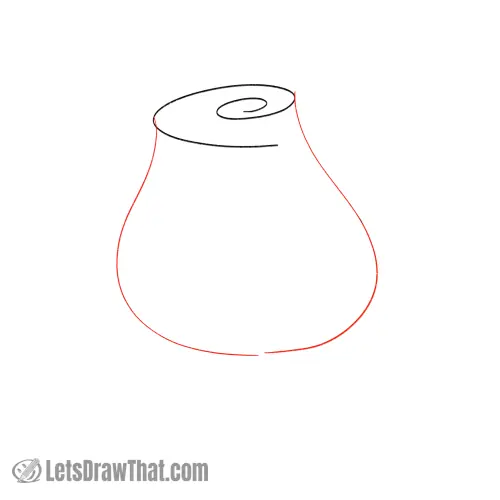
Next, draw the base rose flower shape. It is made from two “J” shaped curves.
Give it a nice round body, narrowing towards the top to meet with the edges of the spiral from the previous step.
Step 3: Add the front petal edge
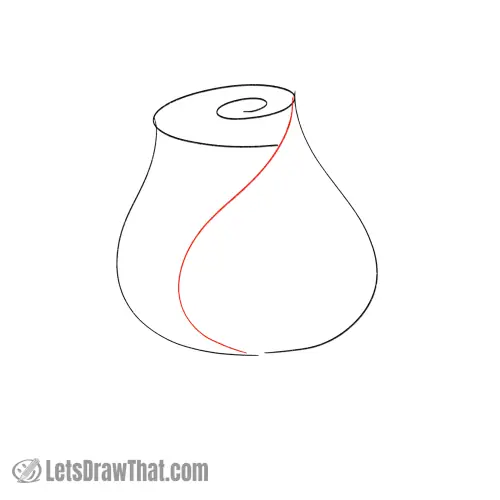
Divide the flower with a nice wide “S” curved line to suggest the edge of the topmost rose petal.
Now, if you want a simple and easy rose drawing, you can just add a simple stem and finish here. This is already a very recognizable rose flower.
But let us show you how with just a few simple lines and extra details you can draw a much more realistic-looking rose flower.
Step 4: Sketch the outer petal folds

Let’s draw two more “S” curved lines starting from the top of the rose flower, one on each side. These will suggest the folded-over edges of the topmost petals on the rose.
If you have a look at the picture, these make a sort of curved heart shape.
Step 5: Add the rear petal and stem

We are almost done with the rose flower drawing! Here are just a few final details.
Add an extra petal poking out at the back – this is a sort of curved, wide-open, upside-down “V”.
Then draw the rose stem – start wider at the bottom of the flower and narrow down to two parallel lines.
The final small details to finish the rose flower are the two short lines going down from the central twist of the spiral, to suggest the small, tightly folded petal in the center of the rose.
Step 6: Draw the sepal leaves

The rose drawing will look much better if we add some sepal leaves at the bottom.
The two leaves on the sides are just simple bent “V” shapes.
The front sepal leaf looks almost like a water drop – nice and round at the top, with a pointed tip sticking down. Just draw a sharp corner on the side, where the leaf meets the bottom flower edge.
How to draw a rose: outline the drawing step by step
Step 1: Draw the top spiral petal edges
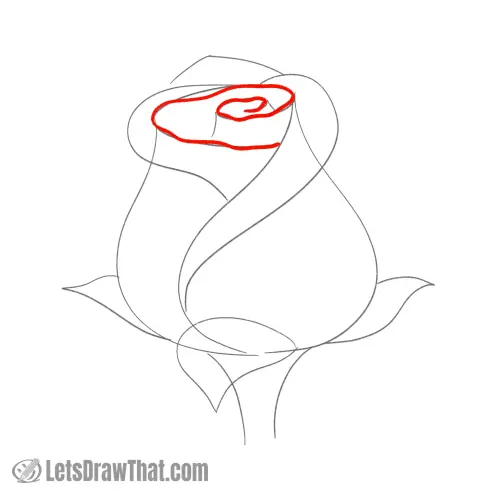
With the complete sketch, you pretty much know how to draw a rose. All that is left is to outline the sketch. But let’s just improve our rose drawing with a few simple tricks.
Here is the first improvement: when outlining the top spiral, draw the line slightly wobbly. The top edges of the inner petals are usually not perfectly straight, but rather curled and crinkled. So with a few wobbles in the line, the rose drawing will look less cartoony and more realistic.
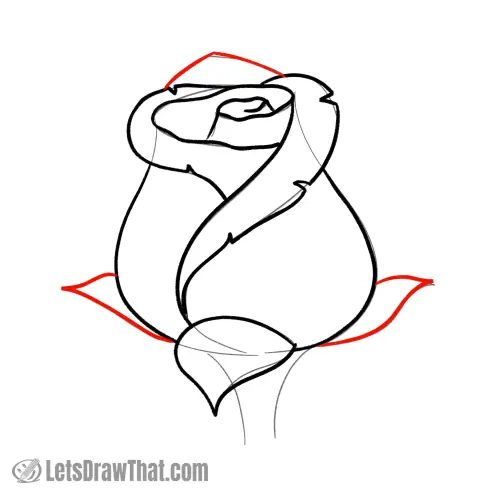
Step 2: Outline the folded outer petals' edges

Here comes the second simple improvement for a more realistic look: When outlining the two folded petal edges, add some little rips and tears to the edges. These are just simple “V” shaped cutouts to break the smooth edge lines.
We have added two on the shorter left side, and three on the longer right edge.
Step 3: Finish drawing the rose flower body

Well, it is all smooth sailing, err, drawing, from now on. All we are doing is outlining the rest of the sketch, exactly following the sketch lines.
Start with the front sepal leaf, because it hides a part of the flower outline. Then draw the two sides of the flower and end them at the leaf edges.
Step 4: Draw the rest of the rose flower
All that is left to complete the rose flower drawing is to outline the two side sepal leaves and the small pointy petal sticking out at the back of the flower.
Again, these are just direct outlines of the sketch.
Step 5: Add final details
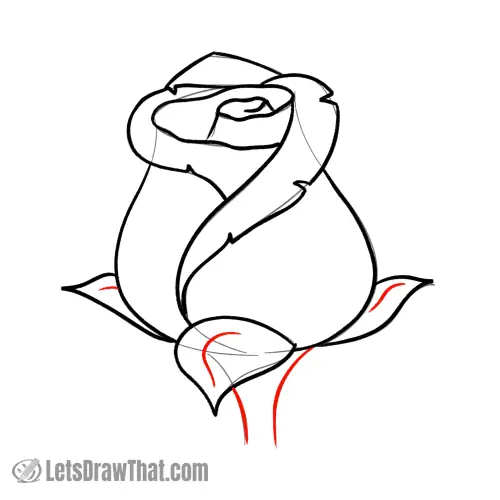
The last part to be drawn from the sketch is the stem – notice it is partially hidden behind the front sepal leaf.
The very final touch is adding short center lines for the sepal leaves midribs.
How to draw a rose: finished drawing
How to draw a rose: finished outline drawing

And here is the final result of our “how to draw a rose” tutorial once we have erased the sketch lines – the completed outline rose drawing.
As you can see, this is a pretty awesome-looking rose flower, considering how easy and simple it was to draw. Another trick we love is how we made the rose look much more realistic by just simply adding some wobbly lines and a few “imperfect” tears into the outer edges.
All that is left now is to color in the rose flower.
How to draw a rose: finished drawing colored-in
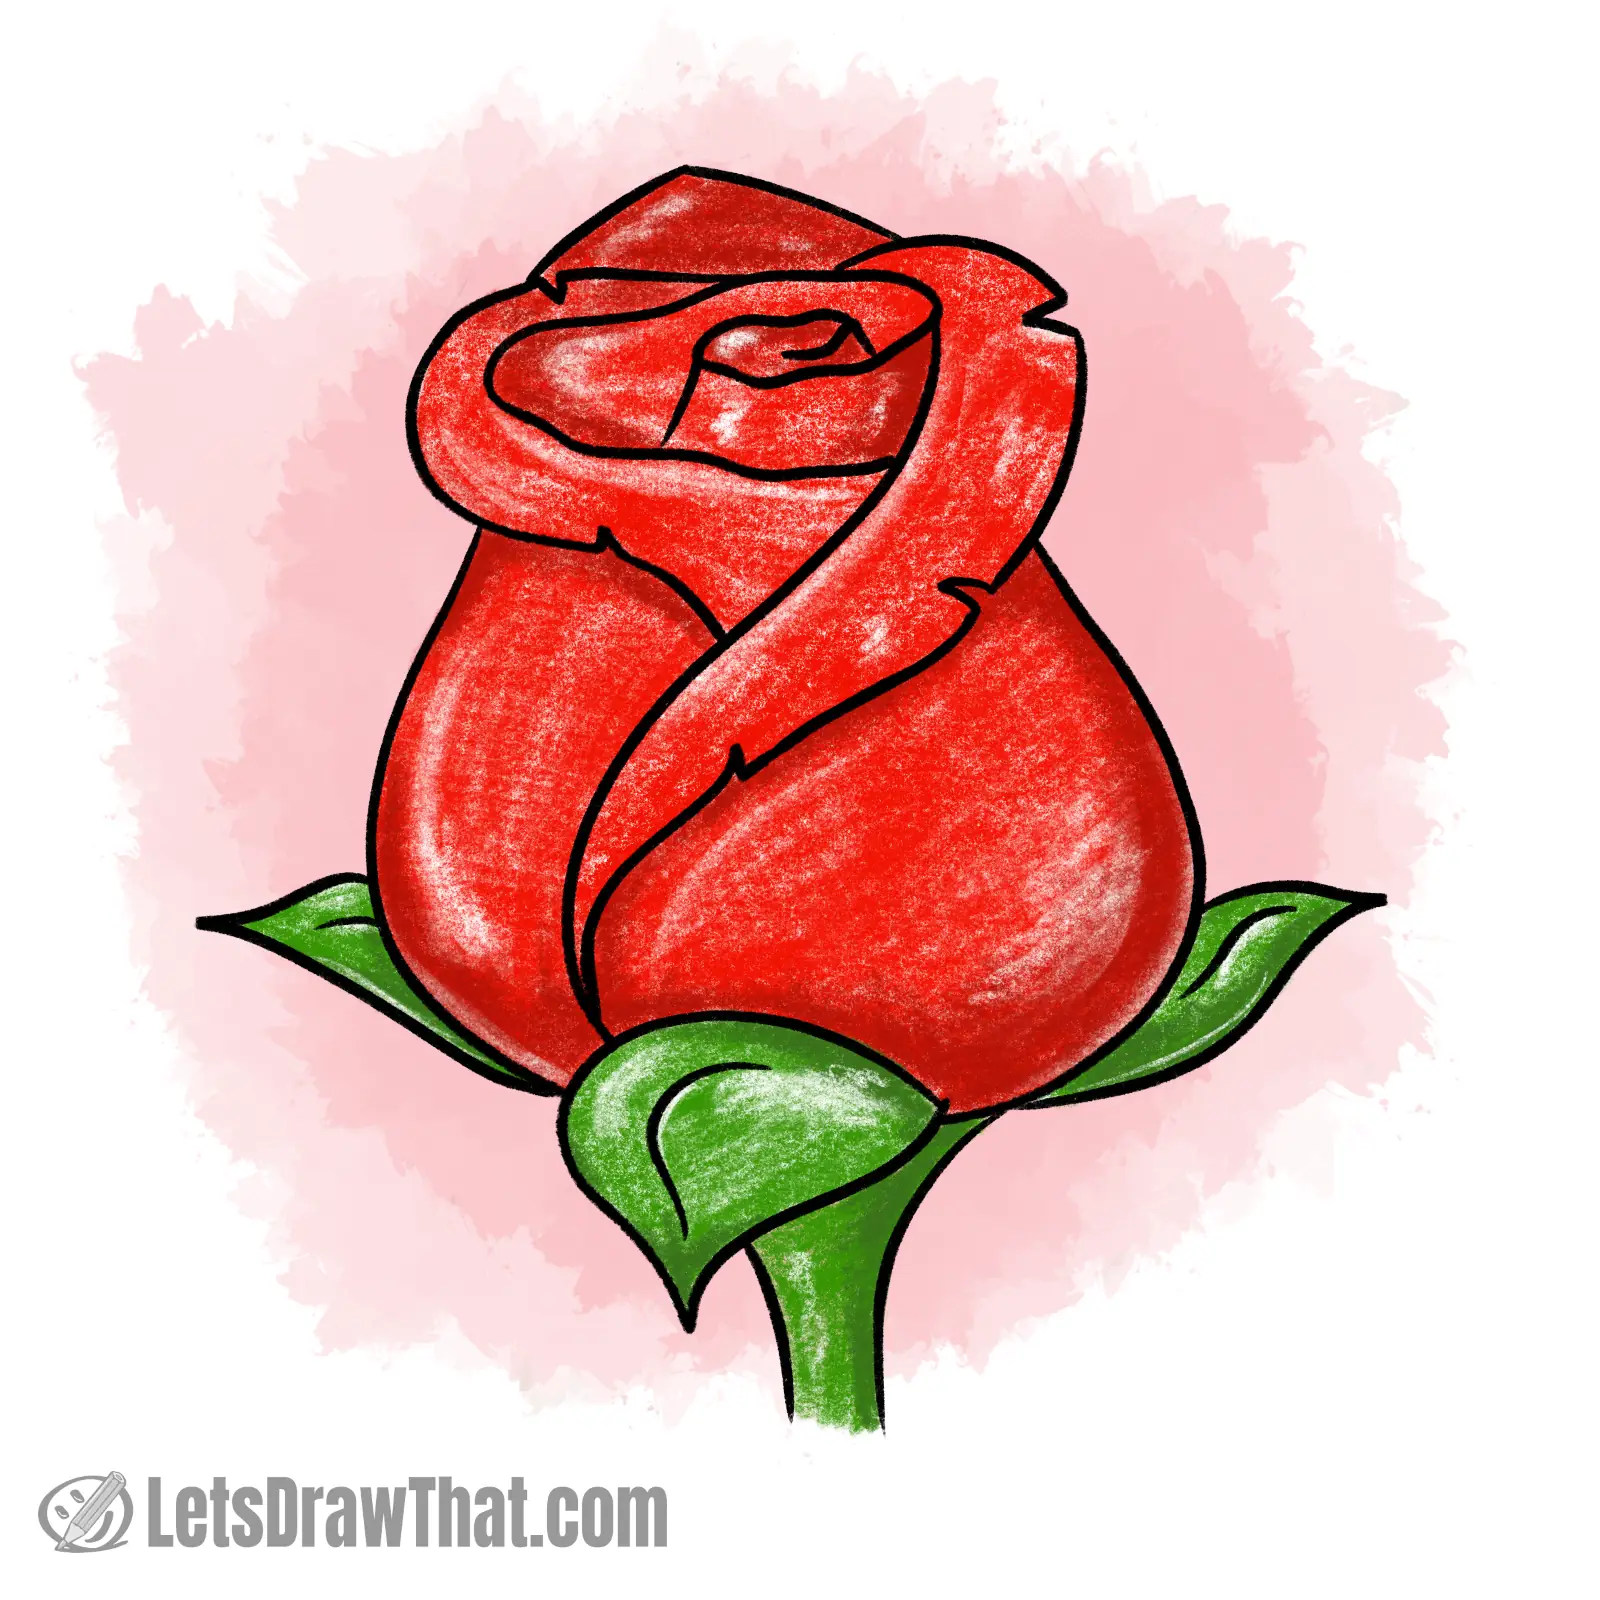
Now, roses naturally come in a variety of colors (and some more exotic colors are artificially dyed). But here we are drawing the classic, popular, bright red rose.
The stem and the sepal leaves are a nice green, making a lovely contrast to the red flower.
If you have a keen eye, you will notice that we have used some darker red for the shading. Also, when coloring the flower, leave out some highlights – or use an eraser pencil to add them to the colored drawing later.