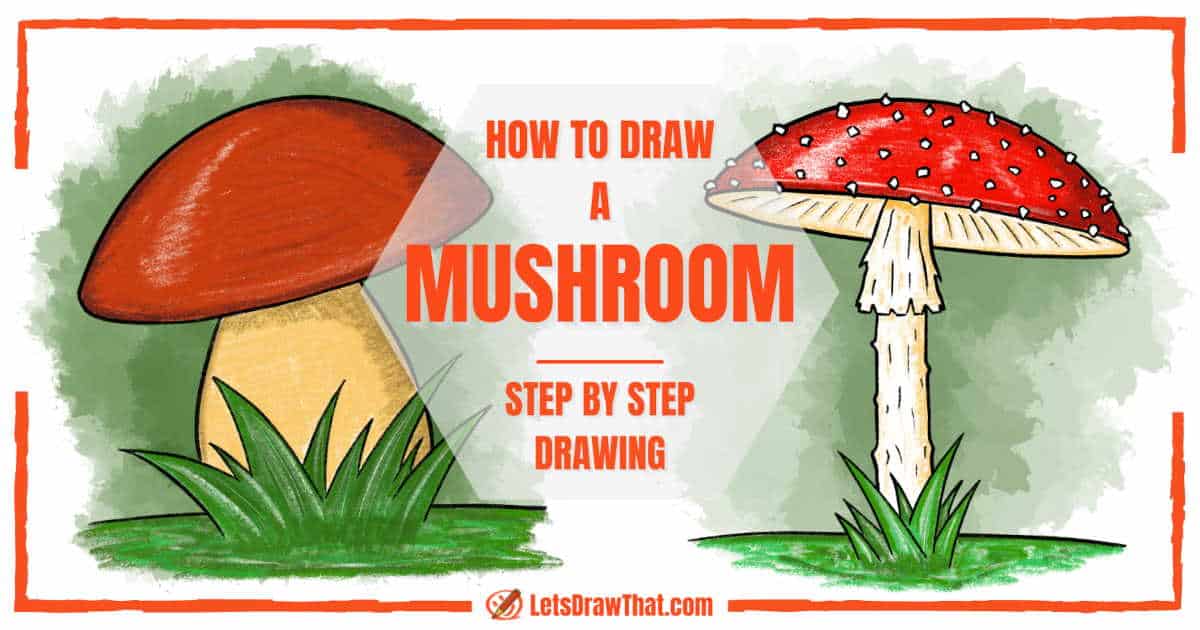
How to draw a mushroom: bolete
For our first mushroom drawing, we have chosen to draw a bolete mushroom with a simple plain cap and stem with no details. Since we are showing the mushroom cap from above, the drawing is just two simple shapes for the cup and the stem. While this is as simple and basic as it gets, we still end up with a lovely realistic bolete mushroom drawing.
How to draw a mushroom: bolete base sketch
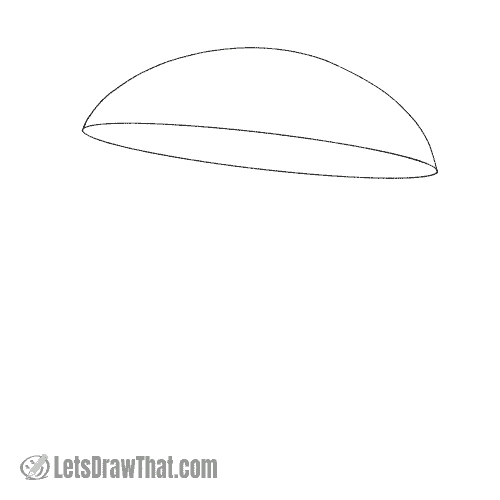
Step 1: Draw the mushroom cap

Let’s start drawing the mushroom from a nice cap. Draw a slightly tilted narrow oval. Then add a “C” shaped top to turn the oval into a mushroom cap.
Step 2: Draw the mushroom stem
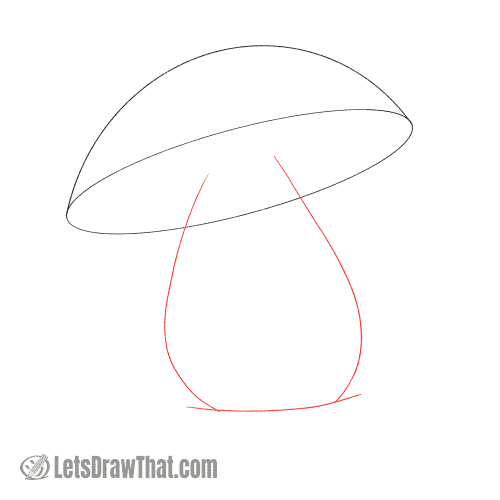
Next, let’s add the mushroom stem. Here we are drawing a simple bolete mushroom, which has a chubby fat stem, narrow at the top and wide at the bottom. Draw the stem from two mirrored “J” curves. Then add a short line for the ground to finish the stem.
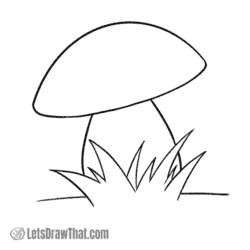
Step 3: Draw some grass

Well, our bolete mushroom drawing is done in the previous step. All we are doing here is planting it into some grass, to add some extra texture to an otherwise very simple drawing. The grass is drawn as many upside-down “V” shapes that are bent and varying in size.
How to draw a mushroom: outline the bolete mushroom
Step 1: Outline the mushroom cup
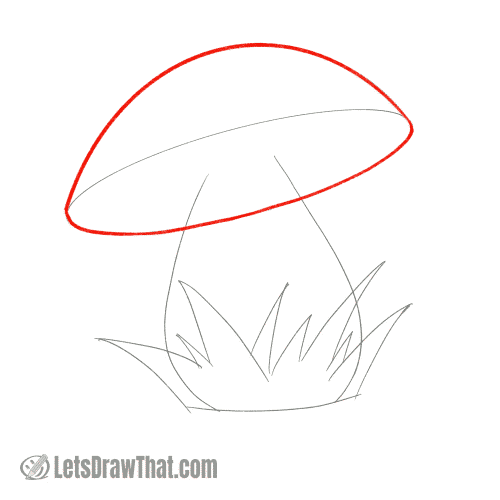
Here comes the trick: as you can likely see, there are two ways to outline the mushroom cup. To keep our first mushroom drawing simple, we are choosing to hide the bottom of the cup with the pores – which means we outline the top edge with only the lower half of the oval to draw the mushroom cap.
We will try the variation that shown the cap underside in our next mushroom drawing.
Step 2: Outline the grass and the stem

To finish the drawing, outline the grass blades first. Then draw the mushroom stem where the edge lines are not hidden behind the grass and the mushroom cap. Finally, let’s draw a simple line on each side of the grass to plant our mushroom into the ground.

How to draw a mushroom: finished bolete mushroom drawing
How to draw a mushroom: finished bolete outline drawing
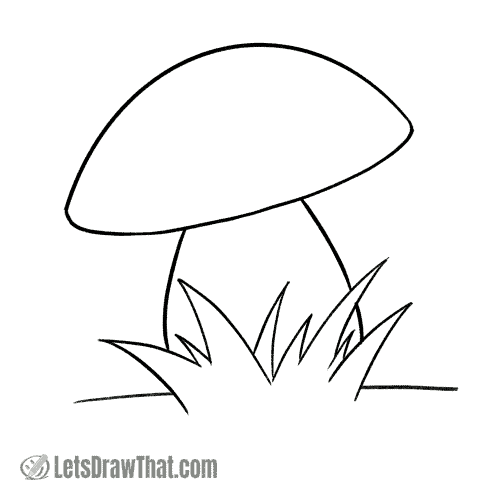
Here is the finished bolete mushroom drawing after we have cleaned up the sketch lines with an eraser. Hope that you agree that this is indeed a very easy way how to draw a mushroom.
How to draw a mushroom: finished bolete mushroom drawing coloured-in

And here is the bolete mushroom coloured in. The cap is brown and the stem a dark yellow, or beige. Notice the darker shading and the left-out highlight that gives the cap a bit of a 3D round look.
The grass is of course green, and we are mixing up few different shades to give it some texture.
How to draw a mushroom: fly agaric
For our second mushroom drawing, we have chosen to draw a fly agaric mushroom. The drawing builds upon the simple bolete drawing. We are using the same shape for the cap, just this time we will draw it showing the gills on the underside. The stem is a different shape, but as simple as before. We are adding some more details and texture to the mushroom drawing as well as a ring around the stem and white dots on the cap.
How to draw a mushroom: fly agaric base sketch
Step 1: Draw the mushroom cap
The fly agaric cap is the same shape as the bolete drawing above. So draw again a slightly tilted oval – only this time even narrower than before. Add the familiar “C” shaped top to complete the mushroom cap.
Step 2: Draw the stem and ring

Let’s sketch the mushroom stem next. As you can see, unlike the bolete mushroom, fly agaric has a narrow and tall stem. Draw it as two almost straight parallel lines going down from the middle of the cup.
Then add the base shape for the stem ring – this is a rectangle that widens out at the bottom, sort of like a simple skirt.
Step 3: Draw some grass

Again, the last addition to the sketch is just adding some grass to plant the mushroom into the ground. Draw some randomly tall and wide upside-down “V” shapes for the grass blades.
That is the simple fly agaric mushroom base sketch completed.

How to draw a mushroom: outline the fly agaric mushroom
Step 1: Draw the grass and the ground

Now it is time to outline the drawing and improve the plain sketch with extra details that will make for a beautiful mushroom drawing.
Start by outlining the grass blades. Then add a line on each side of the grass for the ground.
Step 2: Draw the mushroom stem and ring

Here come our first improvements. Start by outlining the top ring shape – but add a few zig-zag pointy tips to the side edges – similar to our scruffy cat fur. Then break the bottom edge with few upside-down “V” notches.
Next, outline the rest of the stem that is not hidden by the ring. Again, add a few small pointy bumps to break the smooth edge line to suggest the texture of the fly agaric stem.
Step 3: Draw the white spots on the cap

Fly agaric mushroom is very recognisable by its white spots on the red cup. Let’s draw those next.
The fly agaric white dots look like tiny irregular squares. Draw them all over the top part of the cap. Notice how we are placing some dots right on the edge line – these will again break the otherwise smooth cup outline.
Step 4: Draw the mushroom cap

With all the dots in place, let’s outline the mushroom cap. Break the line where the small dots stick over the edge and for the stem ring.
Step 5: Draw the gills and stem textures

All that is left to complete our mushroom drawing is to add the final textures.
Suggest the gills on the cup underside with short straight lines that fan out from the centre to the edge of the cap. Then draw a few more short, vertical lines to add some texture to the ring and the stem itself.
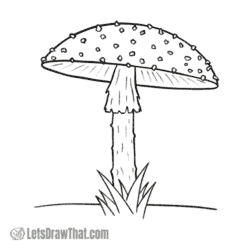
How to draw a mushroom: finished fly agaric mushroom drawing
How to draw a mushroom: finished fly agaric outline drawing

And here is the finished cleaned up fly agaric mushroom drawing.
As you can see, the base shapes were as easy to draw as the bolete mushroom above. But since we have added all the small details and textures that are found on the real fly agaric mushroom, the drawing looks much more interesting than the plain bolete mushroom drawing above.
How to draw a mushroom: finished fly agaric mushroom drawing coloured-in

The fly agaric really needs to be coloured in to bring out that typical bright red and white cap. Notice again the darker red shading and the lighter highlight left out while colouring the cup bright red. The fly agaric stem and cap underside are white. We are shading them with some light beige only.
Finish with colouring the grass bright green, with some lighter and darker green patches to add texture. The green grass provides a nice contrasting colour to the bright red mushroom.
That is it – now you know how to draw a mushroom! With the two different variants shown here, you should be well on your way to draw any other of the many mushroom species and shapes. Have fun!