How to draw a carrot: base sketch step by step
Step 1: Sketch the base carrot shape

Let’s start our carrot drawing with the usual simple base shape. A carrot is kind of, err…. carrot-shaped? Ok, that did not help much. Let’s try again.
Draw a tall narrow “V”. Then close it at the top with a small oval. Now that is a base carrot shape.
Step 2: Sketch the carrot stems

Now, let’s give the carrot some leaves. For the time being, let’s just draw the stems coming out from the centre of the top oval. Draw three slightly curved lines and one bent down in half, just for some interest and variety.
That is all the carrot sketching done in two easy steps. Wow!
How to draw a carrot: outline the drawing step by step
Step 1: Draw the carrot leaf stems

The third step and we are already into outlining our carrot drawing. Talk about an easy drawing tutorial.
Outline the stems straight from the sketch. Then draw another inner oval around the base of the stems to mark the top dint in the carrot.
Step 2: Draw the carrot root
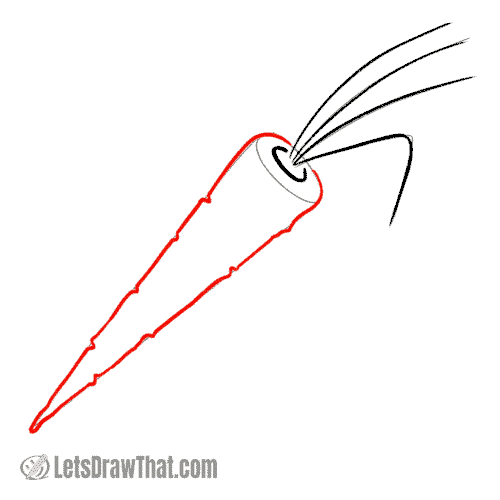
Finally, draw the carrot root body. Here come the improvements that will turn the simple sketch into a real nice carrot drawing.
When outlining the carrot root, add a few zig-zag “scars” to the straight sides. Then join smoothly the pointy “V” shaped part of the root to the round oval top to complete the carrot root.
Step 3: Draw carrot leaves and the root scars
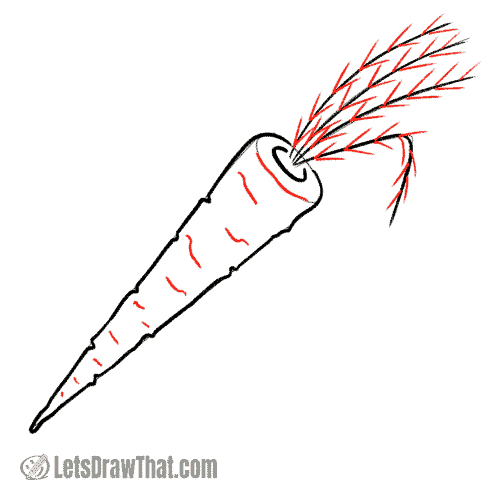
Let’s add some leaves to the carrot stems. Draw a series of small “V” shapes along all of the stem lines. Notice on the bent stem how the “Vs” turn around to follow the curve of the stem.
Then add some texture to the carrot root – these are the root scars and cracks. Draw them as short wiggly lines across the carrot root.
Step 4: Draw the tiny textured carrot leaves
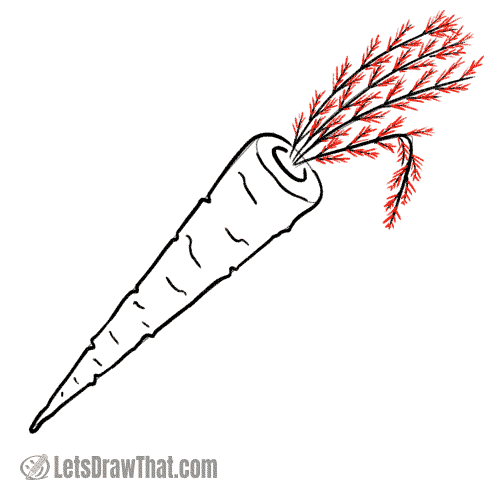
Carrots have a really thick set of small tiny leaves. Let’s suggest those with another layer of the smaller “V” shapes, following along each of the small branches you have drawn in the previous step.
How to draw a carrot: finished drawing
How to draw a carrot: finished outline drawing

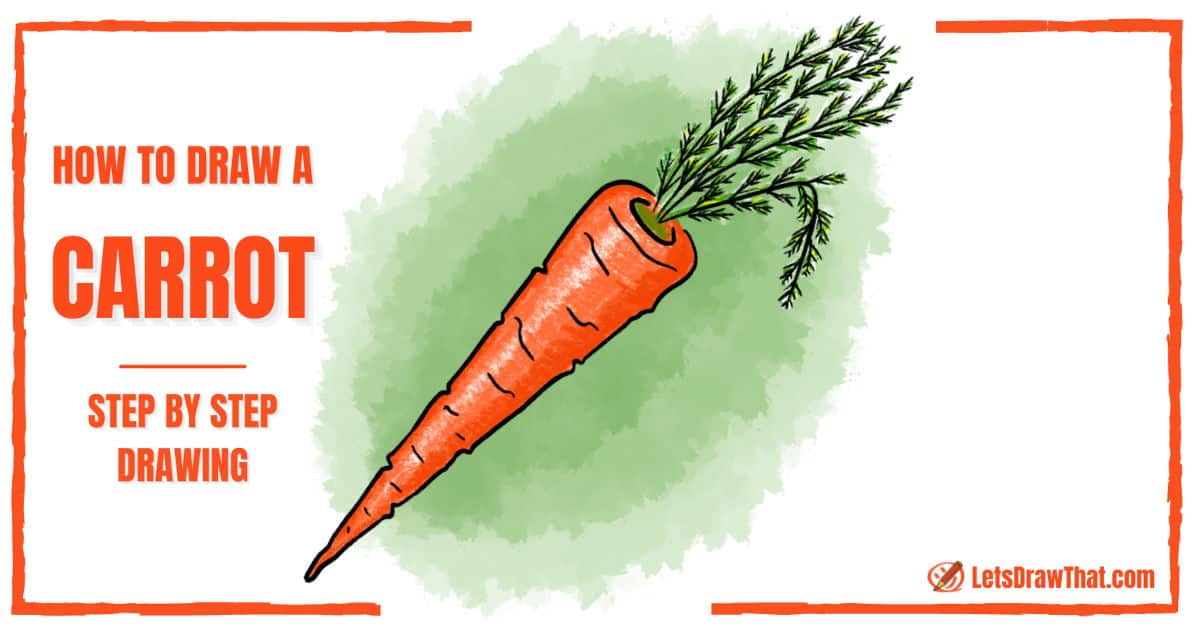
Here is the final cleaned-up result of our how to draw a carrot tutorial – a very good-looking carrot considering how easy it was to draw. Such a nice carrot is perfect for our bunny drawing, or you can improve the simple carrot nose on our snowman drawing tutorial.
Finished carrot drawing colored-in

Here is the carrot drawing once it is colored in. The carrot root is a nice bright orange. Now, here are some interesting facts about carrots – apparently the carrot root can be also purple or yellow if you are after some unusual carrots.
The leaves are green – we are simply drawing another color line along the black outline. If you have a keen eye, the first pass was done with light green, and then some darker green was added on top to give the tiny leaves some texture.
And that is it – that is the completed carrot drawing in color.