How to draw a cake: base sketch step by step
Step 1: Draw the cake base

As usual, we will learn how to draw a cake starting with a few simple shapes.
Start drawing the cake the same way you would be building the real baked one – with a nice wide base. Here we are going for a 3D view of the cake, so the round base becomes an oval.
Then drop two straight sides down from the far edges of the oval, as far down as you want your cake base to be tall. Close the cake base with another half oval at the bottom.
There, you have just learned how to draw a cylinder in 3D.
Step 2: Draw the next two cake layers

Let’s repeat and draw two smaller cylinders for the next two layers of the cake.
Draw the straight sides first – they will give you an idea of how large the next layer will be. Then draw in the oval at the top and the half oval at the bottom edge.
Finally, draw another oval around the base of the cake – this will be for the plate or decorative paper that the cake is sitting on.
Step 3: Draw a candle

Next, draw a candle on the top of the cake.
Well, the candle is yet another cylinder, just this time it’s very narrow and tall. So draw the two long sides, and add a small oval at the top and another half oval at the bottom – you should be professional at drawing the cylinders by now.
Then add a short line in the middle for the wick and draw a teardrop-shaped flame.
Step 4: Draw the cake decorations
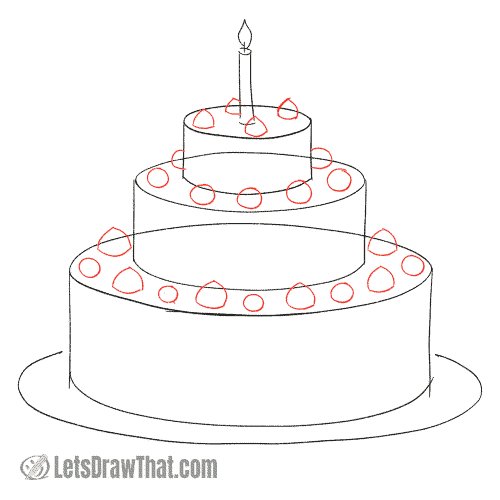
Time to start decorating the cake. As with the real cake, the way you decorate the cake is only limited by your imagination.
We are mixing two different shapes here for some variety. The four “cream dollops” at the top are drawn as a triangle with rounded sides. The middle layer is decorated with just simple circles at this stage.
Finally, for the base decorations, we are alternating between both the triangle “dollops” and the circles.
Step 5: Draw the dripping icing on the base layer

With the decorations in place, it is time to draw the icing on the cake. This is similar to drawing the melted drips in the ice cream drawing tutorial.
Draw the dripping icing line around the cake base first. Start your line where the oval meets the side of the cake by slightly bulging out over the side of the cake and curving down. Then roughly follow the edge of the first layer with a wiggly line. Add a longer narrow drip here and there, before curving back up on the other side of the cake base.
Step 6: Draw the icing on the rest of the cake
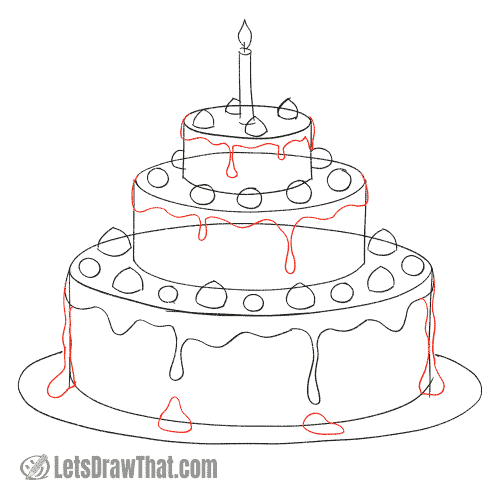
Repeat and draw the icing for the middle and upper layers of the cake as well. We are also adding some more drips to the side of the base layer, as well as some chocolate spills on the plate just underneath the drip lines on the cake.
Now, if you were decorating a real cake, you probably would not want your icing to be this messy, but all those drippings add interest and detail to our cake drawing.
Now, this is a pretty good sketch, all the important steps of how to draw a cake are already done. Let’s just improve on the details to turn the sketch into an awesome cake drawing.
How to draw a cake: outline the drawing step by step
Step 1: Add detail to the decorations on the cake

Now let’s start outlining the cake and improving on our sketch. Start with detailing the decorations.
Make the “cream dollops” a bit more teardrop-shaped, with more pronounced peaks. Add some variety by leaning the tips to different sides. For a larger, advanced version of the dollop, check out our cupcake drawing tutorial.
We are outlining half of the circle decorations here. Add some texture lines to those – they must be some kind of chocolate balls.
Step 2: Draw some cherries on the cake

Let’s turn the rest of the circle decorations into cherries, for some variety.
We have a cherries drawing tutorial you can use for reference. But since here the cherries are really tiny, all we need is to add is a simple line for the stalk and a little arc underneath to suggest the dip at the top of the cherry.
Step 3: Draw the candle on the cake
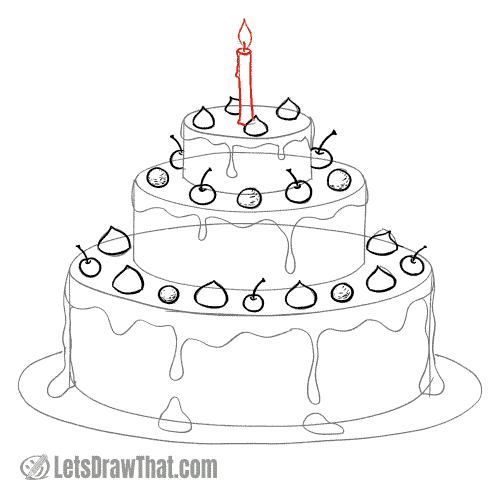
Next, draw the candle.
The small improvements here are adding some candle wax drip at the top left – just a bit of a wobbly line with a bump drip at the end – and a slightly wider base for the candle, where it melts into the top of the cake.
Also, notice that the sides of the flame are not symmetrical, but shorter on the left and longer on the right – the flame looks better that way.
Step 4: Draw the cake icing
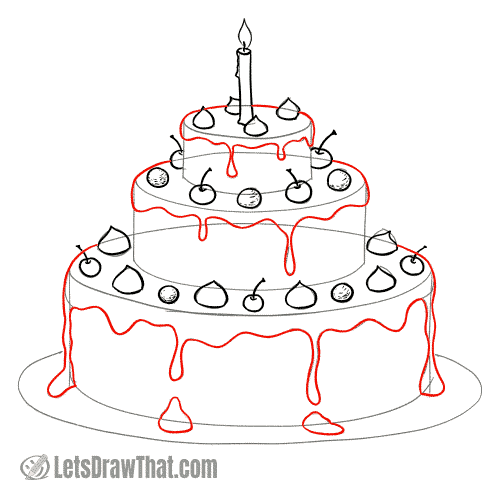
Draw the cake icing, following the sketch.
There are only minor improvements here: Notice how we are smoothly transitioning the line from the back edge of the cake to the icing. Also, the side drips are now nicely joined with a single smooth line into a single mass of icing on the base layer.
Step 5: Draw the cake layers and the plate

Draw the rest of the actual cake body, following the sketched shape.
Notice that we are adding some wobble to the line for all of those half ovals at the base of each layer, to suggest the slightly irregular cake icing on the side.
Another improvement is adding some simple decorative zig-zag edge to the plate or flat paper that the cake is standing on.
Step 6: Draw the middle cream cake layers

Our cake drawing is almost done. The very last step in our how to draw a cake tutorial is to add some final details and texture to the cake drawing.
Add a middle stripe of “cream” to each of the cake layers. The shape again follows the original lower half oval line. Add some texture to the cream strip with short lines.
Finally, draw out the front edges of the cake. Notice we are leaving a small gap between the front edge line and the side icing outline, so the icing looks like a solid layer.
How to draw a cake: finished drawing
How to draw a cake: finished outline drawing
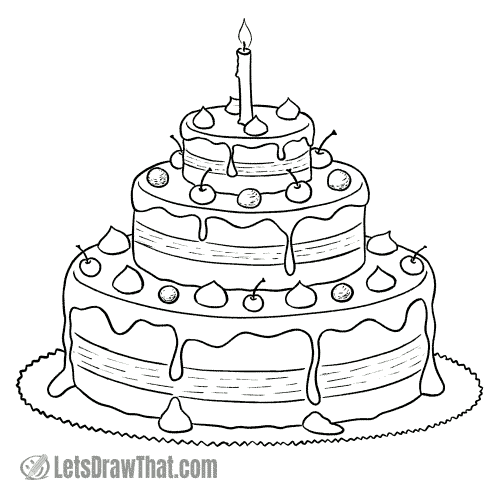
And here is the final result of our “how to draw a cake” tutorial – the completed cake drawing after we have erased the sketch lines.
This turned out to be a yummy-looking massive triple layer cake, decorated with cream dollops, chocolate balls, and cherries, and dripping with icing.
Now that you have learned the basics of how to draw a cake, you can draw your own variations – add or remove the layers and re-decorate the cake with different toppings. Here are some ways to decorate a cake to get you started.
Finished cake drawing colored-in
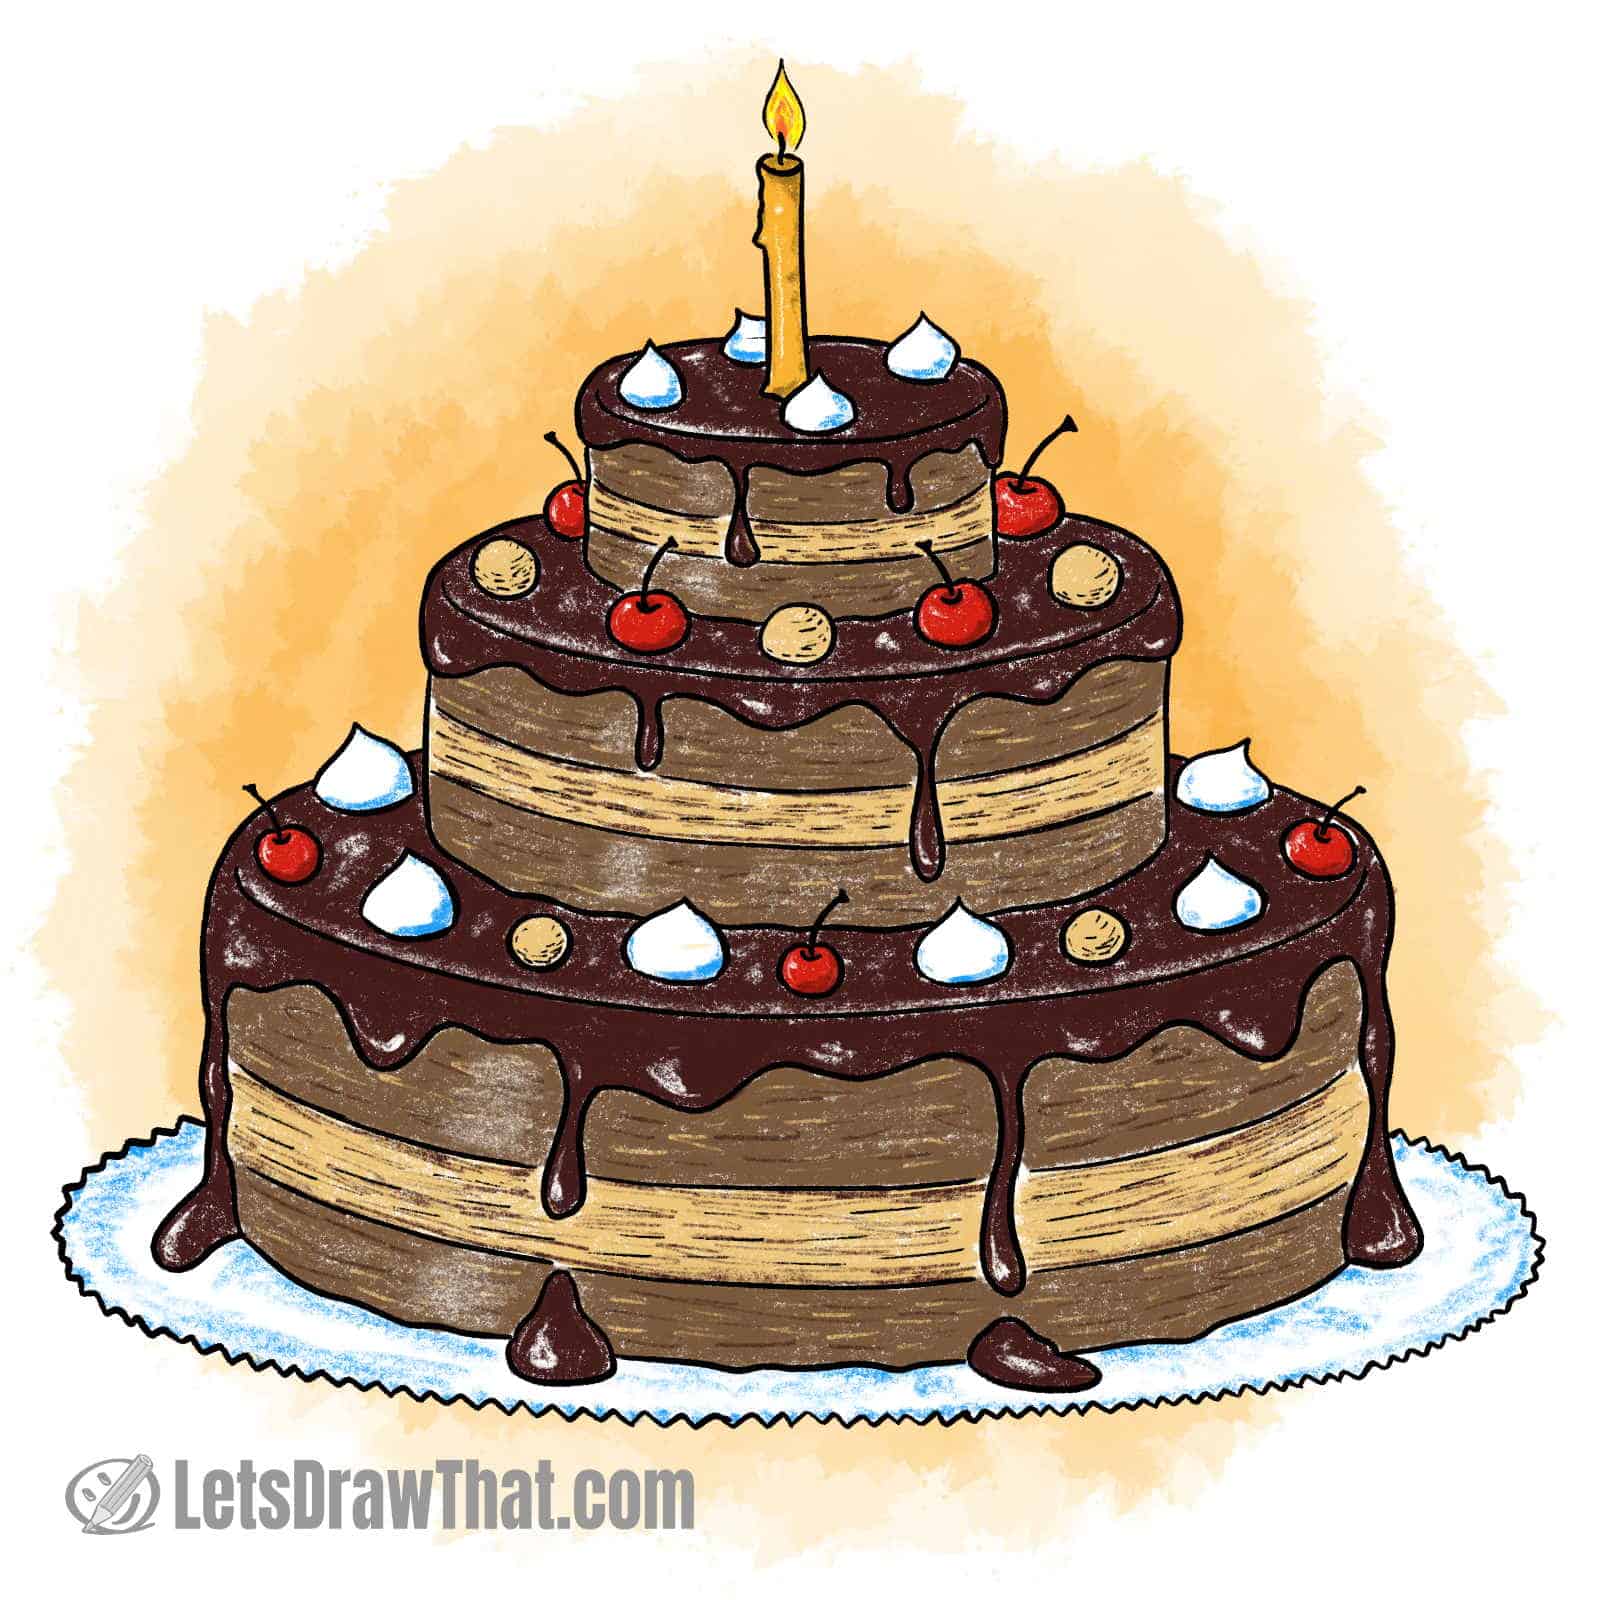
The usual final step in our “how to draw a cake” tutorial is to color in the cake drawing. If you have followed the link above, you have seen that cakes can be in any color you fancy.
Since we love chocolate cakes, that is what ours is: Dark brown for the chocolate icing, middle brown for the chocolate base, with some beige for the cream layers in between, and for the ball decorations.
We have colored in the cherries dark red and left the cream dollops pure white with some light blue shading for extra color and contrast.
Oh, what a yummy cake drawing – may I have a piece, please?