How to draw a robot: a classic square-box humanoid
Our first robot is a classic old school humanoid, made from two square boxes, complete with arms and legs of bendable tube and a “face” made from dials.
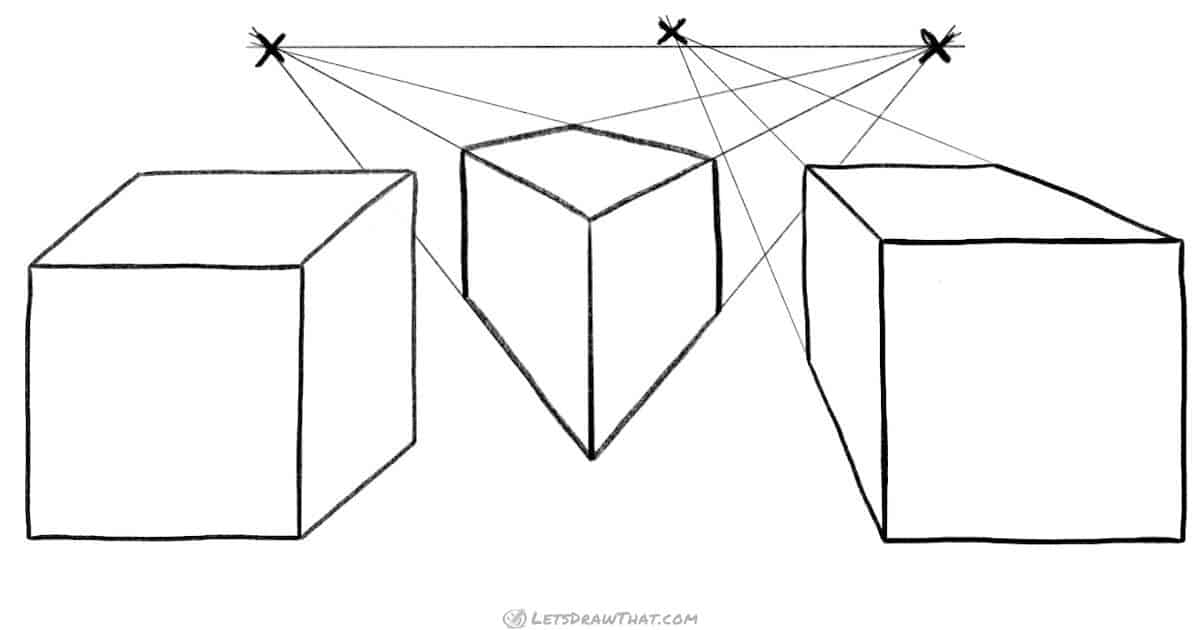
To make the drawing a bit more interesting, we have drawn all the boxes with perspective. But feel free to draw just a flat robot, if you want a really simple drawing.
How to draw a robot: sketching the square robot
Step 1: Draw the base head and body squares
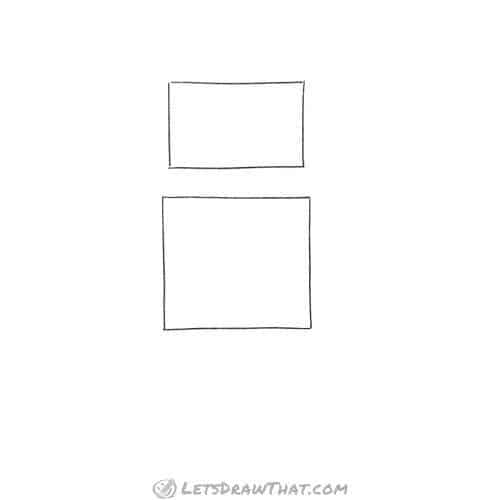
Our first robot drawing starts with just two basic simple shapes: one rectangle for the head, and a slightly larger square for the body.
Step 2: Draw two boxes in perspective
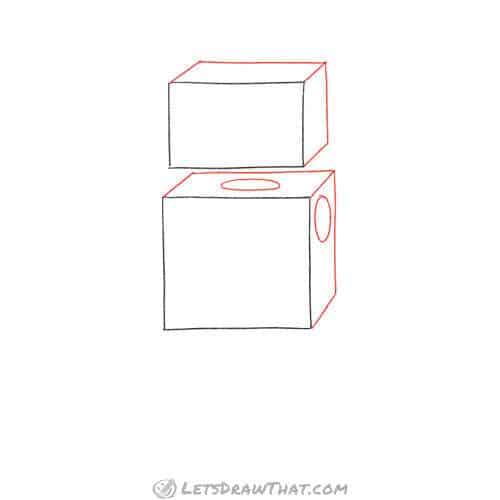
The next step is to make our rectangles into boxes. Here we are using the simple method to draw a cube: First, extend the short side lines at 45 degrees from the outer corners. Then complete the box with parallel lines to the original sides. Check out the how to draw a cube tutorial for a more detailed explanation, if needed.
Before we move to the next step, let’s mark out the circles for the neck and arm on the box. Since these are at an angle, they will show as flat ovals on the top and side of the robot’s body.
Step 3: Sketch robot’s neck, arms and legs
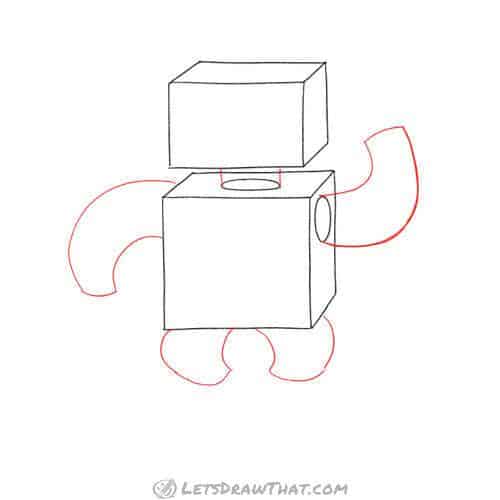
It is time to give our robot some arms and legs. We will draw them as simple bent macaroni tubes.
The arms start on the sides – that is what the oval marking was for. One arm is bent up, the other down. They both finish with a small curve, or half oval.
Next add the same macaroni legs.
Step 4: Sketch the hands and feet

Let’s finish the arms and legs with some hands and feet.
Now there are many different kinds of hands you can give your robot, which will depend on what your robot is good for. Our robot has spanner-like hands. The outer shapes of the hand are just open “V” lines. The inner shape is the spanner hex opening or kind of squared-off “U” shape.
For the feet, our robot will have two more simple rectangular boxes. As these are again drawn in perspective, the front and back are horizontal lines, but the sides are at an angle.
Step 5: Add perspective to the hands and feet

Since our entire robot drawing is in perspective, we need to add some thickness to the hands and feet as well.
Again, using the simple method from our cube tutorial, we extend the short lines up at 45 degrees to the right from the outer corners on the hands. Then we finish the shape with a parallel outline of the hand.
Notice how we have touched up the end of the arms so that they smoothly end on the new hand outlines.
For the feet, we have already drawn the lines at an angle. So to complete the box shape, extend short vertical lines from the outer corners and then again finish off with the parallel outlines.
Step 6: Sketch the robot’s face

Since we are drawing our robot very human-looking, let’s give him a face. We will draw two eyes as half-circle gauges. Draw a flat bottomed half circle. Then add the inner needle, and finish the gauge off with some scale lines.
We will draw the robot’s mouth like a square grille, which looks pretty much like teeth.
And while we are at it, let’s draw another gauge on the robot’s chest, just to make it more interesting.
Step 7: Add final details
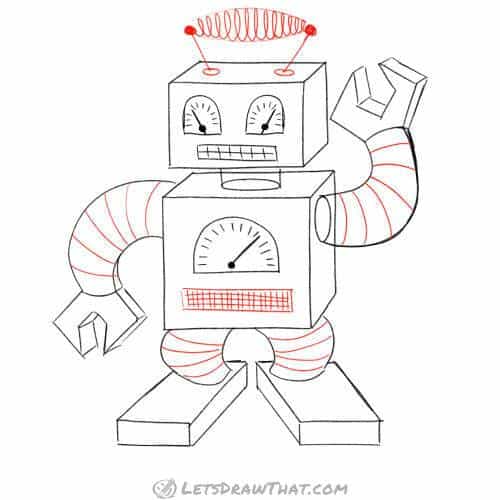
While now you know how to draw a robot, the plain robot drawing can always be improved with a few extra details. So let’s add them:
Start with another grille at the robot’s “waist” This one is a rectangle again, but this time the mesh is thicker with more cross-hatched lines.
Next, add stripes to the hands and feet. Since these are tubes, the lines have to be curved, rather than just straight lines.
Finally, why not give our robot some antennas, so he can be remote controlled. These are just two lines at an angle, with a spiral antenna in between.
How to draw a robot: square robot outline
Step 1: Outline the robot’s arms and hands
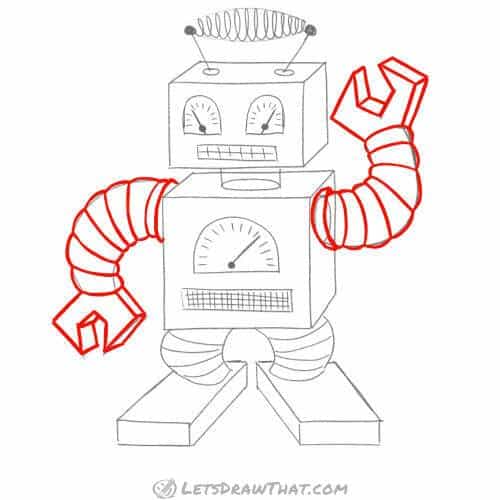
Let’s start outlining and improving our robot sketch, starting with the arms.
There are two subtle changes here: notice the first ring at the shoulder is extended out a bit, to form a kind of socket for the hose that makes up the rest of the arm. And when outlining the arm, we have curved the arm segments into some “Michelin man” arms.
The hands then are a straight simple outline of the sketch.
Step 2: Draw the robot’s head and body

An easy step – simply outline what’s on your sketch. Start with the antenna. Then outline the head box. Then draw the neck.
Next, you can finish by outlining the body, leaving out the lines covered by the neck and arm.
Step 3: Outline the legs and feet

It’s time to draw our robot’s legs and feet. We are using the same trick as with the arms – drawing the legs out as individual puffed-up segments.
Then simply outline the feet.
Step 4: Outline the dials

Here we are outlining the gauges on our robot’s eyes and chest and the two grilles.
And that is pretty much it, now you know how to draw a robot.
Step 5: Add some extra details

OK, this is definitely an optional step, but we can never resist adding yet a few more details. So here they are:
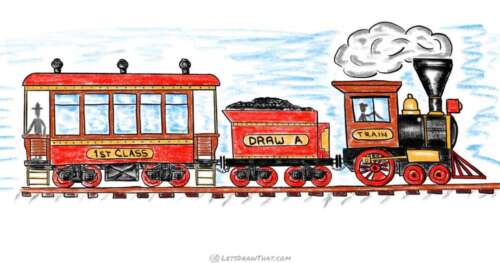
Similar to our train drawing or rocket drawing, you can add some riveted panels to your robot: just draw a line of dots around any of the robot’s sides. Here we have riveted feet, neck, and shoulders.
We have also added tiny riveted sides to both grilles – something that holds them in place and makes them more interesting.
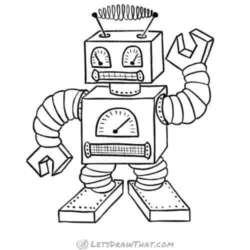
How to draw a robot: finished square robot drawing
How to draw a robot: finished square robot outline drawing

Here is the completed robot drawing, after the usual clean-up of the sketch lines.
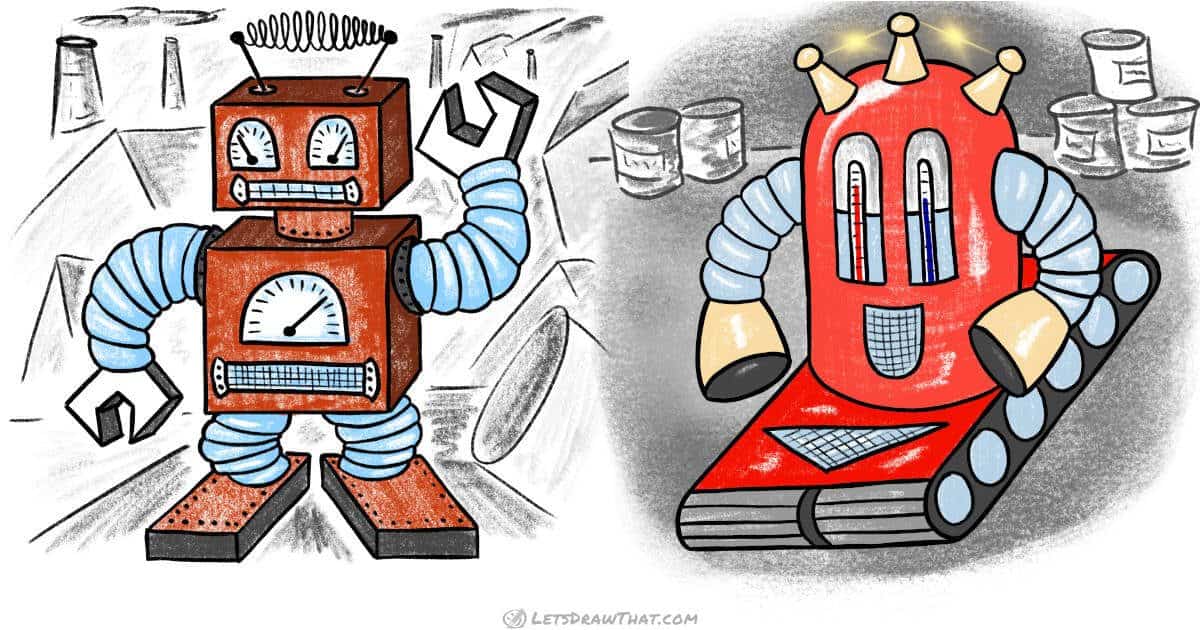
How to draw a robot: finished square robot drawing coloured-in
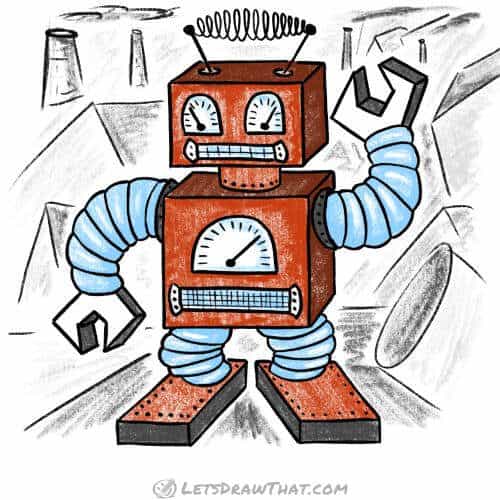
And since we like to complete our drawings in colour, here is one option for colouring your robot.
We thought this boxy robot is looking like a very old and run-down model. So the poor thing ended up all in a rusty brown colour. Only the segmented tubes for legs and arms must be stainless steel – hence they are shiny metal, err, blue colour. Some dark grey for the shading completes the simple colour scheme.
That is it – now you know how to draw a robot. Well, one possible type. How about drawing a very different robot next?
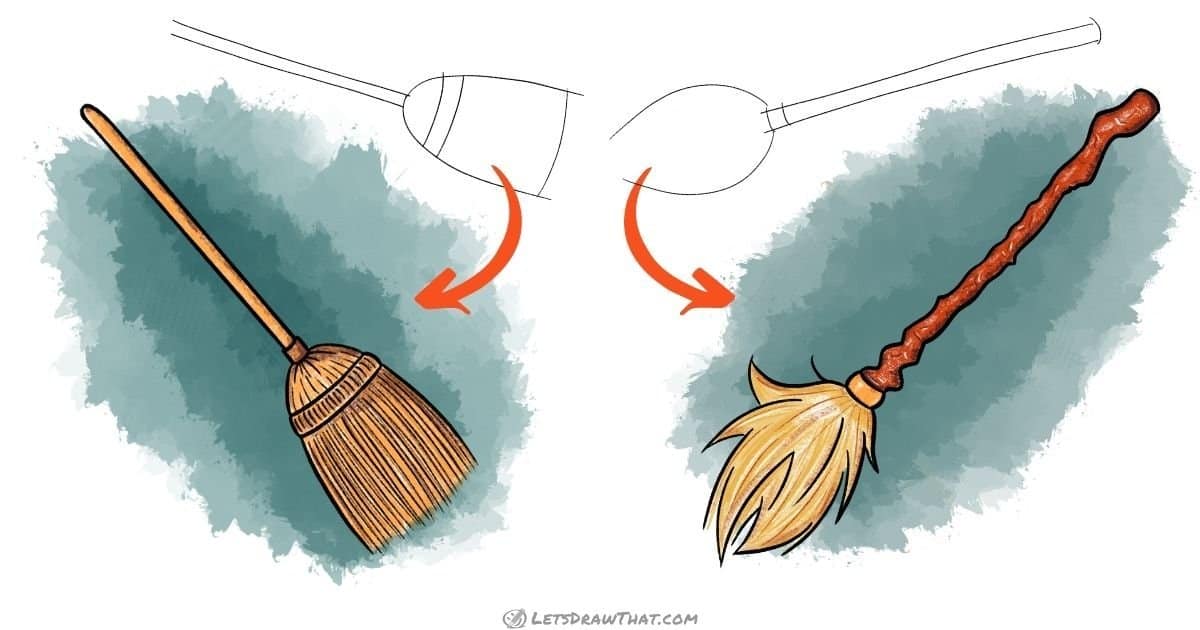
How to draw a robot: round robot

Robots come in all different shapes and sizes, so our second robot is made from round shapes for a change: a round cylinder for the body and rounded off bulldozer-style tracks instead of legs.
How to draw a robot: sketch a round robot step by step
Step 1: Sketch the robot’s base body shapes

Let’s start drawing our round robot with a simple oval – that is the one in the middle, about twice as wide as it is tall. That is the base of the robot’s cylindrical body. To draw the body, just extend the two lines up from the far edge of the oval and close the dome with a half-circle.
Next, we start drawing the rectangle in perspective – that will be the top part of the robot’s wheelbase. Following the familiar easy perspective from how to draw a cube, extend the two lines at an angle from where the robot’s body sides meet the base oval. Notice that the right line goes full length, while the one on the left is half-hidden behind the body. Then complete the platform with two horizontal lines to close the parallelogram (that is a fancy word for the squashed rectangle).
Step 2: Sketch the track shoes

Next, we are building the robot’s track undercarriage.
Duplicate the straight lines at the front, back, and side first. Then, close the shape with half circles to form the track shoes.
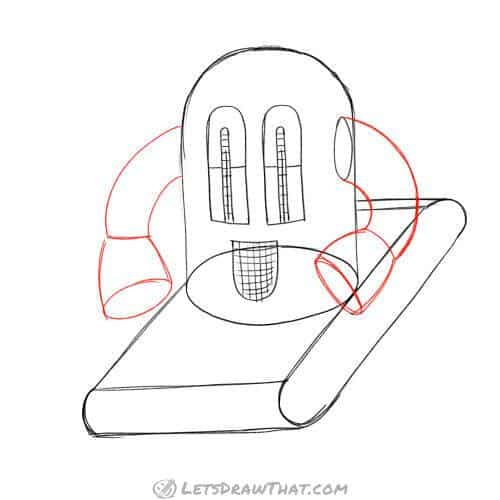
Step 3: Add some “face” dials

Even our second robot will have a human-looking “face”. This time, we draw two “thermometers” for the eyes. We draw them with a shape matching our robot’s body: two long rectangles, flat at the bottom, and rounded at the top. Then, repeat a skinny version of the shape for the inner thermometer/eye pupil. Add a scale in the middle – just a simple line with some cross marks.
Then, draw a nice, smiling “mouth”. Again, the same shape as the body, but upside down. Finish it with some cross-hatching – robots do not have mouths, so this is a vent grille (which happens to look like a mouth).
Finally, mark a little oval opening at the side of the body for the “shoulder” where the arm will attach.
Step 4: Sketch the robot’s arms and hands
The robot’s arms are again simple macaroni tubes – draw them with two curves. This robot has suction cups for some simple hands – draw two ovals, and attach them on the sides to the arm with two curves. This must be some sort of vacuum cleaner robot.
Step 5: Add wheels and antennas
Now that our base robot shape is done, it is time to start adding the final details.
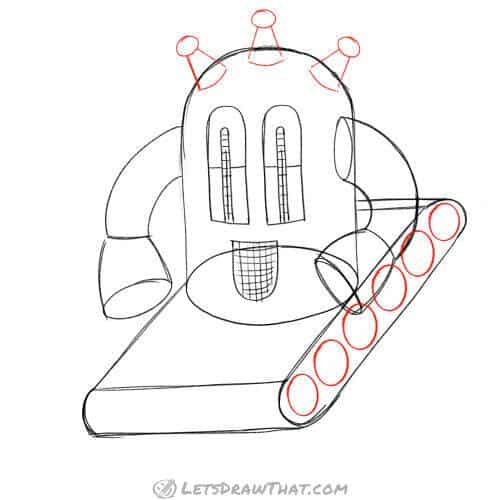
Here we draw three antennas on the top of the robot’s head. This time, we will make them look like ludo game pieces: a circle at the top, then two lines forming a widening body. Close the shapes at the bottom with a curve.
Next, we add some wheels to the trucks. Since we are drawing them at an angle in perspective, these will be slightly squashed into ovals, rather than circles.
Step 6: Add some final details

That is a second way how to draw a robot completed. Let’s just dress the robot drawing with a few extra details.
Split the arm into segments with a few curves.
Split the track into two – that is the two “C” curves in the middle to form the gap. Then add a few horizontal lines, to show the traction edges on the track.
And finally, since the top front of the robot is a bit bare, let’s add another grille vent – this time shaped like a triangle (or any other shape or two that you like).
How to draw a robot: round robot step by step outline
Step 1: Outline the robot’s arms

With our sketch done, it is time to outline our robot drawing, starting with the arms.
Here we use the same trick as before, curving the outline of each segment to form a nice articulated tube.
Step 2: Draw the robot’s face

This step is a straightforward outline of the already sketched parts. Start at the top with the three antennas.
Then move down to the eyes. here is a little trick – we have left out the middle line in the eye – we want to draw those in color later. If that is not your plan, draw those in as well.
Finally, outline the two grilles – we are using the thick line for the outer shape, and a lighter liner for the cross-hatching on the grid.
Step 3: Outline the body and tracks

Another simple step. Draw the rest of the robot, leaving out the lines hidden behind the parts of the body.
How to draw a robot: finished round robot drawing
How to draw a robot: finished round robot outline drawing

Here is the complete robot drawing, after we have erased the sketch lines. Now you know how to draw at least two robots!
How to draw a robot: finished round robot drawing coloured-in

Our usual final step is coloring in the drawing.
Here we have painted our vacuum robot’s body bright red. We are sticking with the “metallic” greyish blue for the arms, wheels, and grilles. And we have colored in the antennas and “hands” with a fancy, brass-like yellow-beige.
How do you like this robot?