How to draw a shark from the basic fish shape

This first shark is drawn using almost the same shapes as the fishes in our how to draw a fish tutorial.
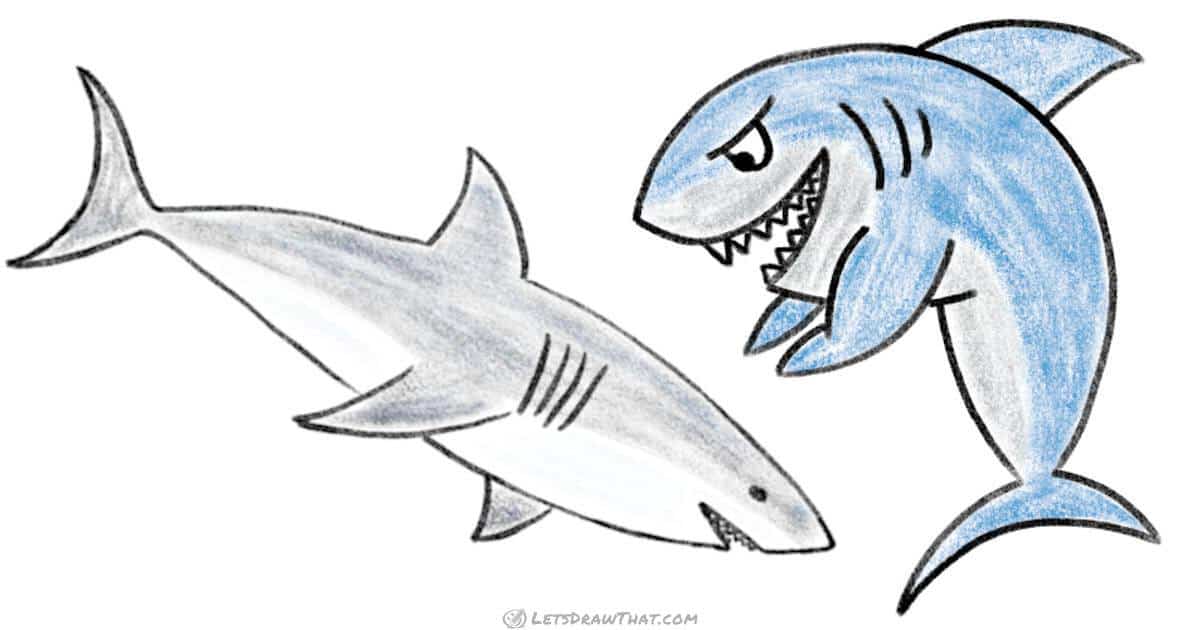
The end result looks very realistic, especially when we colour it in with the same colours that real sharks have.
How to draw a shark from the basic fish shape: base sketch
Step 1: Sketch the basic fish shape
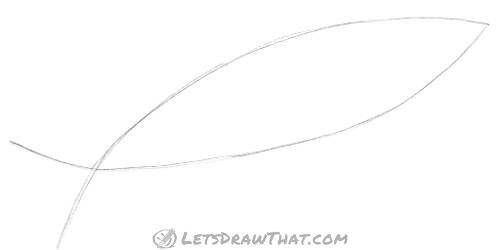
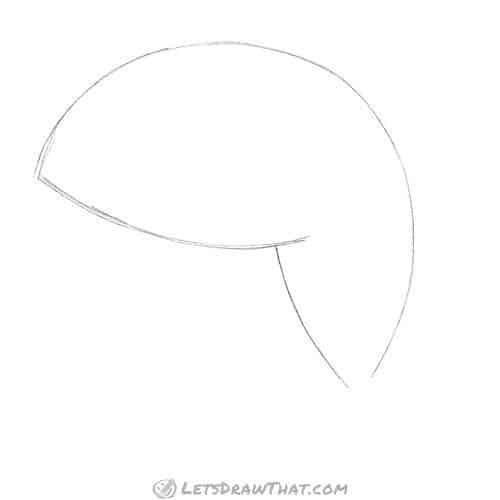
We start our shark drawing with the same two arches as we did in our how to draw a fish tutorial.
They both start in the same spot. Then we draw one crossing the other, which will give us a base for a tail.
Just like this.
Step 2: Add shark fins and tail
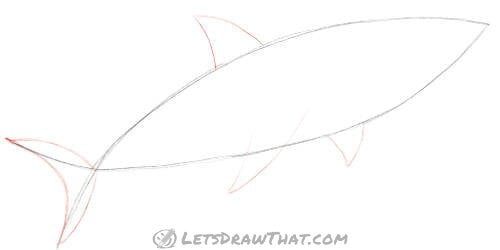
Next, we add fins and tail. This is what turns our standard fish body into a shark – the shape and placement of the fins.
First is the top – dorsal – fin. That is the classic shark shape one. Draw it pointy and place it near the middle of the body.
One bottom fin will go across the body, roughly under the dorsal fin. The second one is hidden behind the body – so draw just the part sticking out, a little bit forward from the first fin.
Finally a tail. Shark has kind of a moon-shaped pointy tail – so draw it using our crossed arches for just a reference start and end points.
Step 3: Add the details

A few final touch-ups and details: Draw a simple triangle for a mouth. Add a small dot for an eye.
Next few lines for the gills, just slightly in front of the bottom fin – this is another very shark specific mark.
Finally, you can sketch two slightly bent lines: one from under the nose to the start of the bottom fin, and a second one from the other side of the fin to the tail. This will help with colouring the shark – that is the line that divides the dark top of the body from the shark’s white belly.

How to draw a shark from the basic fish shape: outline the drawing
Step 1: Trace the front half of the body
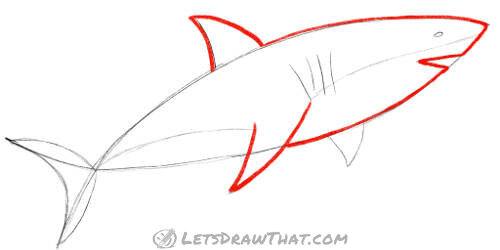
Now for the tracing. Use a soft, thick pencil to go over the lines you want in the finished drawing. Start with the front of the shark.
Step 2: Trace the rest of the body
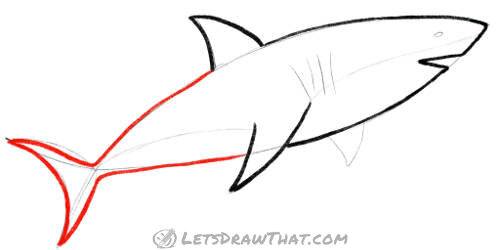
Now trace the back half of the shark. Notice that we left out some of the lines on the shark. This is because they were guidelines to draw from, not the actual shape. Using guidelines and then refining them is a great technique, and will especially be useful for when you need to draw something complicated, so you use a more basic shape as your base.
Step 3: Finish the drawing with details

Now we trace the final parts of the drawing. These are the back fin and the small details: the eye, the gills, and the teeth.
How to draw a shark from the basic fish shape: finished drawing
How to draw a shark from the basic fish shape: finished outline drawing

Now that we have finished the outline, we can erase the sketch lines. Don’t worry if you erase a bit of the outline in the process, you can always draw it back.
How to draw a shark from the basic fish shape: finished drawing coloured-in
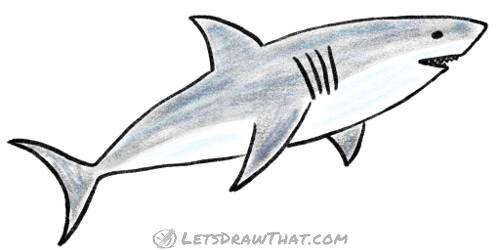
The last step in drawing this shark is to colour it in. I used a grey with bits of blue in it to emphasise. Notice that I left the underbelly of the shark plain white. This is because many real sharks have a pale underbelly as well.
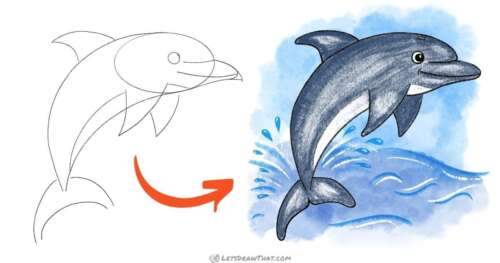
How to draw a shark in the cartoon style
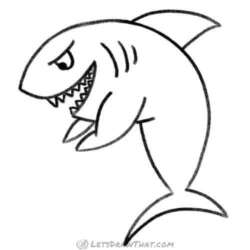
Our second shark is drawn in the cartoon style. As you can see, his body has changed from fast and slim ocean predator into a large-bodied rascal. His fins are drawn as if they were muscled hands and he has a very cheeky facial expression. All of these are exaggerations – something very typical for the cartoon style.
How to draw a shark in the cartoon style: base sketch
Step 1: Sketch the body outline
This shark is much more cartoon-looking than the last one, and it shows. This pose is very dynamic and interesting but starts off with a shape that’s a bit more complicated to draw.
It’s made up of three lines. Start with the longest back line and make sure it is curved enough, that once you add the other two lines, the body ends up seriously bulky. We are aiming for a well build muscly shark.
Step 2: Add fins, tail and mouth

Now to add on the mouth, fins, and tail. Notice that most of the shapes are more rounded and more exaggerated than on the previous shark.
The bottom fin is drawn bit like a human arm with a bulging biceps, rather than just a simple straight fin.
This is part of the cartoon drawing style, which is all about being dynamic through exaggeration.
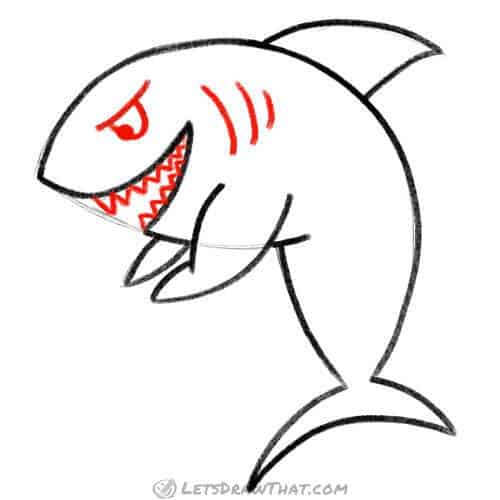
Step 3: Add the details

Time to add on a few more details. Make sure the other fin doesn’t cross the line of the body (unlike the front one). Doing this will create perception, the illusion of the shark being a 3-D object.
Although sharks don’t have eyebrows and definitely don’t use them to make expressions, we can put some on ours. Drawing is, after all, about taking what we see and putting our own spin on it.
The way the eyebrow is slanted and touching the eye can show us that the shark is angry and a bit malicious.

How to draw a shark in the cartoon style: outline the drawing
Step 1: Outline the fins, tail and mouth

Now we start to trace our shark. Use a thick, soft pencil to do this. First, we draw the “arm” fin, so we know where it crosses the body.
Next, the mouth – notice we have rounded off the upper lip a bit, not following the sketch exactly.
Finally, we draw the dorsal fin and tail.
You do not need to draw the shark strictly in this order, but we find it the easiest.
Step 2: Complete drawing the body

We continue to trace the rest of the body – back and the tail. Finally, we draw what is showing from the back fin.
Step 3: Finish the shark drawing by adding details
Now we trace the last part of our sketch, the eye.
You might notice that I added gills and teeth without sketching them beforehand. They are very simple shapes, so unless you want to play around with their positioning, you won’t need to draw them beforehand.

How to draw a shark in the cartoon style: finished drawing
How to draw a shark in the cartoon style: finished outline drawing

Once we have finished tracing, we can erase the sketch lines to leave a clean, neat outline. Make sure to redraw any parts that you accidentally erase!
How to draw a shark in the cartoon style: finished drawing coloured-in
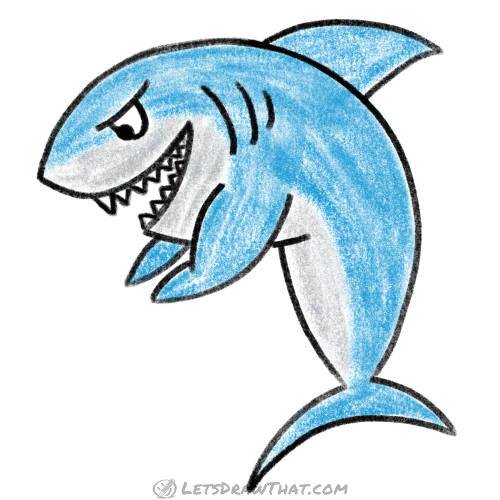
Just like before, you can colour in the shark after tracing it. Because this one is much less realistic, we can use less realistic colours as well!
Instead of a grey with bits of blue, we can make this shark pastel blue all over. The grey is still lighter than the blue we have used and makes the eye stand out more than if they were the same colour.