How to draw a dog: base sketch step by step
Step 1: Sketch the dog's head

As usual, our drawing starts with some basic shapes. Draw a small flat-lying oval, wider than it is tall. That will be the dog’s muzzle.
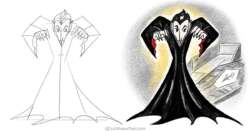
Then add another half oval, this time standing tall, on the top. That will be the dog’s head.
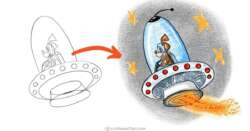
(Oh, this is the perfect start for drawing a flying saucer as well! But we are learning how to draw a dog here. Maybe next time?)
Step 2: Sketch the base body shapes

Add a short neck under the head. Then draw another standing oval – this one will be for the dog’s upper body.
Leave a little gap and add a circle at the bottom, roughly as wide as the body oval. That will mark the dog’s lower body.
Lastly, draw a line just under the circle. That is the ground our dog is sitting on. Having a ground line will help us place the paws later.
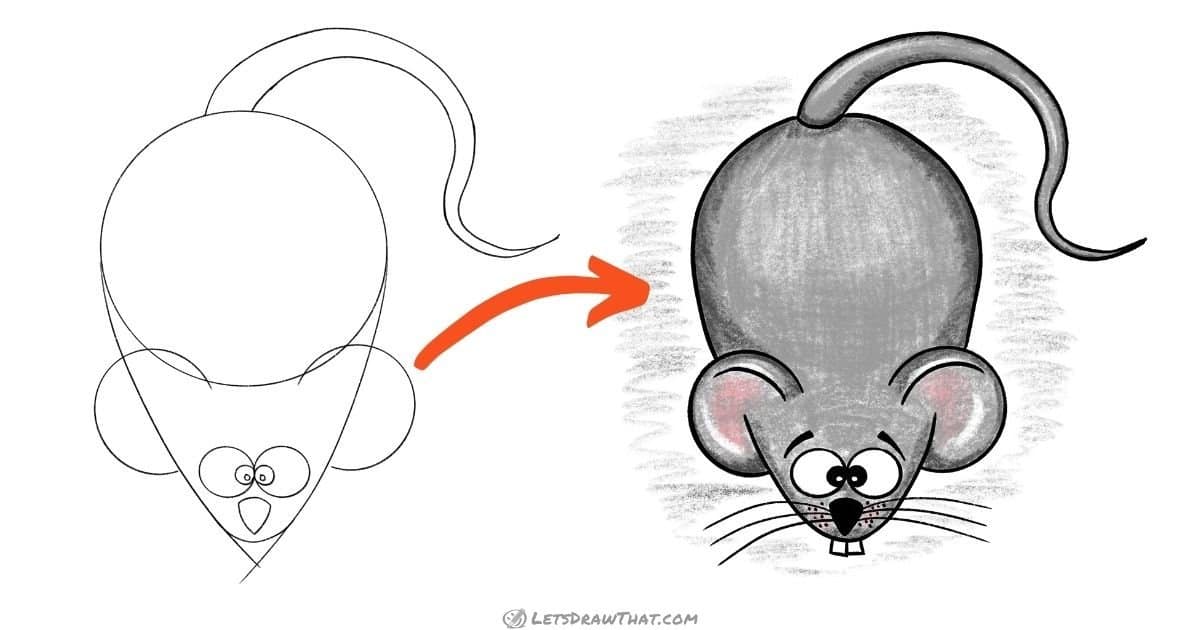
(That is an unusual snowman here, isn’t it? Oh, stop sidetracking. We are trying to draw a dog here!)
Step 3: Sketch the dog's face

Now let’s give our dog a face. Start with another flat-lying small oval for the nose – place it up top in the middle of the muzzle, or even a tiny bit over the top of the muzzle.
Then draw two fish hooks from the nose down – these will make the mouth.
Finally, draw the eyes – these are two half ovals for the outer line and a small inner oval for the pupil. If you want, you can make the outer eye slightly “D” shaped – flatter on the inside – as we did.
Step 4: Draw doggy ears and a body outline

Time to give our dog some ears. Now, there are many different types of dog ears to choose from. Here we are going for floppy triangle ears.
Draw two short lines sticking out to the side from the top of the head. Then add the triangle part of the ear hanging back down. The trick is to leave the triangle open as you are coming back to top – that creates the look of a folded ear.
Before we move on, let’s also quickly join the two parts of the body with an inward bent curve – this will give us a peanut-shaped body.
Step 5: Sketch the dog's legs
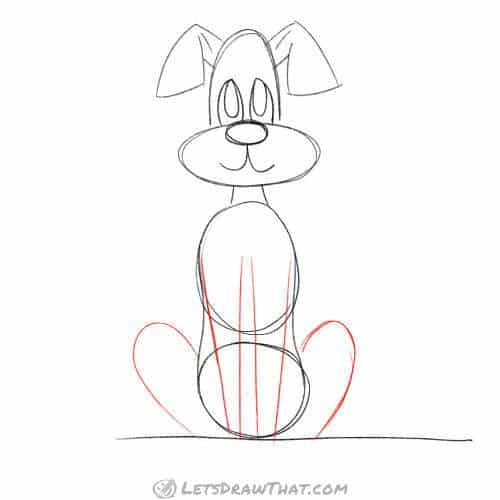
Let’s draw some legs for our dog next. Our dog is sitting straight, so his two front paws are drawn with simple straight lines, two for each leg. The outer lines start at the shoulder and tilt slightly inward to the front of the dog. Then add the inner lines – make the leg bit wider at the top, and narrower at the bottom.
The hind legs are bent as the dog is sitting. Draw them as two “C” shapes, similar to the way you would draw a simple ear. They start at the top of our lower body circle, go out and then bend back towards the body.
Step 6: Draw the dog's paws and tail

Our sketch is starting to look like a dog already – let’s finish it off. Add four paws at the end of the legs. They are all simple “D” shapes – smaller for the front paws, and slightly larger and elongated ones for the rear paws.
Finally, every dog needs a tail. Again, these can come in many different shapes, so choose the one you like. Here we are going for a generic fluffy shape drawn from two “S” curves.
Step 7: Sketch the final details
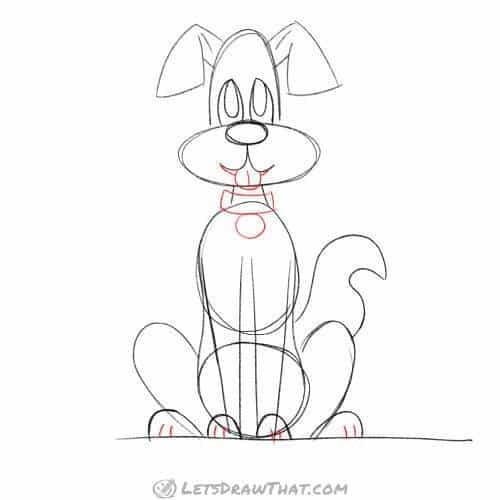
As usual, there are always details we can add to improve our drawing:
Split the paws into simple “fingers” with just two short lines per paw.
Add a collar with a tag – this is a rectangle slightly bent around the neck, with a circle tag hanging off it.
And draw the dog’s tongue sticking out – that is what dogs do when sitting like this. Just another “C” curve with a line in the middle.
How to draw a dog: drawing the outline step by step
Step 1: Draw the dog's face

With the sketch done, it is time to outline and improve our dog drawing, starting with the face.
There are a few small tricks here, compared to our sketch: When filling in the eyes, leave a little white spot for a cute “shine” in the eye.
Similarly, leave two white nostrils when filling in the nose. Also, the nose shape is slightly improved, and we have joined the oval nose to the mouth, which makes the nose more of an upside-down teardrop shape.
Step 2: Outline the head and ears
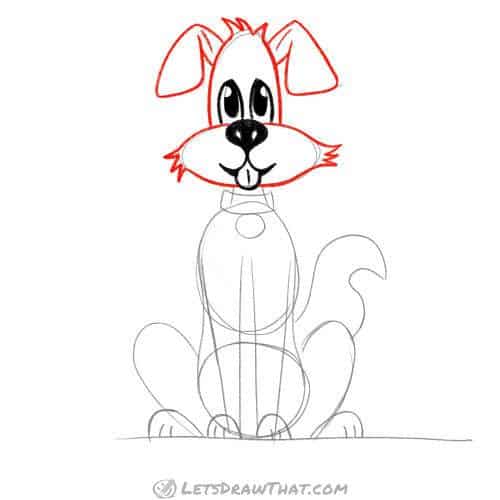
The next step is to outline the doggy’s head.
Another small improvement here – let’s add some scruffy fur. Draw a little zig-zag line to add a scruffy hair on top of the head, and on both sides of the muzzle.
The rest of this step is a straightforward outline of the sketch.
Step 3: Draw the dog's front legs and paws

Starting at the top, outline the neck and collar with the tag. We have, again, slightly bent the outer sides, to make the collar look more round.
Now it is time to outline the front legs. Start at the collar and join the shoulders to our sketched legs with some more zig-zag scruffy fur lines. Then keep drawing down the legs, adding some scruffy fur around the knees and ankle joints.
Finally, outline the paws – note that we have left the paw shape slightly open to attach the paw to the leg.
Step 4: Draw the lower body and hind legs

Let’s finish drawing the dog’s lower body – again notice the small gap left at the bottom.
Next, outline the hind legs. Since you are getting professional at drawing the scruffy fur lines, add some to the outside of the legs.
And similar to the front paws, when outlining the rear paws, leave the top line shorter to keep the paw attached to the leg.
Step 5: Draw the dog's tail and final details

Our dog drawing is almost done. Let’s use some more of our scruffy lines to outline the tail.
As final improvements, draw some sloping eyebrows – these look like small boomerangs – and add few dots on the cheeks as an indication for where the thin whiskers are.

How to draw a dog: finished drawing
How to draw a dog: finished outline drawing

Here is the completed outline, after we have erased the sketch lines.
You know how to draw a dog now!
How to draw a dog: finished drawing coloured-in
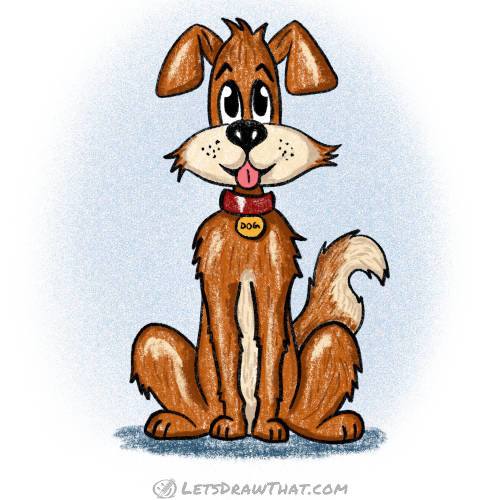
As usual, we complete the drawing with colour. We are using shades of brown for the doggy’s fur, with some light beige for the muzzle, tummy and part of the tail.
Hope you have enjoyed this “how to draw a dog” tutorial. Our dog turned out to be a cute mixed-breed rascal. If you want to draw a specific dog breed, try to play with the shape and size of the head and the muzzle, and add different ears and tail. The rest of the drawing can stay the same for a simple cartoon style dog.
(Now, let’s see what if we can draw that flying saucer from the dog’s head…)