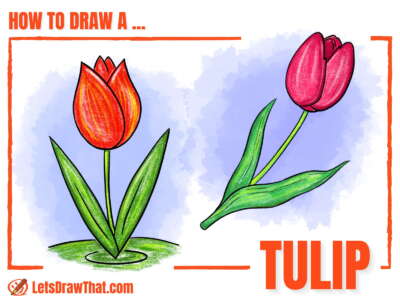
Learn how to draw a cactus. An easy step by step tutorial that use simple shapes to draw a nice Saguaro cactus standing in the Sonoran desert.
Today we will learn how to draw a cactus. While there are many cactus species, the one we draw today is the tall Saguaro cactus, found in Sonoran desert. This is a cactus with a tall main column and several arm-like branches.
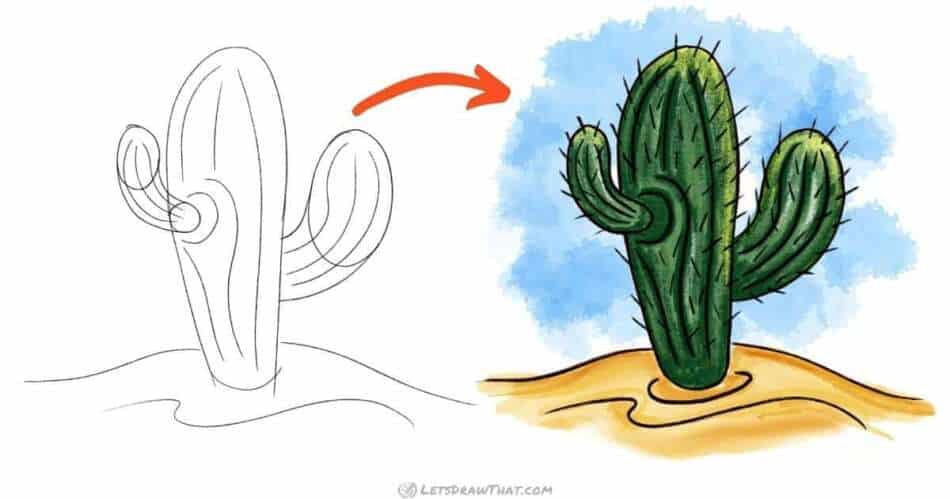
The one we have drawn here is a bit chubby compared to the skinny tall cacti found in the desert – we had to water it a lot to make it fit the square space in this tutorial, but it turned out quite cute.
min
You will need: pencil, fineliner pen, colored pencils, eraser and drawing paper or sketchbook
These are the favorites we use for drawings on Let's Draw That that we love and recommend:


Disclaimer: LetsDrawThat.com participates in the Amazon Associates Program. If you purchase a product using a link on our website, we earn a small commission, at no extra cost to you. This is one way how you can support this website.
Love drawing? Never miss a tutorial!

How to draw a cactus: step by step sketch
Step 1: Draw the central column

Our cactus drawing starts as usual with a simple shape. Draw half of a long oval at the top. Then extend the sides of the oval with two straight lines and close the shape with a curve at the bottom.
Here we are drawing a fairly short and stubby cactus so that it fits the square space on the webpage. But since Saguaro cacti are usually narrow and tall, feel free to draw your cactus narrower and taller.
Step 2: Mark ovals for the "arms"
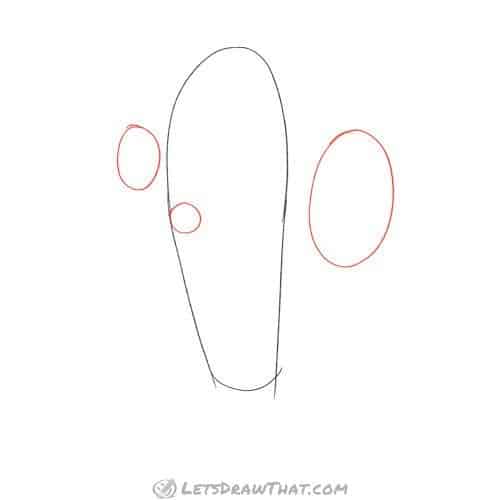
In the next step, we are marking out the ends of the two “arms” of the cactus. Draw a small oval left of the main cactus body, with a small circle on the body. We will join these shortly to make one “arm”.
Then draw another slightly larger oval on the other side. This one will not need the bottom end circle, as the arm will join from behind the cactus body.
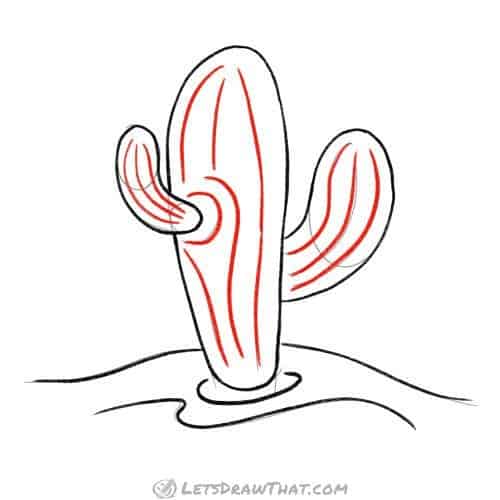
Step 3: Sketch the cactus "arms" and some ground

As promised, it is time to connect the “arm” ends drawn above with simple curved lines. Join the left oval and circle on the sides to draw the smaller arm, that attaches from the front of the cactus.
Then draw two curves from the sides of the larger oval to form the other arm, that attaches from behind.
Again, our arms are quite short and stubby – if you have drawn a tall cactus body, feel free to draw these longer as well.
Finally, draw a sand dune for our cactus to stand on. That is a small hill behind the cactus and a random squiggle on the front.
Step 4: Mark the fold lines on the cactus body

The final sketching step is to mark out the fold lines on the cactus body.
Start with the half-circle mark around the small arm. Then draw the two lines that fold around the arm end. Finally, draw all the other lines, that just follow the shape of the body and arms.
That is the cactus sketch done.
How to draw a cactus: outline step by step
Step 1: Outline the cactus body and the ground

With the sketch complete, it is time to outline our cactus drawing. Start by outlining the small arm first. Then draw the cactus body, breaking the line where it is hidden behind the arm. Finish the cactus by outlining the thick arm.
Similarly for the ground, start with the dune line at the back, and break the line for the part hiding behind the cactus. Then outline the front squiggle. We have added another half-oval to suggest a small dip around the cactus base.
Step 2: Draw the fold lines on the cactus body
This is a simple step – we are just outlining the fold lines on the cactus body, exactly following the sketched lines.
Step 3: Draw the cactus spikes
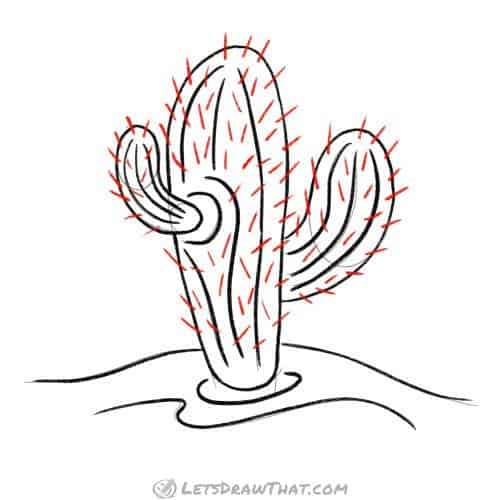
Finally, let’s add the most important feature of any cactus – it’s prickly spikes! Draw them as short straight lines.
Start by drawing the prickles around the outer shape of the cactus, and notice how the line direction changes following the shape. Then add a few more spikes onto the inner body.
How to draw a cactus: finished drawing
How to draw a cactus: finished outline drawing
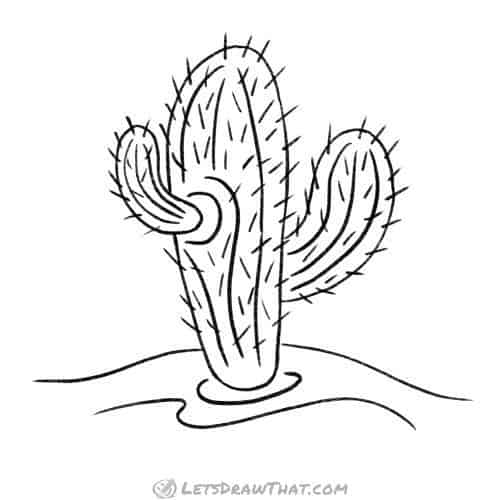
Here is the completed cactus drawing after we have erased the sketch lines.
How to draw a cactus: finished drawing coloured-in
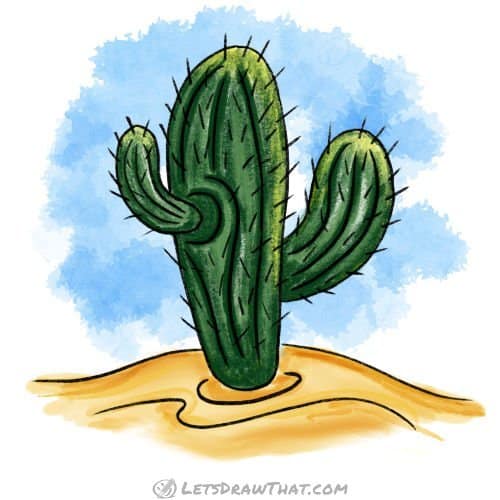
Our usual final step is to colour in the drawing. The cactus body is coloured in shades of green, with dark “shading” along the body fold lines and a lighter green in between. The top of the cactus and arms, as well as the highlight on the side, have some yellow mixed in.
The sand dune is a golden yellow, with some darker yellow patches to add some structure to the sand.
Finally, add a nice blue sky. Here we are cheating, the sky is not drawn with coloured pencils, but with watercolours, which create interesting random “cloud” patches.


")